How to Create a Rustic Wood King Headboard
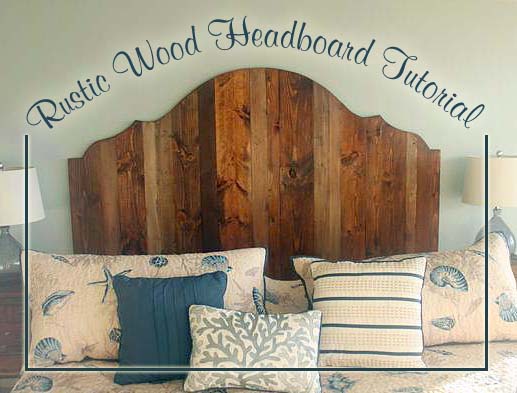
I’m back with more progress on the beach condo. I am really excited to share this tutorial on how to create a rustic wood headboard with you because it caused quite the buzz on Facebook and Instagram. This has to be one of my favorite projects that I completed in my stepmom’s beach condo. (You can see more pictures of the condo renovation on my sister’s interior design business page. Be sure to like her page, she has some great renovations to share.)
My sister, Caitlin, wanted me to make a unique rustic wood headboard for the master bedroom. Her budget was running low so she turned to Pinterest for some ideas and showed me this picture as inspiration.
I followed the link to a retail site where you could purchase the headboard for $2,195! {Cough, choke, gag…this was well out of our budget!} When we tallied the receipts, the lumber and materials to build our own king-sized headboard came in around $90 from Lowe’s! Woot woot!
And best of all, it is a relatively easy project that anyone can do if they have the right power tools.
Materials:
- Circular saw (or miter saw)
- Circular saw
- Cardboard box (or roll of craft paper)
- Painter’s tape
- Sharpie marker
- Epoxy glue or wood glue
- Variety of 1″ wood planks in several widths (3″, 4″, 6″ & 8″)
- 2 – 2×4″ studs (Used to prop up headboard when cutting. Will be leftover.)
- White paint
- Gray paint
- Blue paint
- My Aging Glaze Mixture
- Minwax Early American stain
- Minwax wipe on Polyurethane
- Rags
- Paint brushes
- 1×6″ board ripped at a 45 degree angle for a french cleat
- Tape measure
- Finish nailer
- 1.25″ finish nails
- Hammer
- Safety glasses
- Ear protection
(I’ve included affiliate links for your convenience. I earn a small percentage from a purchase using these links. There is no additional cost to you. You can read more about affiliate links here.)
Instructions:
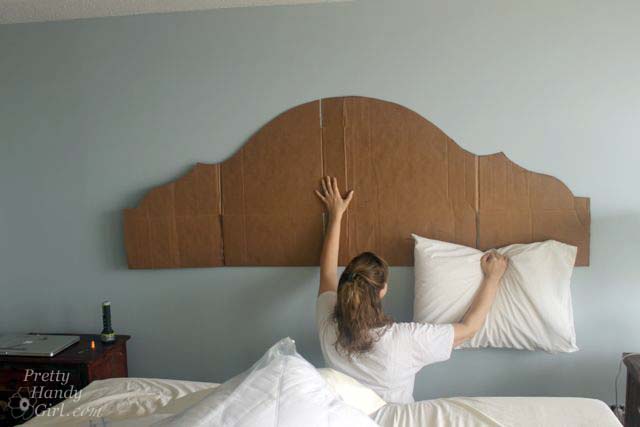
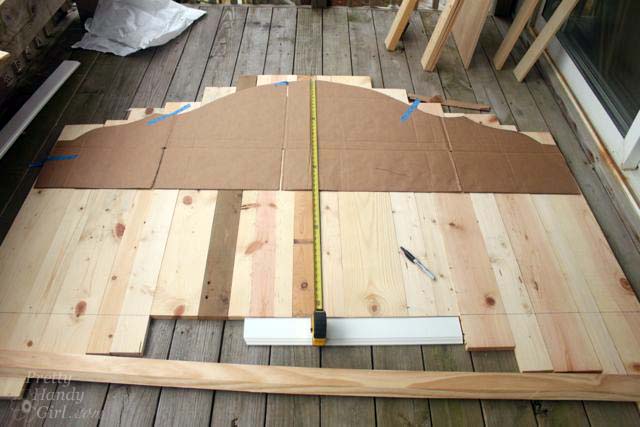
Measure your bed to determine the width of the headboard. We decided on an 80″ width to fit the king size bed in the master bedroom. Start by creating a template for your headboard out of the cardboard box (flattened and opened up.) You can freehand curves, or use a string and tack, or round objects to help create your curves. Cut one side out with scissors then fold at the center point and trace the second half.
Hold the template on the wall in the bedroom and patiently wait for you sister to decide the height she wants the headboard to be. Then measure from the top to a few inches below the matteress top.
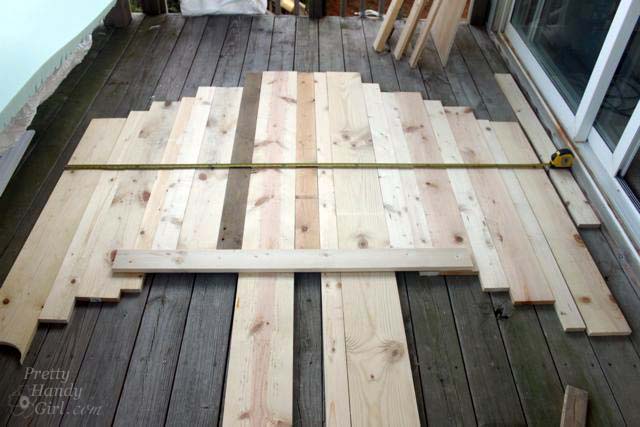
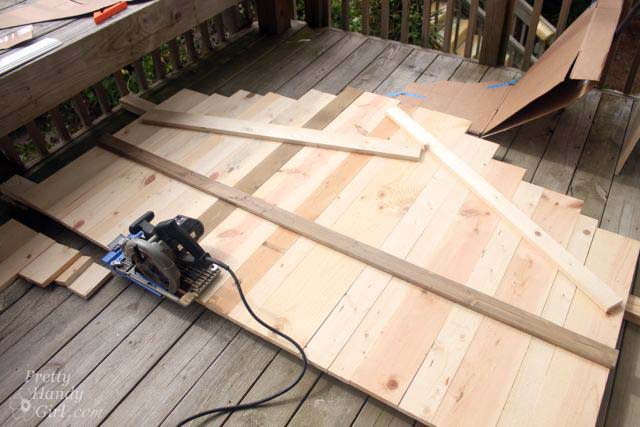
Line up your boards on the floor in an approximation of the shape of your headboard. (You can cut 8′ boards in half and use both halves to save money.)
Lay the template onto your boards and measure the height of the headboard you decided on. Make sure the headboard profile is level and equal distance from the bottom on both sides.
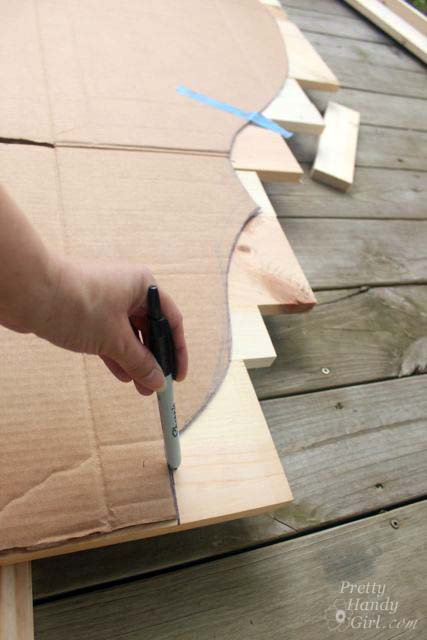
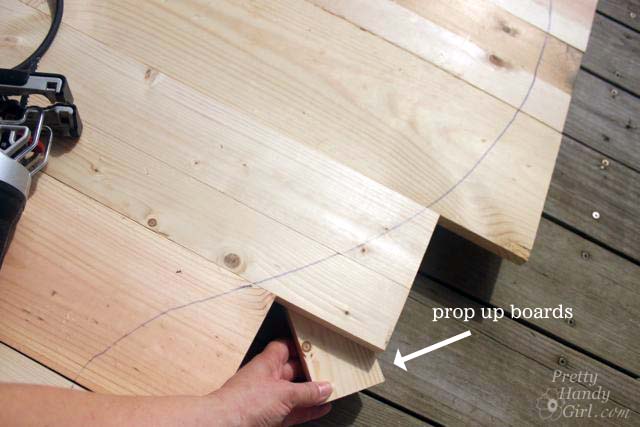
Trace the top profile of the headboard with the sharpie.
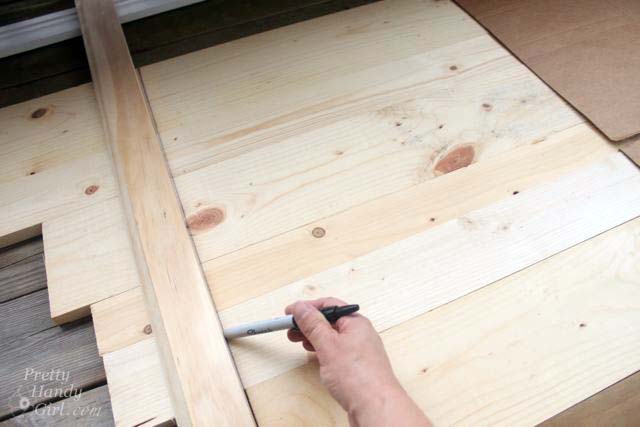
Draw a straight line to mark where to cut off the bottom of the boards.
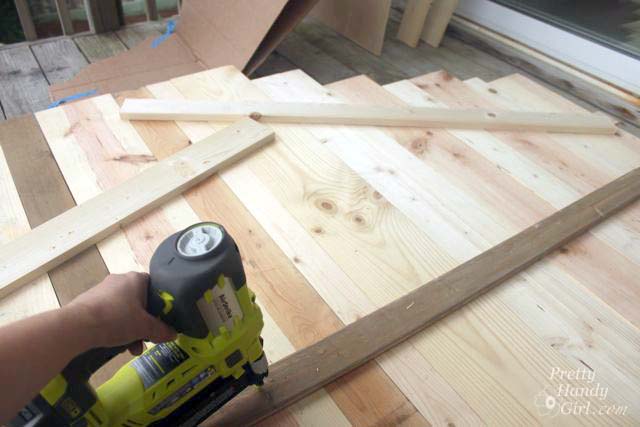
Use a finish nailer to secure a few support boards to hold the boards in place. (*In hindsight, I could have saved time by gluing and securing the support boards and the french cleat at this point.)
Raise the boards off the floor by resting them on the two 2×4″ boards. Set your circular saw blade just below the headboard planks. Cut along the straight cut line you marked.
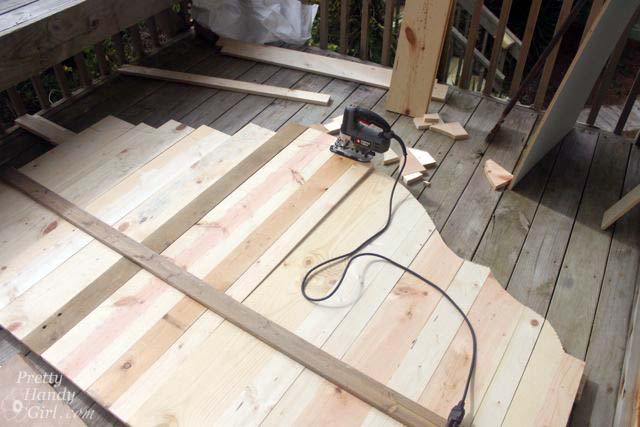
Prop the headboard up with a few more scraps of wood (the jigsaw blade will go deeper than your circular saw.)
Cut along the traced profile of the headboard with the jigsaw.
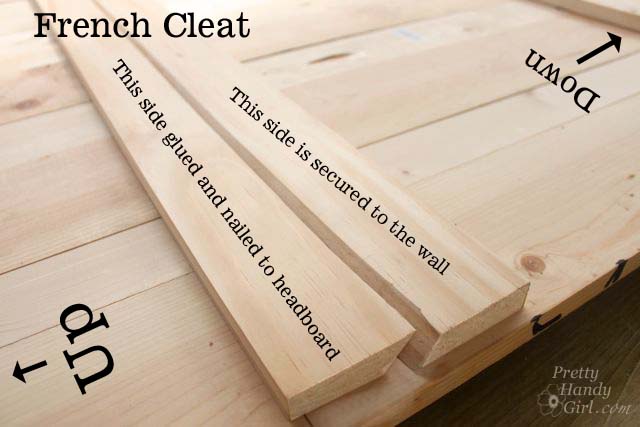
If you haven’t done so already*, position the support boards horizontally. Also, position the top side of the french cleat onto the headboard. Make sure the cleat is level with the bottom of the headboard.
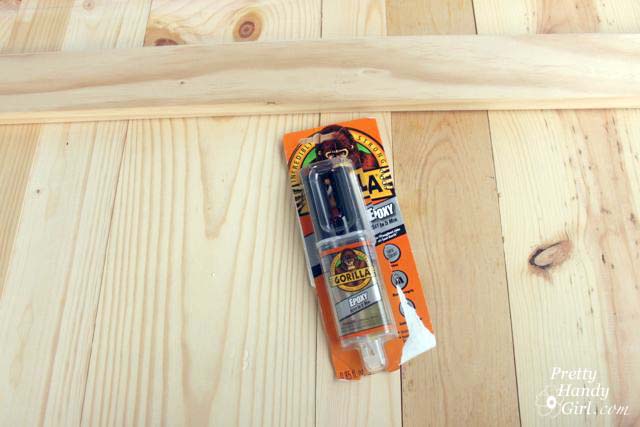
I brought along a new glue to try out. Gorilla Glue Epoxy.
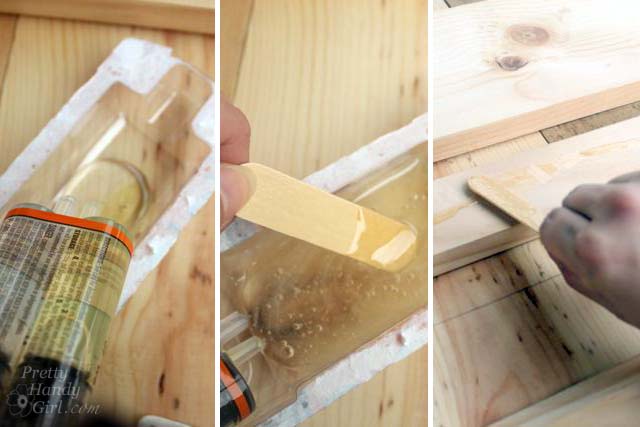
It is a two part glue. Mix both liquids in the plastic packaging bubble. Then spread onto your board.
Secure the french cleat top; a 1″ x 4″ board to the base of the headboard and a third board to the top of the headboard.
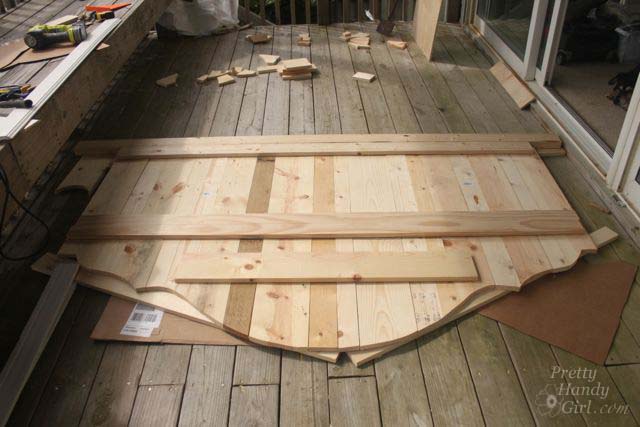
Secure all the supports and the french cleat with nails.
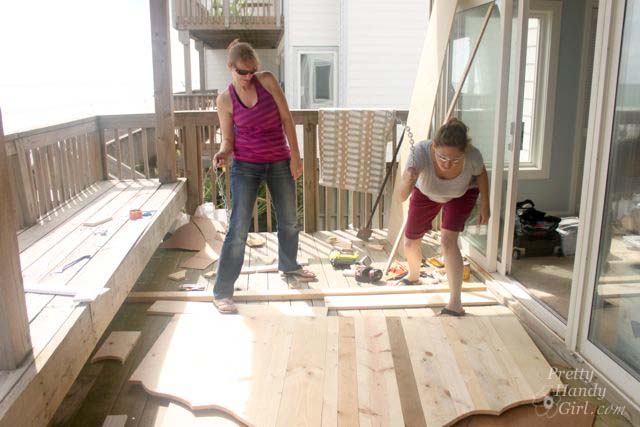
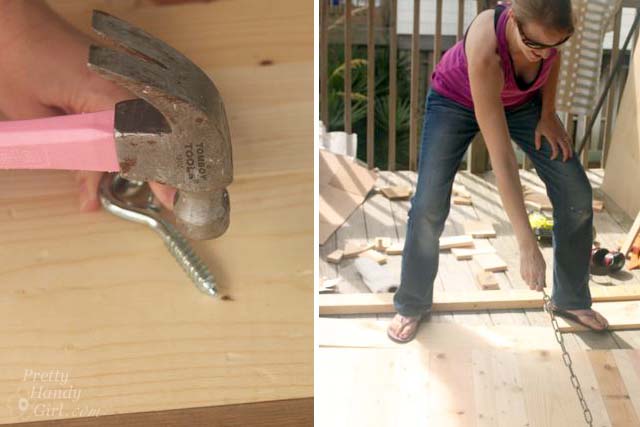
Time to get kinky with the whips and chains. And don’t forget a screw. (My goodness, this tutorial just got an R-rating.) I cannot tell you how incredibly funny it was watching my sister and her friend Michelle whipping the headboard. I’m so glad I made them wear safety glasses. Good times!
Use the chains to bang the headboard and hammer the sides of the screw to leave some grooves.
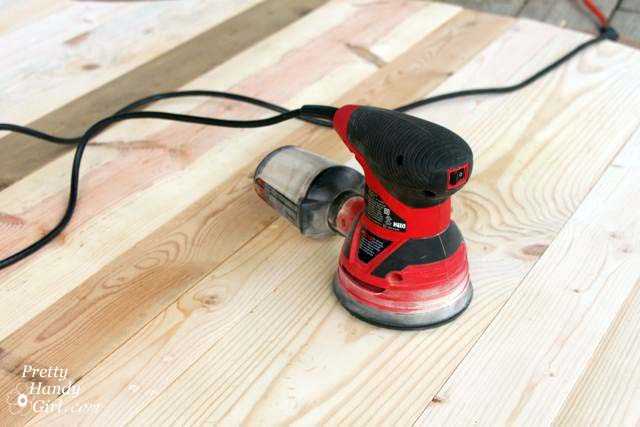
Sand all the edges of the headboard and eliminate any ridges between planks.
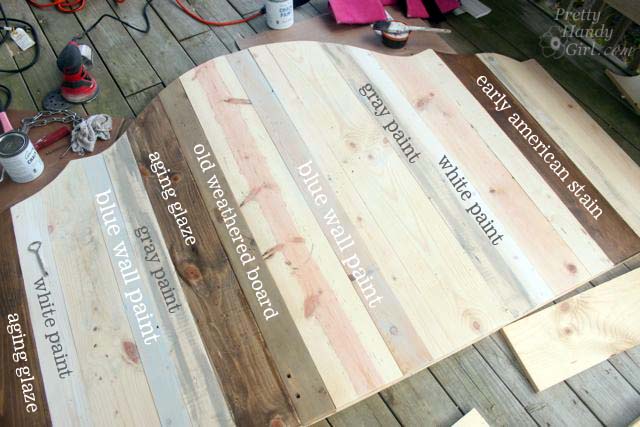
Here’s where the fun begins (well after the whips and chains of course.) Paint some planks with white, gray and blue paint. Simply dry brush a small amount of paint. Wipe off any excess. Use My Aging Glaze Mixture on a few boards. And maybe add stain to one or two boards. If you have any boards that have a natural age from being outdoors, add them in too!
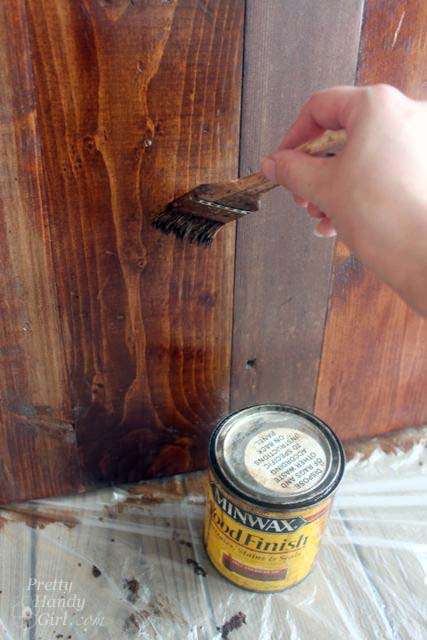
After the paint has dried, apply a coat of Minwax Early American stain. Let it sit for a few minutes and wipe off the excess with a clean rag. Wait for the first layer of stain to dry and then add a second coat. Wipe off the excess.
Let the headboard dry overnight and seal with a satin finish Polyurethane or Polycrylic.
Attach the other side of the french cleat to the wall studs and hang your headboard on the wall!
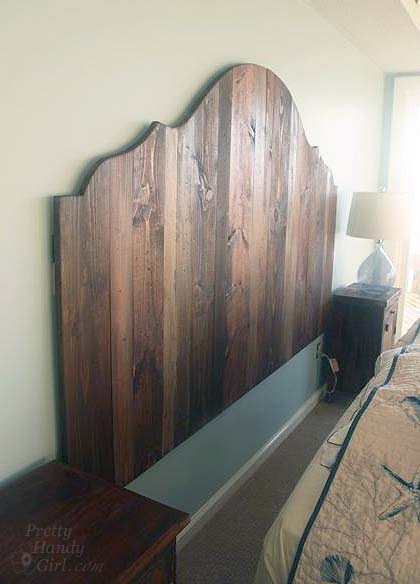
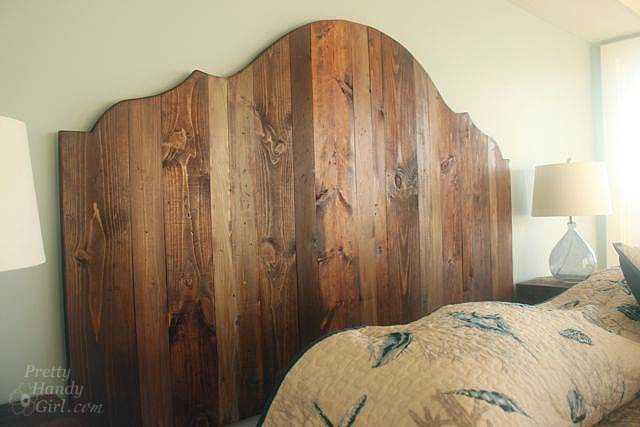
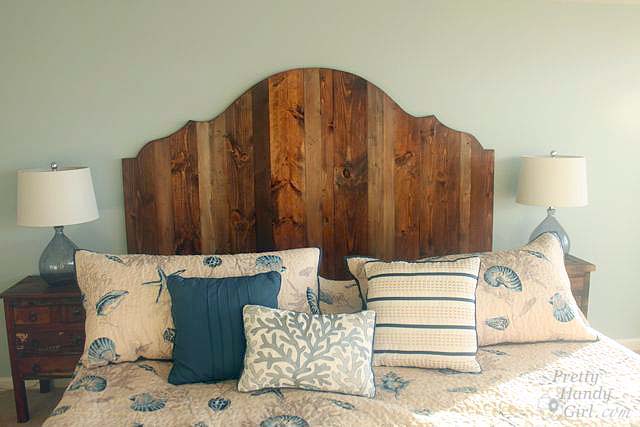
Push the bed up against the headboard and admire your rustic wood plank headboard!
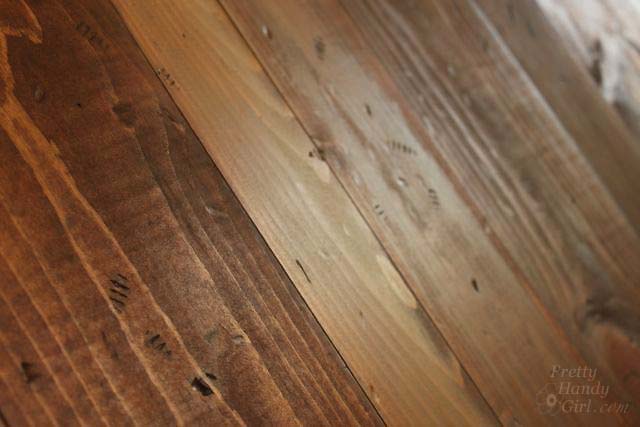
The dings and distressing add lots of character.
Would you have guessed that it was made with new planks?
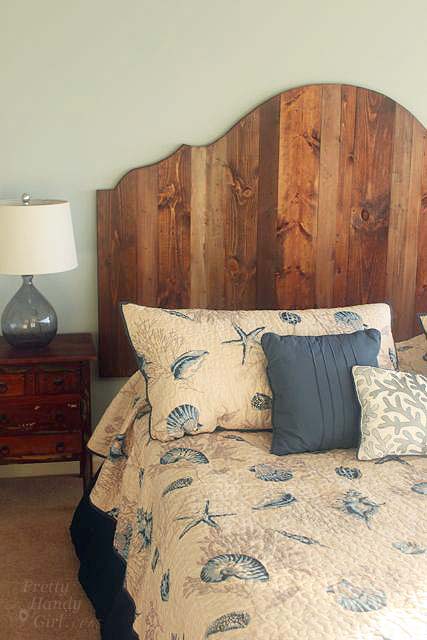
I think we did great for only $90!
That’s a wrap for today, time to watch the sun set on Topsail Beach.
Get some rest because the sun comes in the condo windows at sunrise. I woke up every morning to get photos of the sun coming up! Truly gorgeous views right from the condo deck.
If you’re interested in renting a condo at Topsail Island, you can view rental information for Diane’s renovated 2 bedroom condo in the same complex. Plus, Diane is offering a free copy of one of her novels (while supplies last) with each rental! If you haven’t read her books yet, they are phenomenal!!!
Also, don’t miss my tutorial for Building a Farmhouse King Bed with Storage.
Pin for later!







I have a question. You put in your instructions that you used white and grey paint. Did you use latex paint? I was curious then if you put your early American stain over the latex paint? I have my headboard built now and am ready to finished. 🙂 thank you in advance
Thank you so much for this tutorial! It’s exactly what I’ve been looking for. I’ve had vintage metal beds for decades, but I want to upsize to king and queen size beds and this is just the look I’m going for. Thanks!!