Trashy Coffee Table Finds Her Beautiful Beachy Self
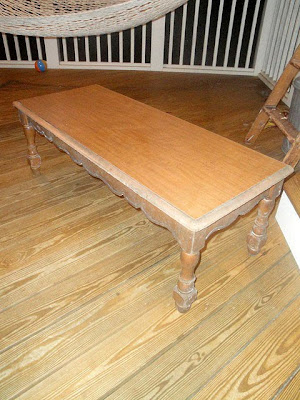
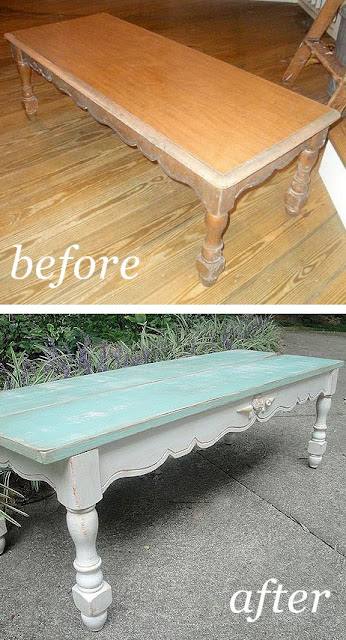
Okay readers, so the truth is out, I just can’t seem to pass up discarded furniture. They look so sad and pitiful awaiting the trash trucks. They plead with me to rescue them from life in the dump. That is how I found this coffee table.
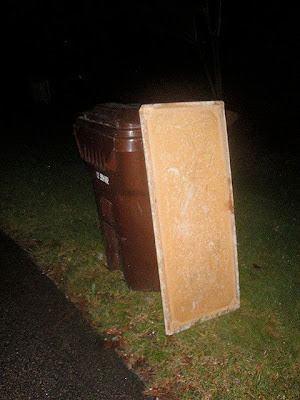
It was resting against a dumpster. The legs and skirt of the coffee table were in good shape structurally, but the top was cheap masonite (compressed and glued fibers of wood.) This type of wood will swell and absorb water like a sponge. I’m one of those unfortunate homeowners who’s house is sided with hardboard (essentially the same as masonite.) Now you can see why that isn’t a good thing:
Moisture causes mold to grow, and the retained moisture also causes the wood to swell, become misshaped and will eventually rot away. The first thing I did was unscrew the top and throw it away! Yuck.
I also removed the hardware from the table skirt and saved it with the screws.
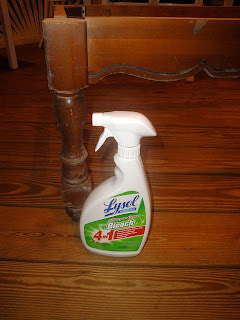
I cleaned the base of the coffee table with bleach cleaner to get rid of all the mold.
After it dried, I roughed up all the surfaces on the legs and base.
Then I primed it to seal the wood and prepare it for painting.
I painted the legs and skirt with two coats of Benjamin Moore Impervo white paint (leftover from our living room trim.)
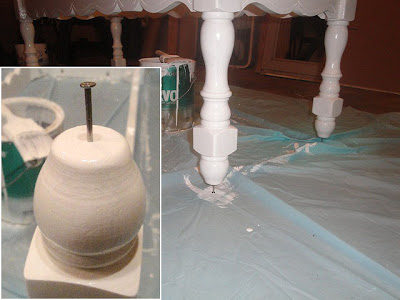
I always paint the undersides or the hidden side first, then I use a technique for elevating my object and keeping it from sticking to the drop cloth.
Simply tap a nail into each leg after you have painted the foot. Then turn the table over and continue to paint. Some other bloggers have found the Rockler painting pyramids, but I have yet to find any in my local stores to try them out. Hey Rockler, if you are reading this, send me some painting pyramids so I can give them a spin and see if they work better than my nail technique!
After the paint dried, I removed the nails from the bottom of the legs and hammered floor protectors in their place.
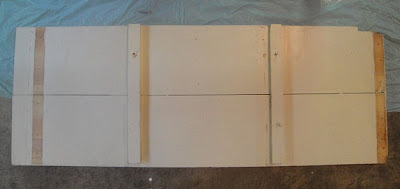
Now, to replace the masonite top with something with more age and character. I searched through my wood stash and found these two discarded boards that I think used to be in someone’s closet or pantry.
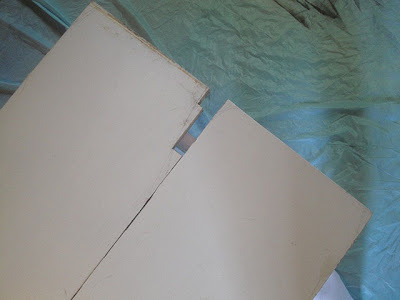
The boards fit well on the skirt of my coffee table, but it had a funny cut out on the edge of one of the boards. It was probably a profile cut.
It didn’t look very old or interesting to me, so I drew a line diagonally along the board and cut it off with my jigsaw. That looked much better! More like a salvaged board. Then I flipped the cut board to the inside edge.
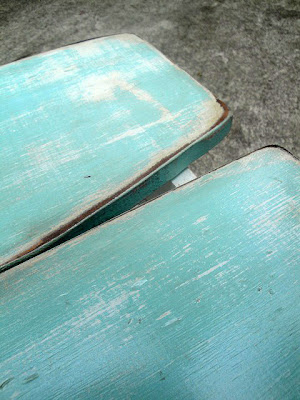
I distressed my new table top with a heavy chain, pry bar, and hammer (read more here.)
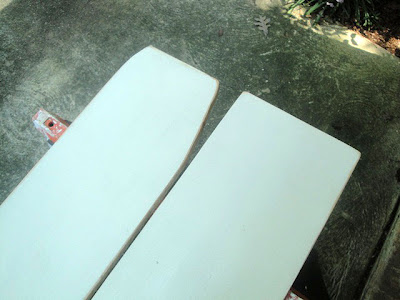
At this point, I went to my “oops” paint stash and chose this gallon of $5 baby blue color.
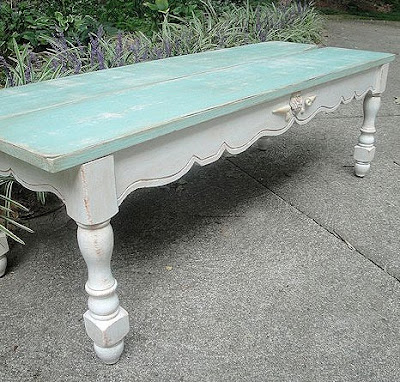
I know it looks like a nursery color, but I wanted something vibrant to show through after glazing and antiquing. I painted the whole table top this light blue color. Luckily I was able to skip the priming step because the boards had previously been painted.
After the boards were dry, I sanded, glazed and then applied a stain to antique it (more on these techniques here).
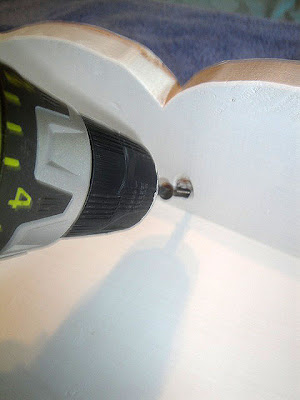
Then I turned the boards upside down, and used the screws I set aside to attach my boards to the table skirt.
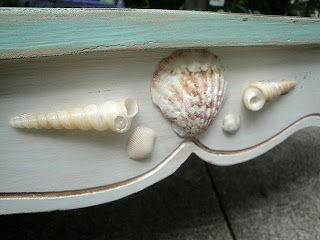
I decided not to re-use the handle hardware that was originally on the coffee table. Instead I wanted to give this table a beachy look. So, I added some shells to the front of the coffee table using my new favorite glue, E-6000 glue. This glue holds super strong, I even set the table down on the shell edge (forgetting they were there,) and the shell broke, but all the shells remained glued to the table. Now that is a strong bond!
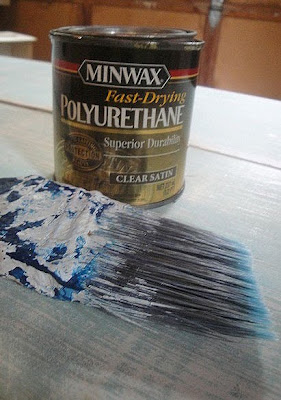
My last step was to put a protective coating of polyurethane over the whole coffee table. I used an old can of oil based polyurethane that had yellowed. This added the perfect age to my coffee table.
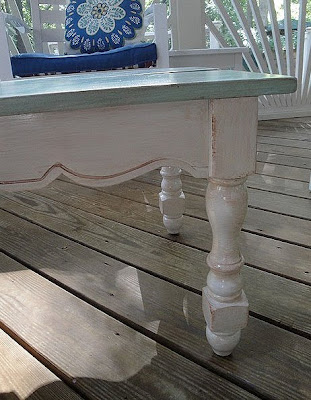
And here is my Trashy Coffee Table turned into a Beautiful Beachy Babe!
Not bad for a new coffee table for our porch that essentially cost me NOTHING, since I already had all the paint and supplies leftover from other projects. What do you think? Do you like her color? Or too baby blue for you?
Next Up: More tips on antiquing, distressing and adding age to objects. I hope you come back soon.
(I’ve included affiliate links for your convenience. I earn a small percentage from a purchase using these links. There is no additional cost to you. You can read more about affiliate links here.)








Just found this post today. Amazing job. Luv it! Especially the shells – great creative touch.