DIY Chalkboard Calendar | Pretty Handy Girl

Create this DIY Chalkboard Calendar to get you and your family organized. It will only take you about half an hour to create but it will save you the headache of double booking yourself and get the kids on board with upcoming activities and trips.
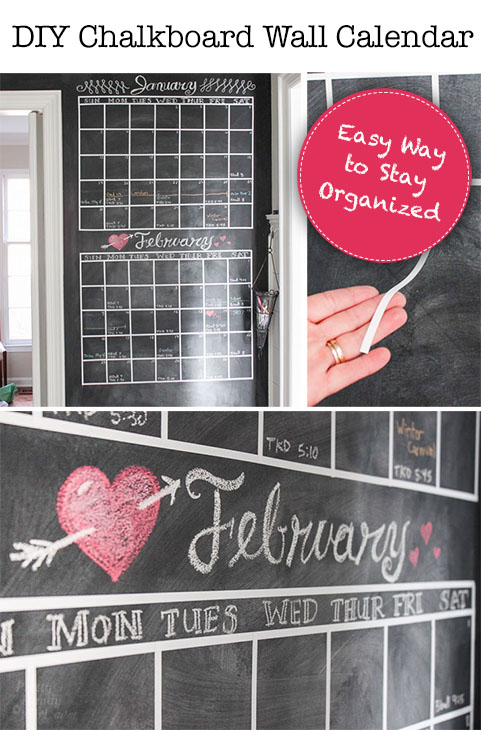
DIY Chalkboard Wall CalendarDIY Chalkboard Wall Calendar

Iโ€™m bring back this tutorial for those of you that may have missed it. Why? Because this DIY Chalkboard Wall Calendar has been in our kitchen for over four years and it has held up beautifully! This calendar is an important part of our daily routine. My kids look at it frequently to see what activities and trips are coming up. My husband and I use a Google calendar to stay current, but this calendar is a great way to keep the kids organized and to let me look at a glance whatโ€™s coming up while Iโ€™m on the phone. Seriously, this is one of the best things I created for our family. In the spirit of getting organized, Iโ€™m going to share with you my easy DIY chalkboard wall calendar. But, first here are some great uses for a chalkboard calendar.

Ways to Use a Chalkboard Calendar:

  • Keep Track of After School Activities
  • Menu Plan
  • Chore Reminders
  • School Lunch Menu
  • Holidays
  • Birthdays
  • Reminder for Pets Flea, Tick and Heartworm Medicine
  • Business Trips
  • Vacations
  • Date Nights
  • Family Activities
  • Blog Calendar
  • Schedule Meetings
  • Work Calendar
  • Project Planning

Have I left anything out?
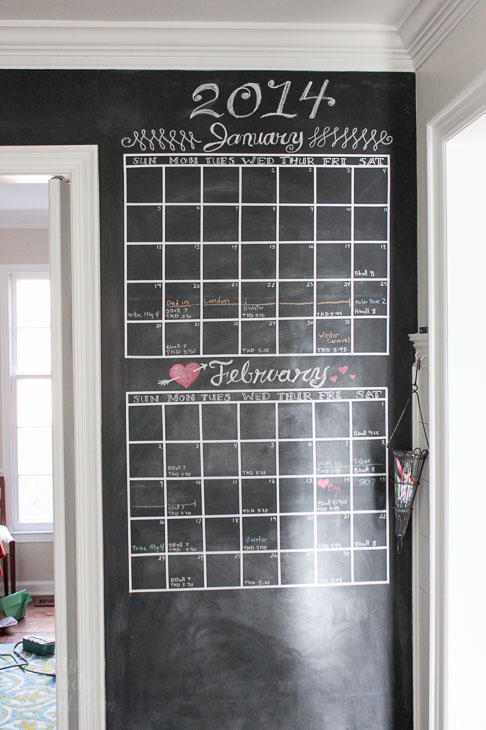
2014 chalkboard calendar wall

Easy to Clean:

In the past I used to draw out the calendar lines, but trying to erase inside the lines was tedious and time consuming. What busy mom has time for that?! By using the vinyl stripes, I can easily erase the calendar after two months and add new dates.

To save extra time, I like to put recurring items on the bottom line so I can wipe around them and keep the items there from month-to-month.
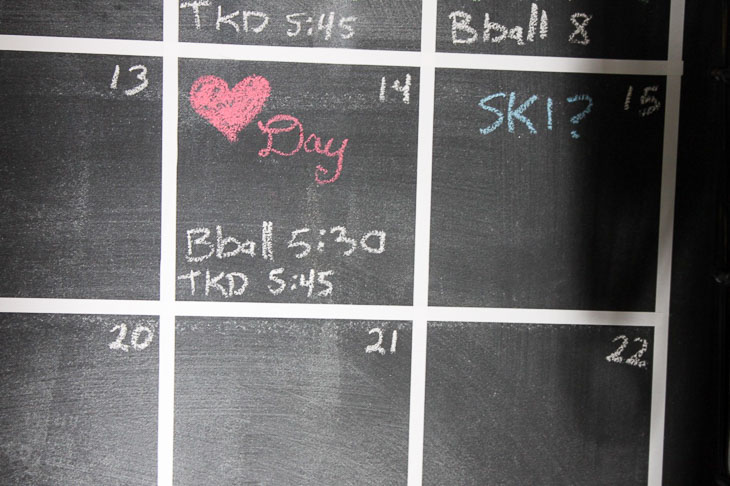
close up chalkboard calendar day

I also use consistent color coding. One color per person and I use separate colors for school or trips. But, feel free to do what works for your family.

To create this quick chalkboard calendar you need to start with a chalkboard wall (or large chalkboard.) Then gather some supplies.

Materials:

(Iโ€™ve includedย affiliate links for your convenience. I earn a small percentage from a purchase using these links. Thereย is no additional cost to you. You canย readย more about affiliate links here.)

Instructions:

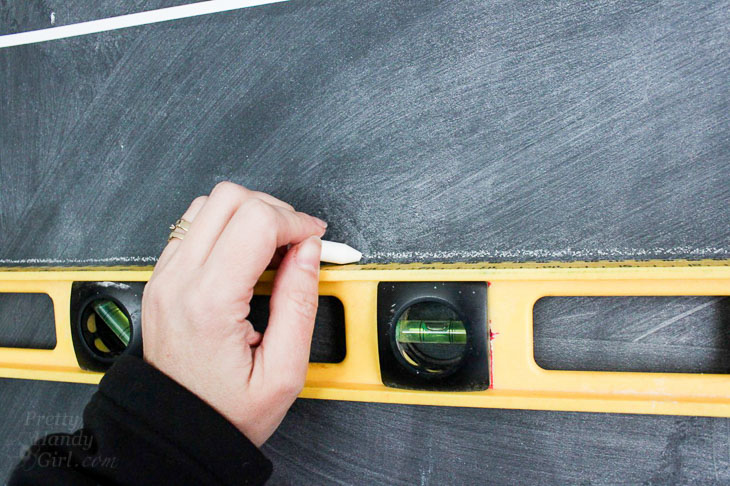
Using the level, make a straight (and level) line for the top of your calendar. (Mine is 28โ€ณ wide.)

draw chalk lines using level

Using your ruler, mark a tick mark horizontally every 4โ€ณ (more or less depending on your space availability) for the 7 days. Make 5 tick marks down from the top line vertically every 4โ€ณ. Repeat on the opposite side. Then add your horizontal tick marks for the days at the bottom.
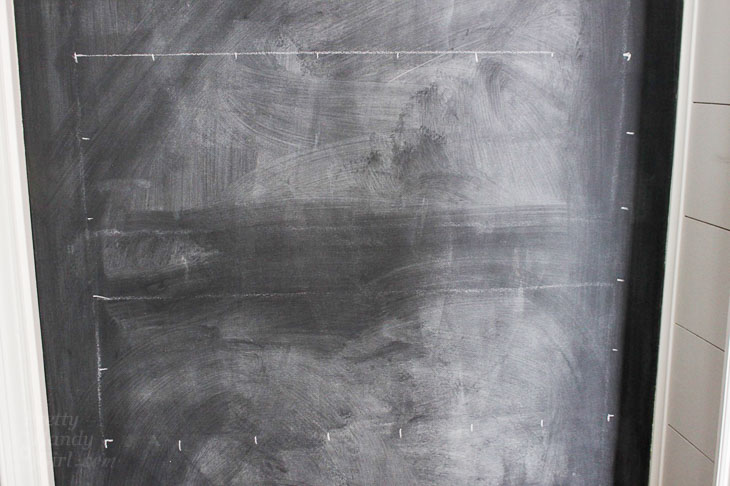
chalk grid lines created

Use your vinyl lines to outline the calendar and create the horizontal lines.
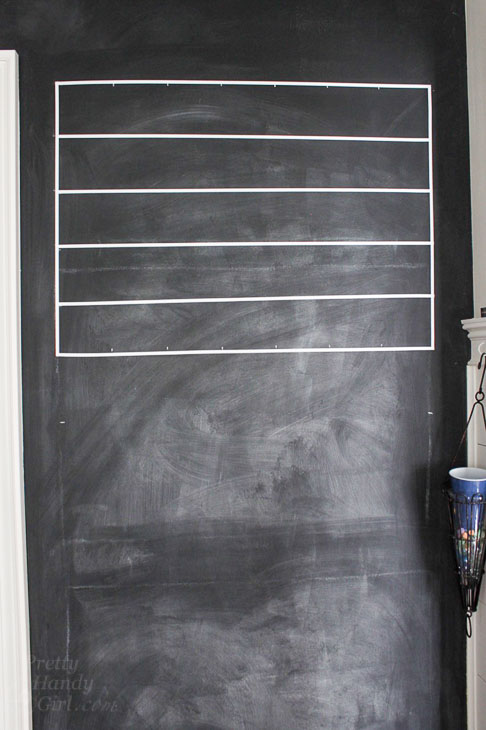
chalkboard horizontal lines drawn

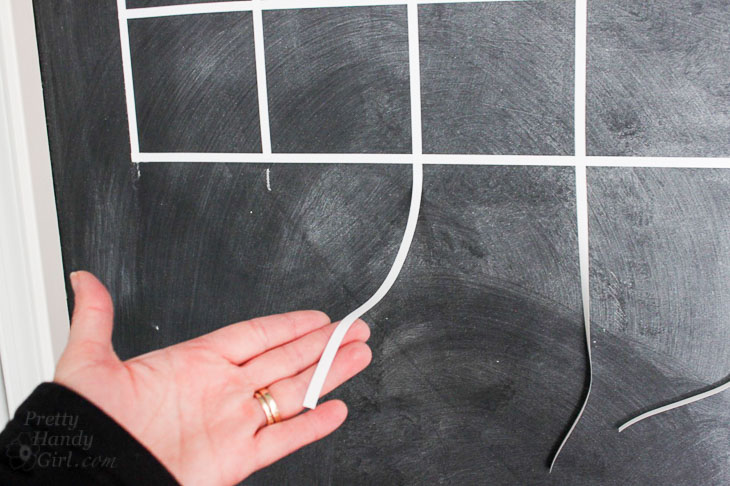
Connect the vertical tick marks with vinyl lines. If you have excess vinyl, snip off the excess with a pair of scissors. (Our calendar is 20โ€ณ tall.)

excess vinyl trim excess

In our house I added two calendars. Itโ€™s always nice to see a month ahead! Sometimes I contemplate moving the calendars up and added a third month, but for now this works well for us.
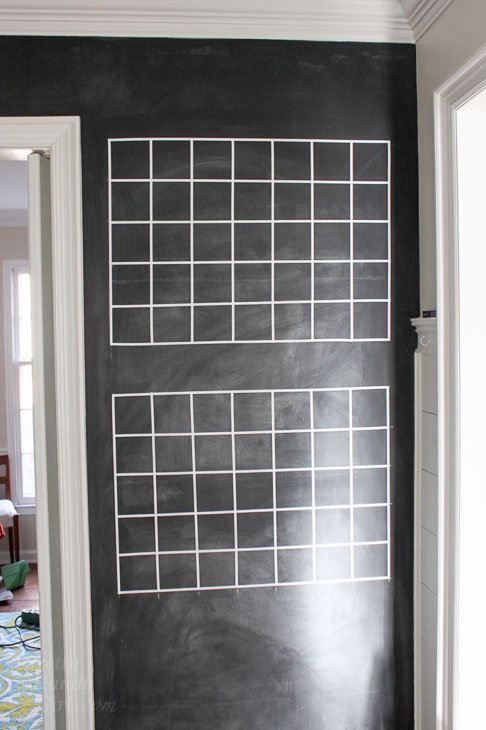
grid lines chalkboard calendar

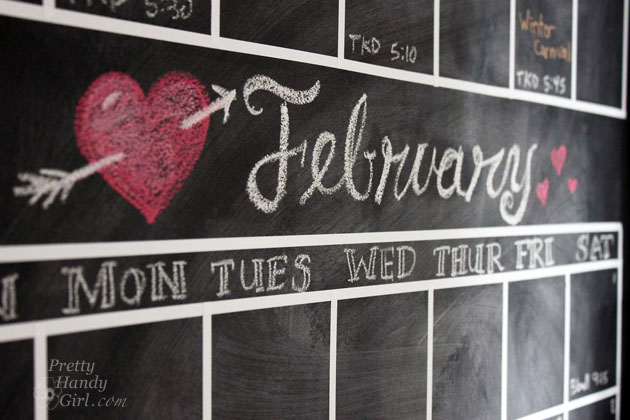
The chalkboard calendar lets you get creative and practice your chalk lettering. (Itโ€™s been fun for me to practice since picking up these hand-lettering books.)
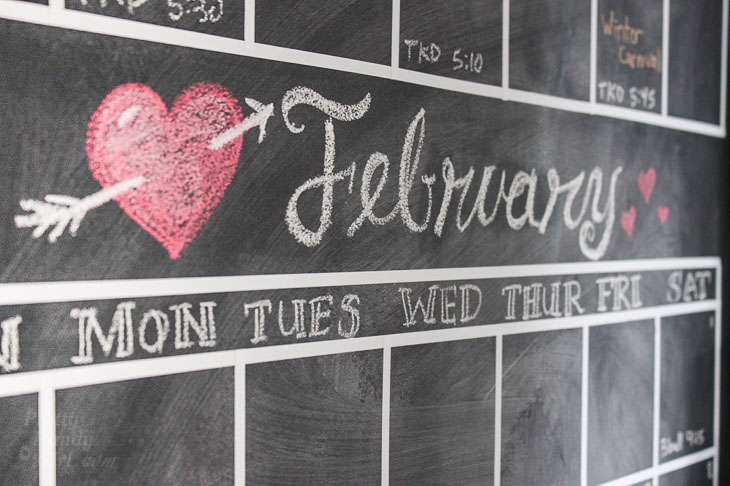
February Chalkboard Calendar month

Can you think of other ways toย  keep you and your family organized? Iโ€™d love to hear it.

2014 chalkboard calendar wall

By the way,ย Leen has a chalkboard calendar for those of you that donโ€™t want to commit to a large painted chalkboard wall in your home!

PHGFancySignDisclosure: This is NOT a sponsored post. Leen is just a good friend and my go to source for vinyl graphics and designs.

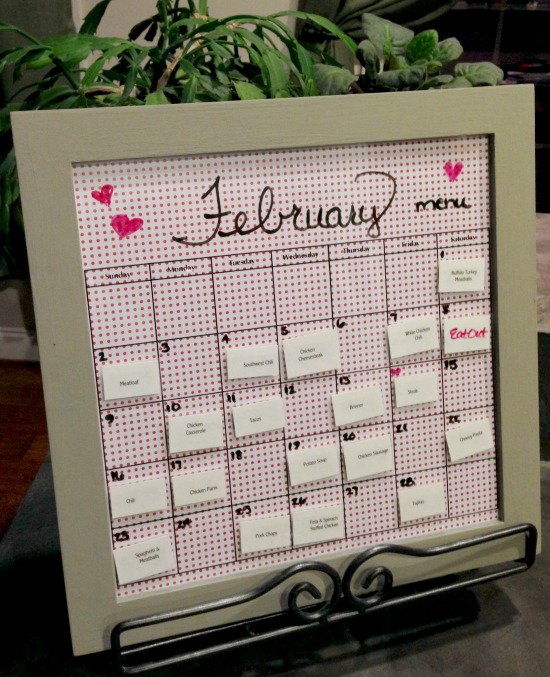
You may also likeย Jacqueโ€™s Perpetual Menu Calendar:

Reusable monthly menu board with magnetic meals - perpetual menu board

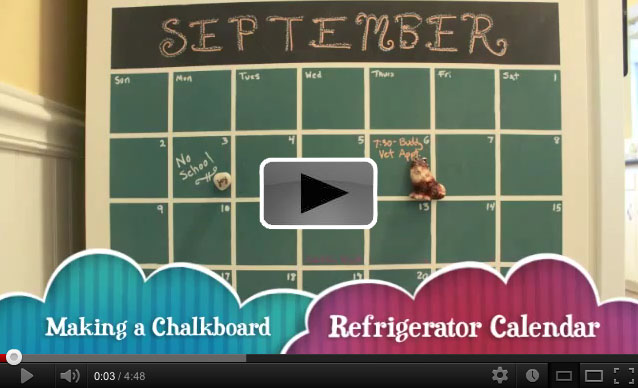
Or this refrigerator chalkboard calendar:


Chalkboard Arrow Sign (Mystery Thrift Off) | Pretty Handy Girl

Chalkboard Arrow Sign (Mystery Thrift Off) | Pretty Handy Girl

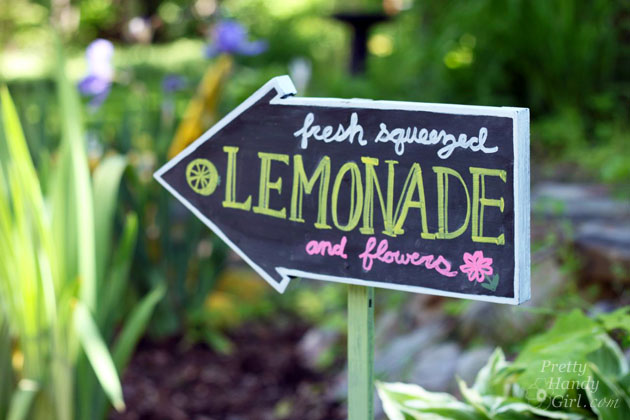
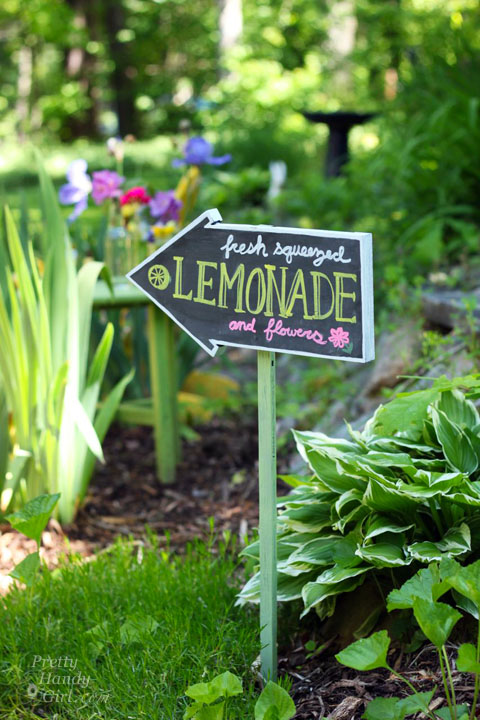
Are you having a yard sale, a lemonade stand or an open house? This Chalkboard Arrow Sign is an easy DIY project that will bring more attention to your event.

But, let me back up to explain exactly how this Chalkboard Arrow Sign came to be. Have you been following #TheMysteryThriftOff challenge? This is the brainchild of Lindsey from Better After. She chose a handful of people to take part in this challenge. After scouring her local thrift shops for ugly and hopeless items, she shipped off the chosen items to those of us in the challenge. I signed upโ€”because franklyโ€”I love a challenge. And, I love saving ugly items from the landfill. This week sheโ€™ll be revealing all the Mystery Thrift Off participants transformations and you can vote on your favorite!

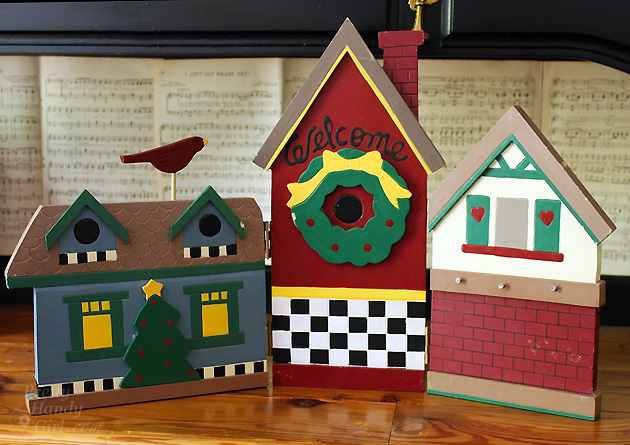
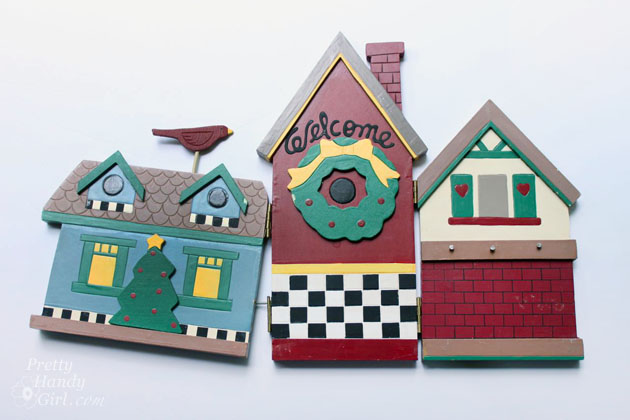
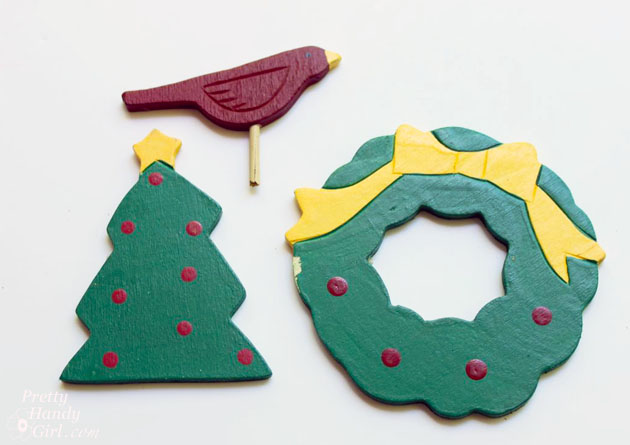
But, when the box arrived from Lindsey, I was terrified to open it up! I mean what if she had sent me a ceramic scabies bear!ย ย Yikes. You can imagine my relief when I opened the box to reveal this dated Christmas village.

Chalkboard Arrow Sign (Mystery Thrift Off) | Pretty Handy Girl

Not too bad looking is it.? Truth be told, it was falling apart and the colors were hunter green, colonial blue, mauve and fleshy tan.

Chalkboard Arrow Sign (Mystery Thrift Off) | Pretty Handy Girl

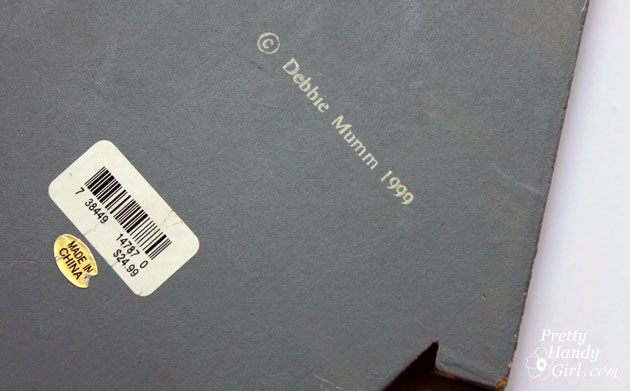
I flipped it over to reveal that this was the fine art of Ms. Debbie Mumm in 1999. And someone paid $24.99 for it! I certainly hope Lindsey didnโ€™t spend that much. I think 1999 is calling and they want their village back.

Chalkboard Arrow Sign (Mystery Thrift Off) | Pretty Handy Girl

Iโ€™ll quickly show youย how I transformed this village and then weโ€™ll get to the tutorial for how you can make your own Chalkboard Arrow Sign.

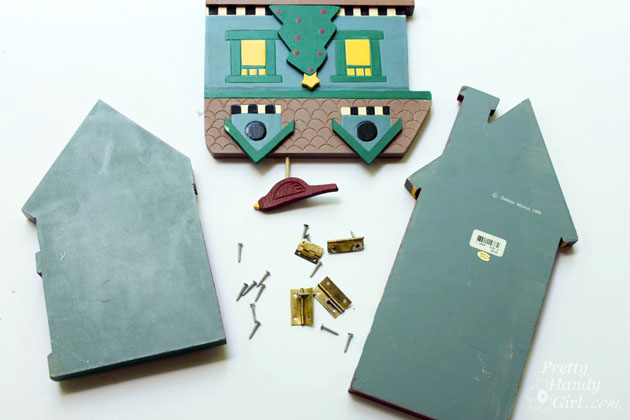
The hinges were easy removed from between the houses.ย I kept them for another project.

Chalkboard Arrow Sign (Mystery Thrift Off) | Pretty Handy Girl

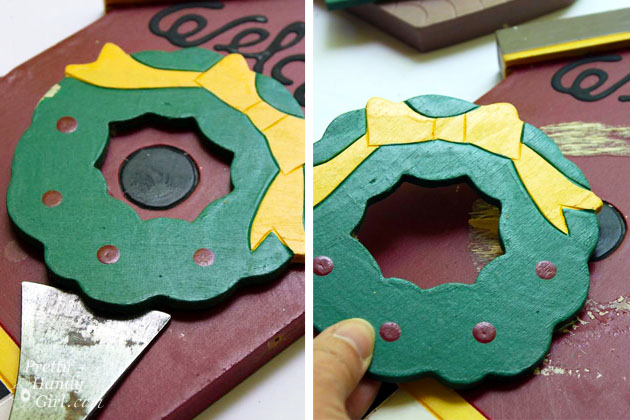
The wooden embellishments were popped off with a pry bar.

Chalkboard Arrow Sign (Mystery Thrift Off) | Pretty Handy Girl

I also saved these embellishments for a future project.

Chalkboard Arrow Sign (Mystery Thrift Off) | Pretty Handy Girl

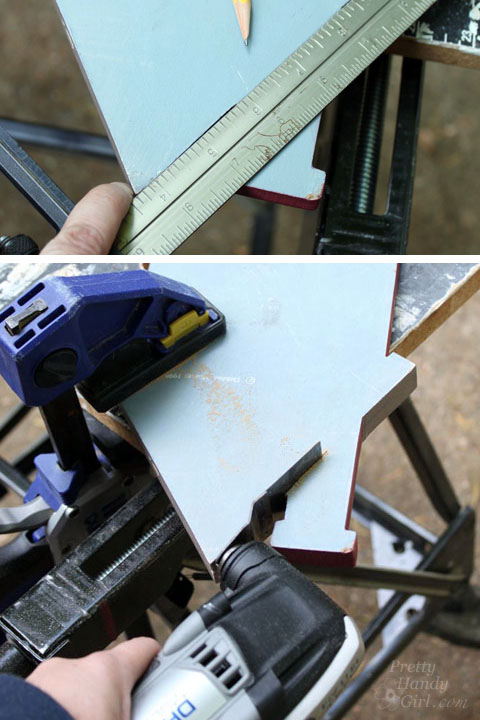
To create the arrow shape, I chose the middle tall building and cut off the chimney with my Dremel Multi-max.

Chalkboard Arrow Sign (Mystery Thrift Off) | Pretty Handy Girl

Hereโ€™s where you can pick up the tutorial. ๐Ÿ™‚

Materials:
  • 9โ€ณ x 14โ€ณ piece of smooth plywood, masonite or wood board
  • Jigsaw
  • Sander
  • Valspar Gray Spray Primer
  • Chalkboard paint
  • Foam roller
  • Chalk Ink
  • 1โ€ณ x 1โ€ณ square garden stake (look in the garden section of Loweโ€™s)
  • Finish Nails
  • Wood glue

Instructions:

Print out the Chalkboard Arrow Template. It should fit on a legal sheet of paper. Cut out the template and transfer the shape to your wood.

Use a jigsaw to cut out the shape.ย Sand any rough edges from your plywood. Read more

wall chalkboard

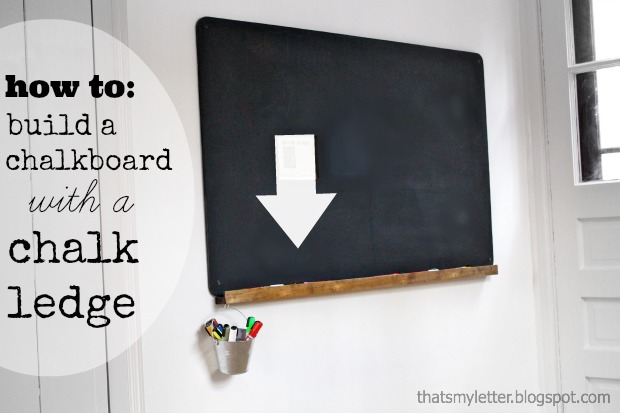
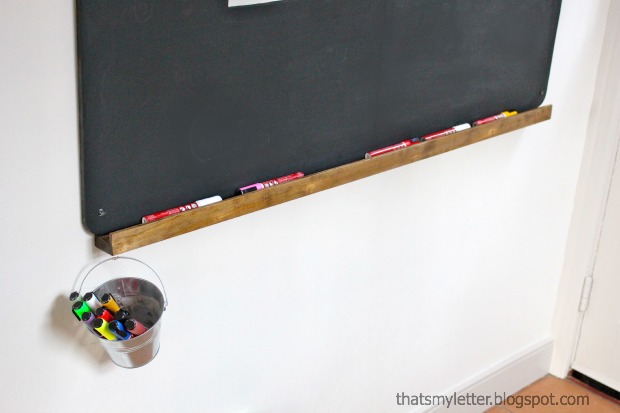
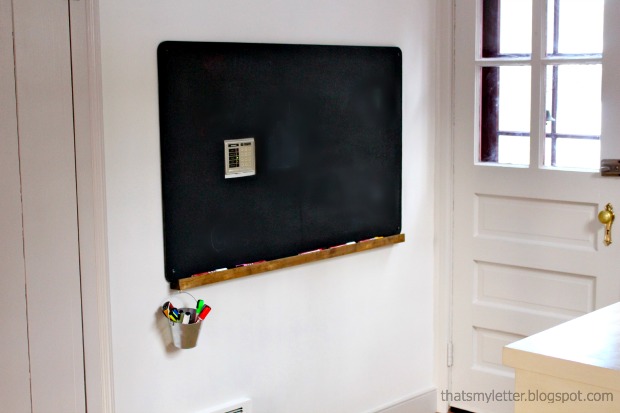
Chalkboards are popping up everywhere (like Brittanyโ€™s DIY chalkboard calendar from last week) and you can easily make one, but how about upping the usefulness by making a chalkboard WITH a chalk ledge? ย Jaime here fromย Thatโ€™s My Letterย to show you how easy it is to add a chalk ledge to your chalkboard.

chalkboard with ledge

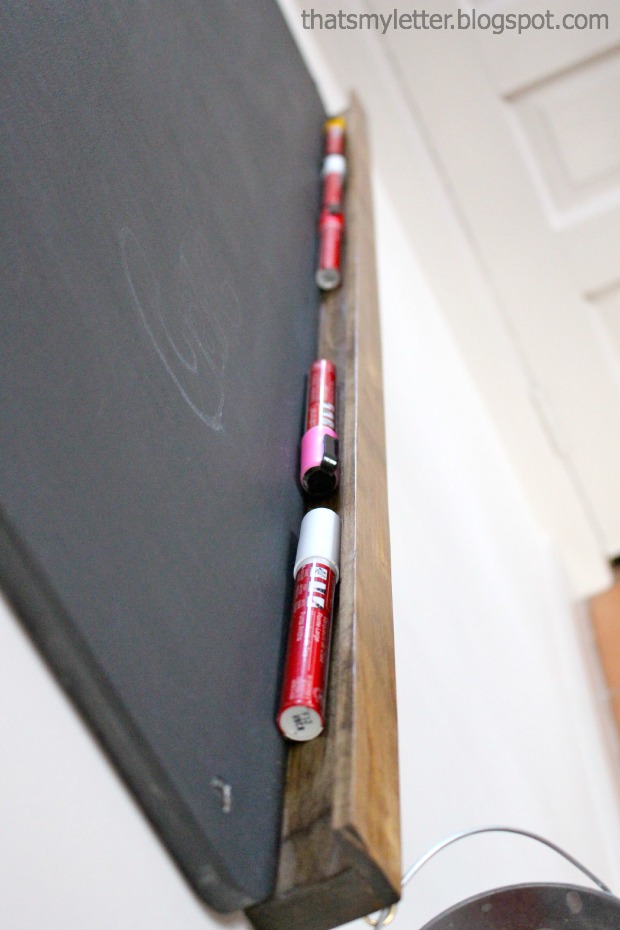
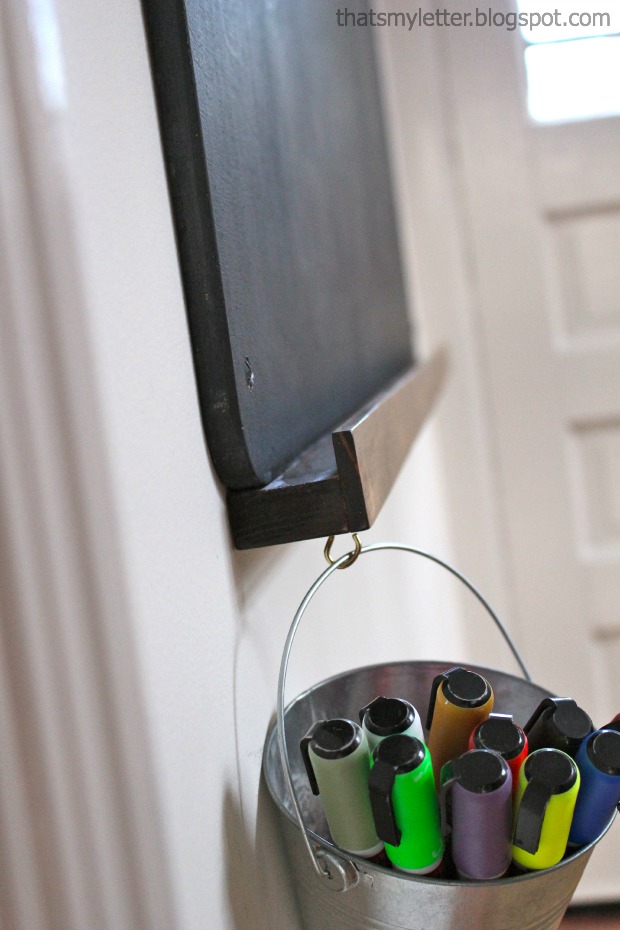
You definitely need a place to put all that chalk (or chalk markers like we prefer). ย This chalk ledge protudes a minimal ย 1 3/4โ€ณ from the wall but still has space enough to hold lots of chalk.

chalkboard with ledge 5

I also attached a galvanized pail for more chalk markers.

chalkboard with ledge 1

wall chalkboard 1

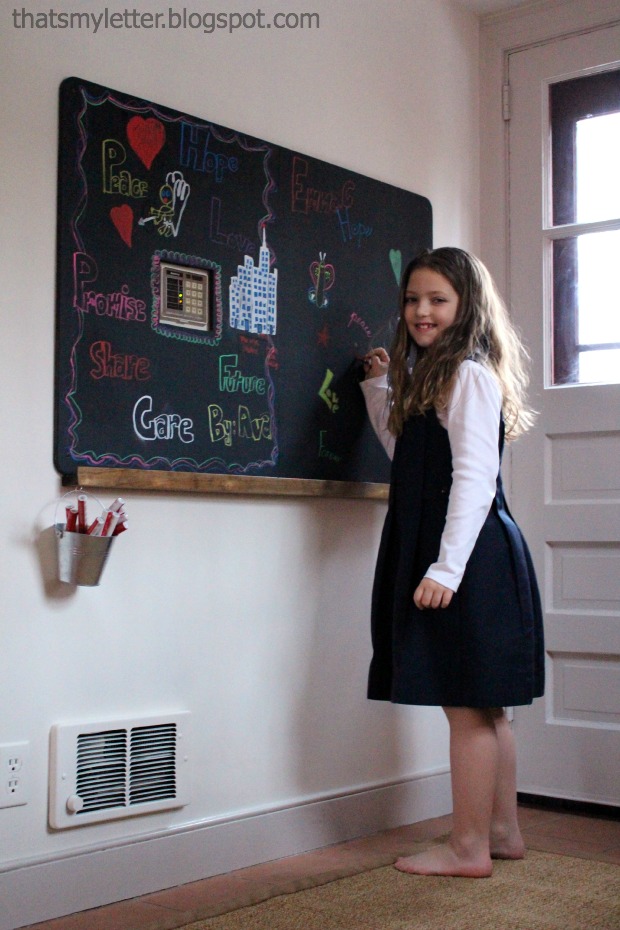
I installed this chalkboard near our back door mudroom area. ย Unfortunately the key pad for our alarm system is nearly smack in the middle of that wall. ย I simply cut out a square in my plywood using a jig saw to accommodate the key pad. ย My kids love their new chalkboard and somehow the key pad isnโ€™t quite so obvious once they start drawing around it.

chalkboard with ledge 2

Supplies:

  • 1/2โ€ณ plywood (cut to desired size)
  • 1×2 pine board (cut to length of plywood)
  • 1 3/8โ€ณ x 1/4โ€ณ thick flat trim moulding (cut to length of plywood)
  • black chalkboard paint
  • blue painters tape
  • stain
  • polyurethane
  • foam brushes
  • drill
  • Kreg pocket hole jig (not necessary but definitely easier if you have one)
  • 1โ€ณ pocket hole screws
  • wood glue
  • 3/4โ€ณ trim nails
  • countersink bit
  • 2 1/2โ€ณ toggle bolts
  • 5/8โ€ณ spade bit (check toggle bolt requirements)
  • pencil
  • level

Instructions:

Step 1: Cut your plywood to size, using your Kreg pocket hole jig make pocket holes every 8โ€ณ along bottom edge of plywood (on back side). (I used the portable base with automaxx clamp here, much easier that slipping a large piece of plywood into the jig.) Read more

Chalkboard Painted Mugs | Pretty Handy Girl

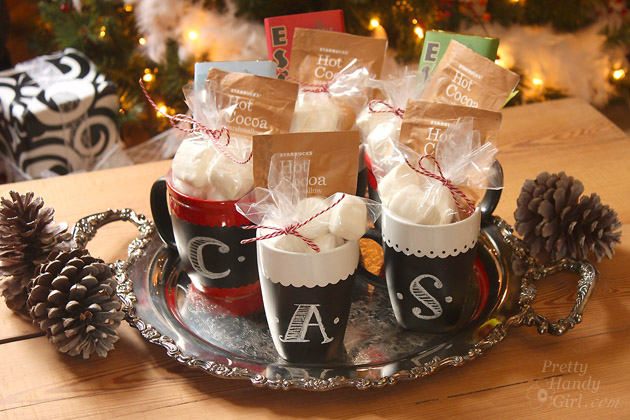
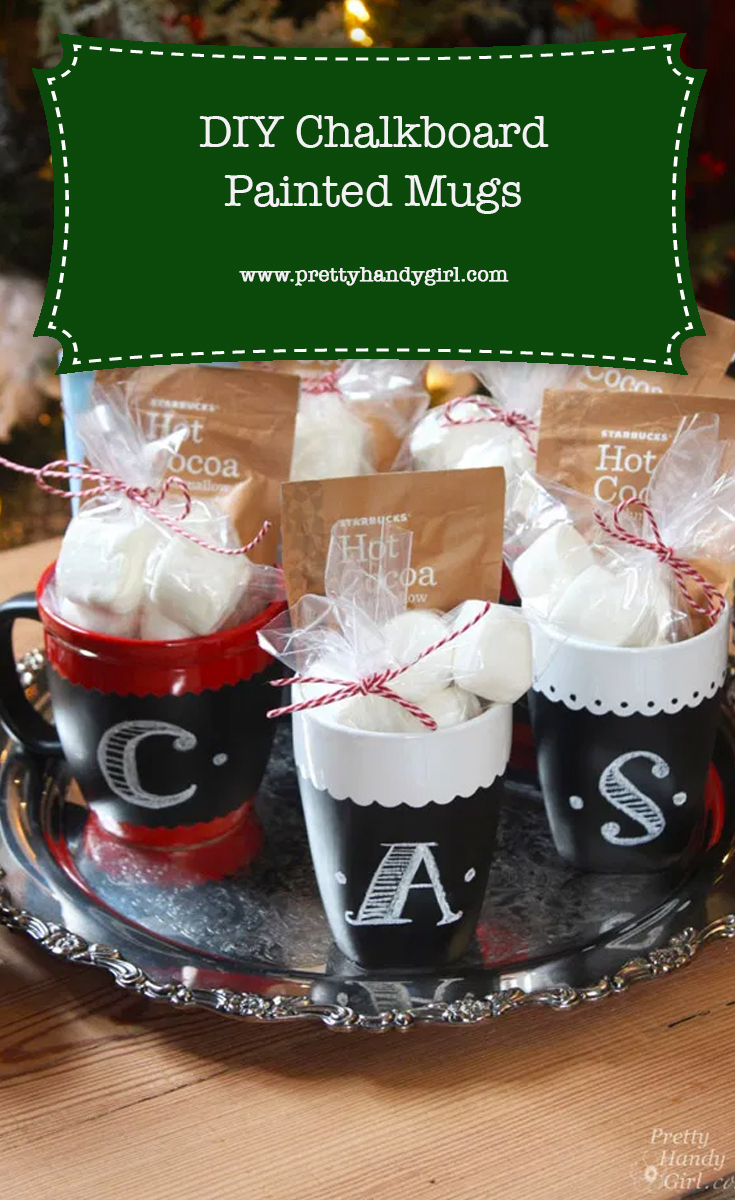
The holidays are fast approaching and the last thing I want to do is wander through the stores aimlessly looking for gifts for my friends or for the service providers in my life. Instead, I came up with the perfect gift idea: DIY Chalkboard Painted Mugs!

Chalkboard Painted Mugs | Pretty Handy Girl

DIY Chalkboard Painted Mugs

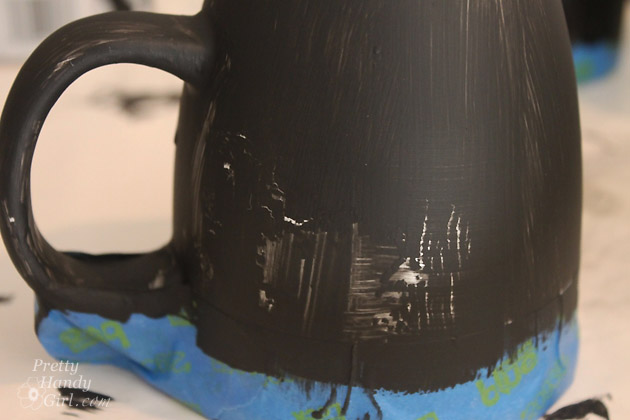
Have you seen those cute chalkboard mugs at Starbucks? They are so fun and I think it would be funny to write crazy messages on them daily. I decided to try my hand at a DIY painted version. Let me say upfront that I did a little test using Rustoleum Chalkboard paint on one mug and Porcelaine Chalkboard paint (made for glass and ceramics) on a second one. I expected the regular chalkboard paint to flake off, especially after seeing this happen after just one coat:

Chalkboard Painted Mugs | Pretty Handy Girl

However, after a second coat and baking it in the oven, it appeared to hold up after an initial dishwasher run. I can chip off some of the regular paint with my fingernail on the edges. But, overall the paint seems to be hanging onto the mug. That being said, based on the way the Porcelaine paint immediately took to the mug and appears to be harder to chip, I expect the Porcelaine painted mug to hold up much longer. So, if you want a chalkboard mug that will last longer, use Porcelaine paint.

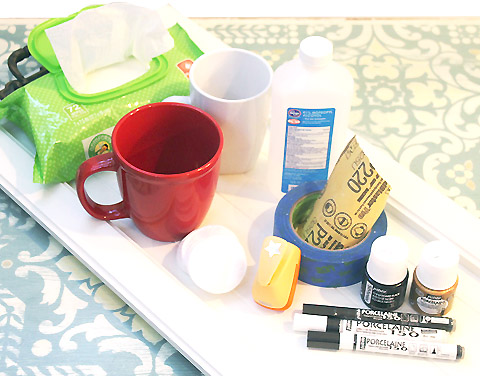
Chalkboard Painted Mugs Materials:

(Iโ€™ve includedย affiliate links for your convenience. I earn a small percentage from a purchase using these links. Thereย is no additional cost to you. You canย readย more about affiliate links here.)

Chalkboard Painted Mugs | Pretty Handy Girl

Chalkboard Painted Mugs Instructions:

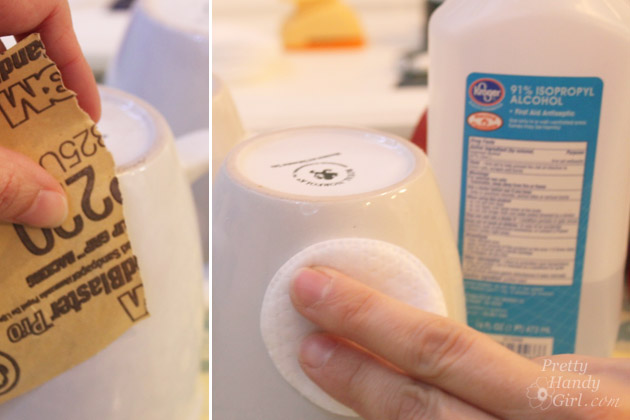
Lightly sand the sides of the mug where you intend to paint. Wipe off any dirt and oils with a cotton pad soaked in rubbing alcohol.

Chalkboard Painted Mugs | Pretty Handy Girl

Creating Decorative Borders:

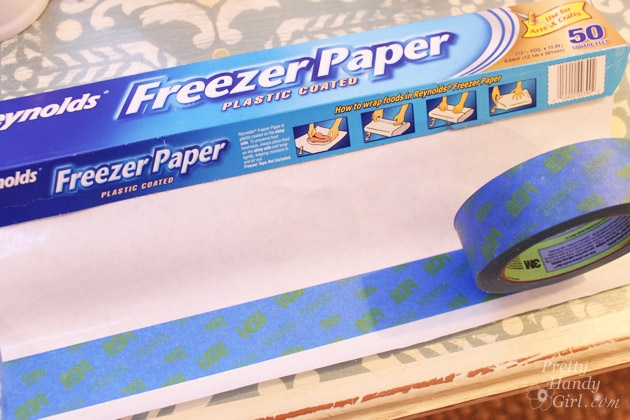
Lay a strip of painterโ€™s tape onto freezer paper.

Chalkboard Painted Mugs | Pretty Handy Girl

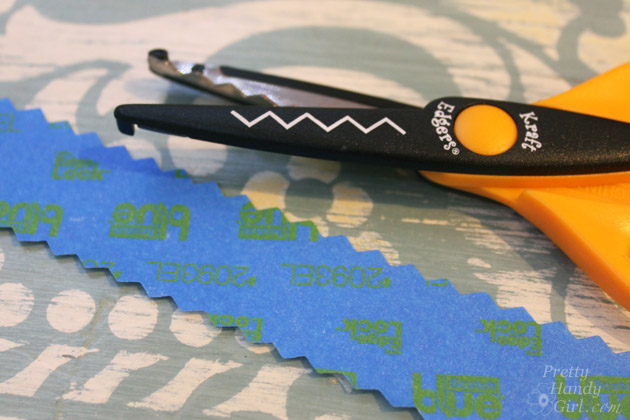
Cut along one edge (or both) with craft scissors. Cut in the middle with regular scissors to give you two pieces of decorative edged tape.

Chalkboard Painted Mugs | Pretty Handy Girl

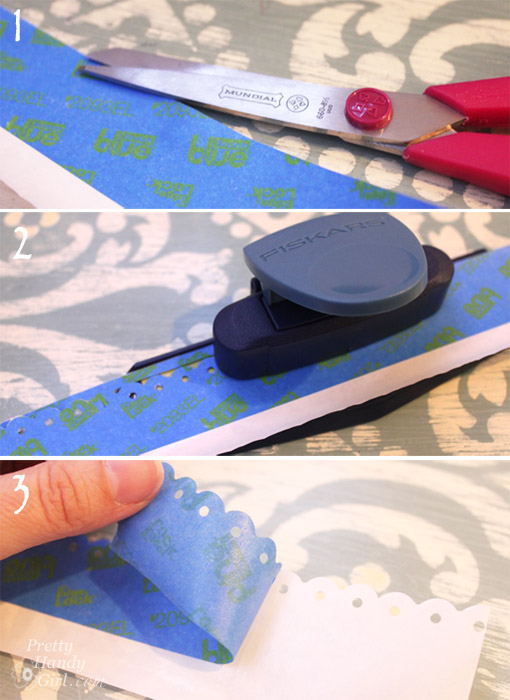
Using a Decorative Border Hole Punch:

  1. Cut along the top edge of the tape to create a straight edge.
  2. Align the cut edge in the border punch and punch along the top of the tape.
  3. Peel tape off of the freezer paper.

Chalkboard Painted Mugs | Pretty Handy Girl

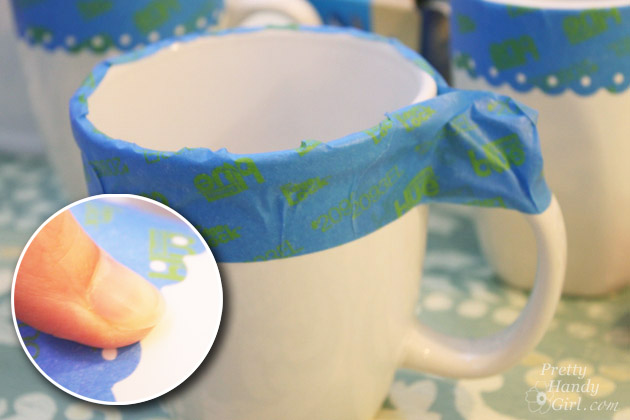
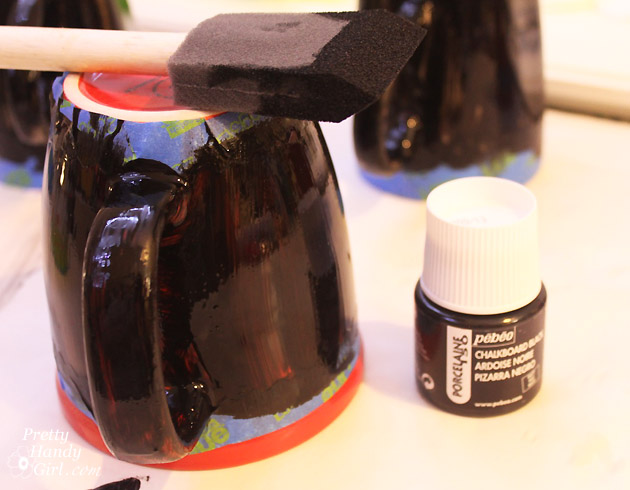
Tape off the top of your mug to protect it from paint. (This should be safer because you really donโ€™t want people drinking liquid against the paint.) Be sure to press the edges down firmly. You can also tape along the bottom if you want a centered band of chalkboard on the mugs.

Chalkboard Painted Mugs | Pretty Handy Girl

Pour a small amount of the Porcelaine paint into the disposable cup. Use the foam brush to evenly coat paint onto the mug. Check for drips before the paint dries. After the first coat dries, paint a second coat for complete coverage. (Occasionally three coats may be necessary.)

Chalkboard Painted Mugs | Pretty Handy Girl

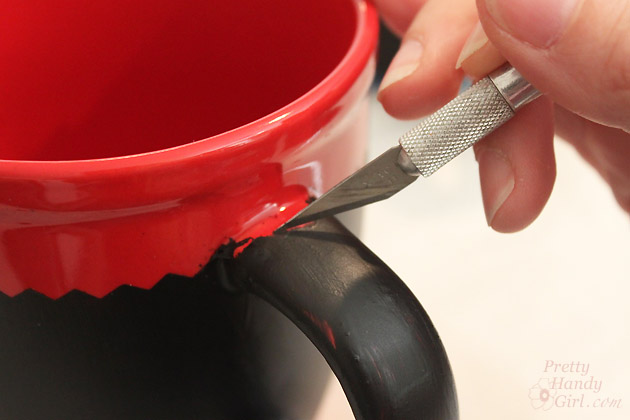
After the paint has thoroughly dried (allow 24 hours to dry), remove the painterโ€™s tape. Clean up any seepage or drips by scratching off the paint with the x-acto knife.

Chalkboard Painted Mugs | Pretty Handy Girl

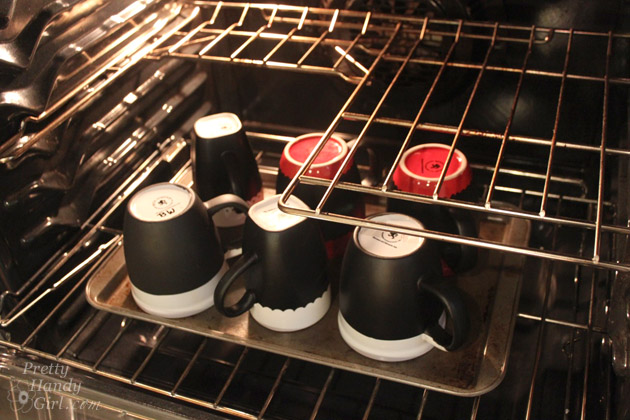
Place mugs in a cool oven. Heat oven to 300F and bake for 30 minutes. Let oven cool with mugs inside.

Chalkboard Painted Mugs | Pretty Handy Girl

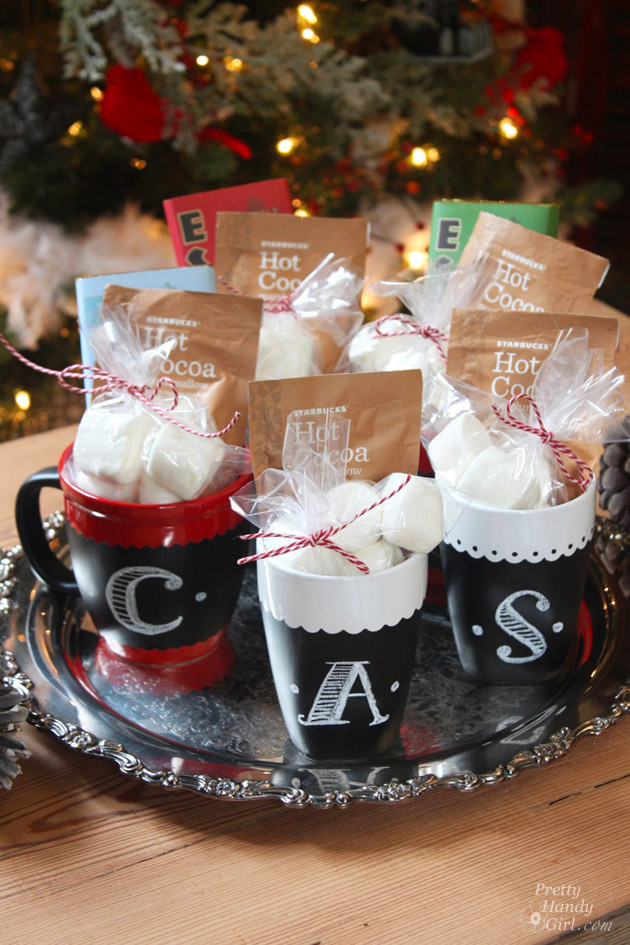
The mugs are ready for decorating now! Add some hot cocoa and marshmallows for an instant chocolatey gift.Better yet, you could make these yummy hot cocoa on a stick gifts!

Chalkboard Painted Mugs | Pretty Handy Girl

These are so incredibly fun! I canโ€™t wait to use one and write something witty on it. At $1 each for the mugs and $10 for the Porcelaine chalkboard paint (enough to paint about 8-10 mugs) this is truly a thrifty gift idea!

Chalkboard Painted Mugs | Pretty Handy Girl

So, please tell me, what should I write on DIY Chalkboard Painted Mugs?

  • Fill โ€˜er up
  • Donโ€™t Let Me Run on Empty
  • High Octane Please
  • Do Not Disturb until Iโ€™ve Finished this Cup
  • ___________________

PHGFancySign

Pin for later!

DIY Chalkboard Painted Mugs | Pretty Handy Girl

Paint Can Hostess Gift Idea | Pretty Handy Girl

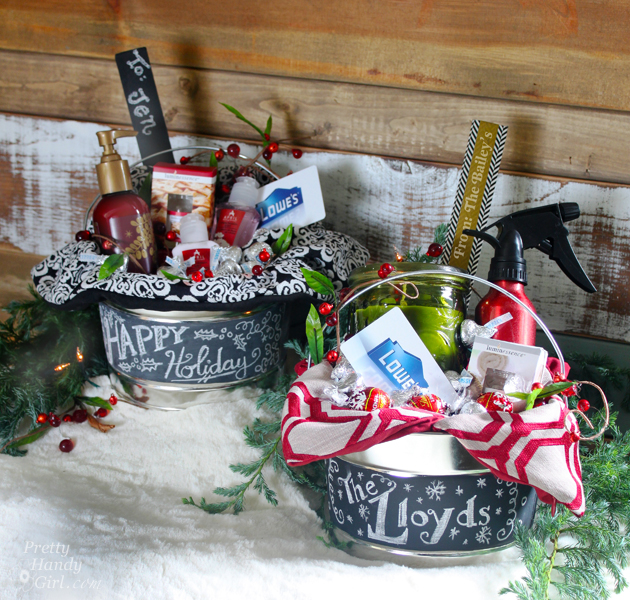
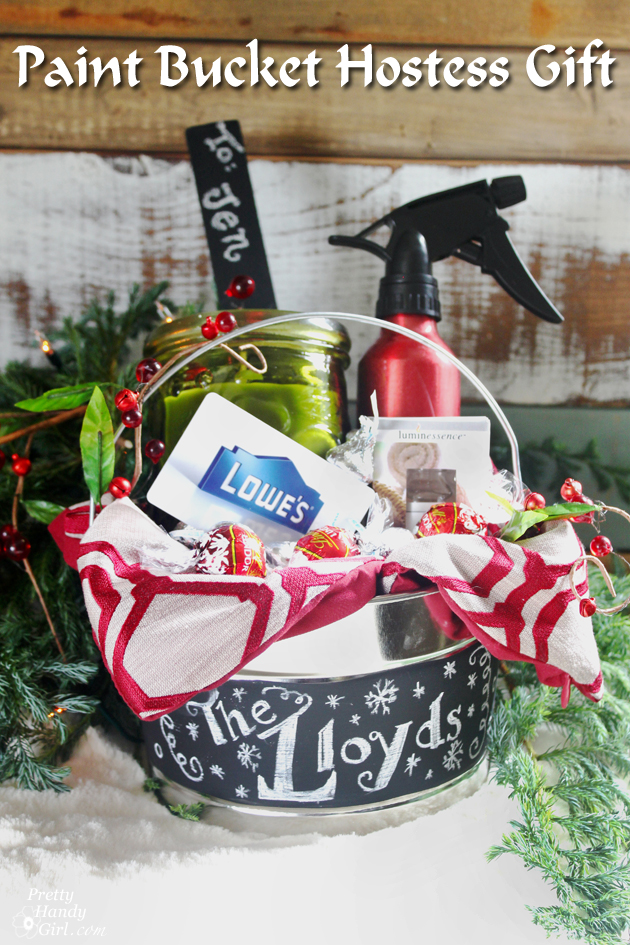
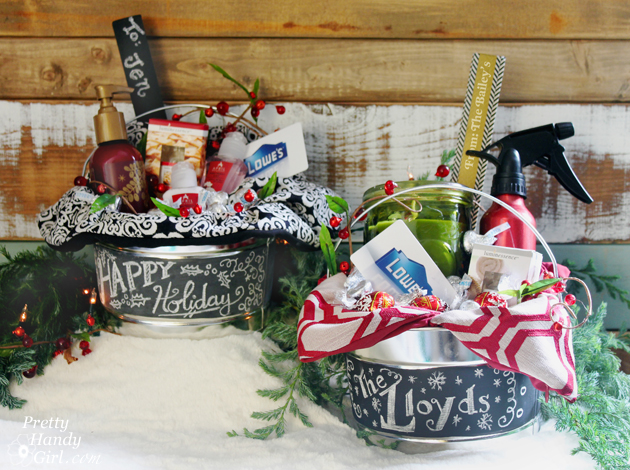
As the holiday party invites start to roll in, you might be struggling to come up with a new hostess gift idea. These chalkboard painted buckets are a quick and easy way to throw together a unique gift basket that will fill the recipient with joyful scents and treats.

Paint Can Hostess Gift Idea | Pretty Handy Girl

Hostess Gift Basket in a Paint Can

As the holidays approach, itโ€™s a good idea to have last minute gifts ready to whip up. These paint pail gift baskets donโ€™t get more simple. It only took me half an hour to line up a bunch of these metal paint cans and paint a stripe around the center.

Paint Can Hostess Gift Idea | Pretty Handy Girl

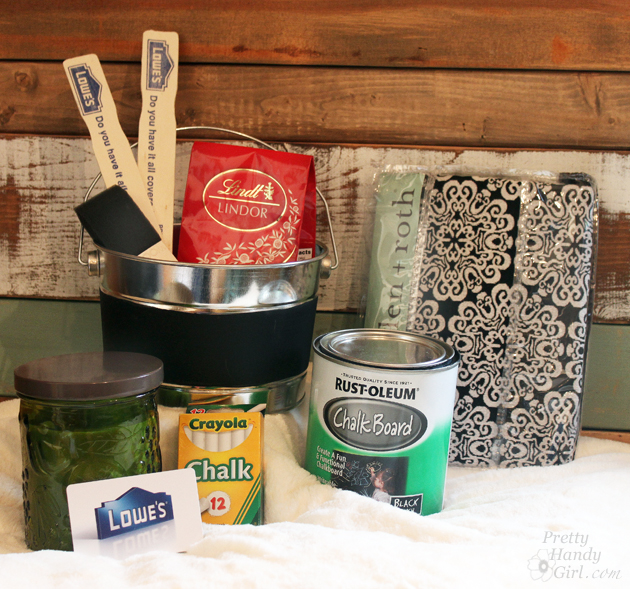
When dry (and seasoned) I can grab one to write a personalized message. Then Iโ€™ll fill it with a candle, DIY scented room spray, a pillow cover, lotion or soap dispenser, a gift card to Loweโ€™s, and of course some Hersheyโ€™s kisses! If you have an eagle eye, you may have picked up that I used paint stirrers decorated with washi tape (or painted with chalkboard paint) to use as the gift tag.

Materials:

(Iโ€™ve includedย affiliate links for your convenience. I earn a small percentage from a purchase using these links. Thereย is no additional cost to you. You canย readย more about affiliate links here.)

Paint Can Hostess Gift Idea | Pretty Handy Girl


Instructions:

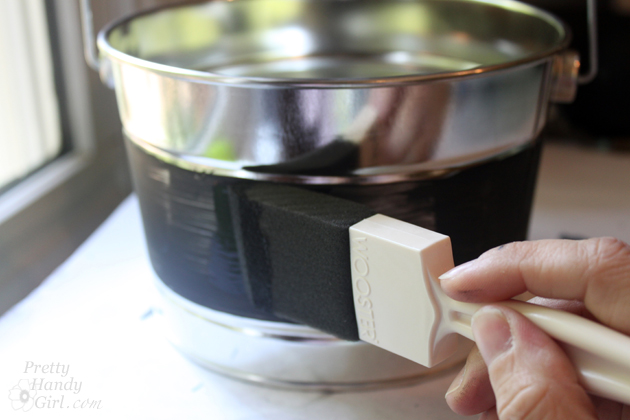
Clean and dry your paint pail. Paint a band of chalkboard paint with the foam brush. Let it dry and add a second coat.

Paint Can Hostess Gift Idea | Pretty Handy Girl

After the paint has dried wait 24 hours.ย ย Season the chalkboards by rubbing a piece of chalk all over the band. Wipe off the chalk with a dry rag. Store the pails away until you need to grab one for a hostess gift.

Paint Can Hostess Gift Idea | Pretty Handy Girl

Decorate the sides with a personalized chalk message. I love using a reusable item as a liner, like decorative pillow covers or a scarf. Itโ€™s fun to either throw a cover onto an old pillow to dress it up for the holidays.

PHGFancySign