Sew Easy Anthropologie Cloth Napkin Gift Bags
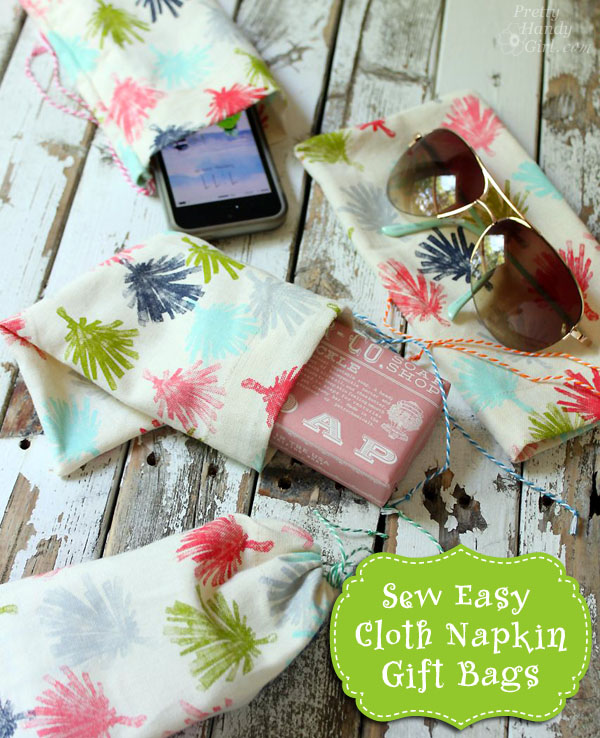
When I want to give a small gift as a thank you or to make someone’s day I like to dress it up by presenting the gift in a little fabric drawstring pouch. These cloth napkin gift bags are “sew” easy to make and they cost about 1/3 the cost of the cloth napkin! Gather a few simple supplies and your sewing supplies and join me.
Materials:
- Cloth napkin
- Thread
- Baker’s string or thin ribbon
- Seam ripper
- Scissors
- Safety pin
- Chopstick, paint brush or other stick type object
Instructions:
Fold the cloth napkin into fourths. Cut along the folds to yield four squares.
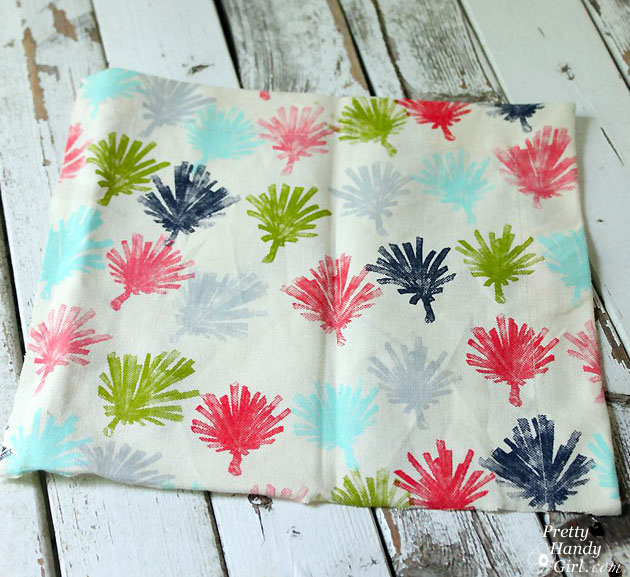
Fold the napkin fabric in half right sides together.
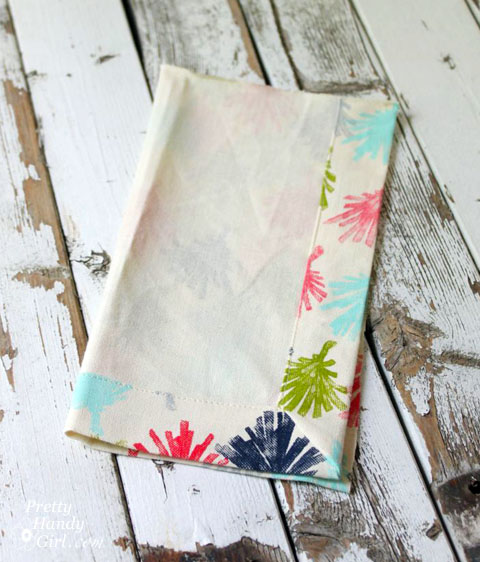
Stitch along the raw short edge and along the open side (as shown by the pencil marks below).
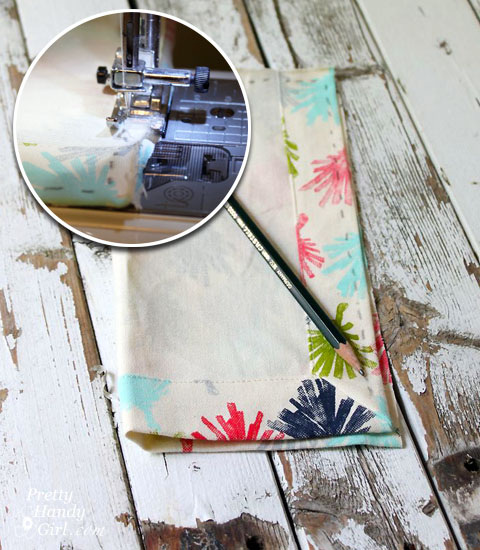
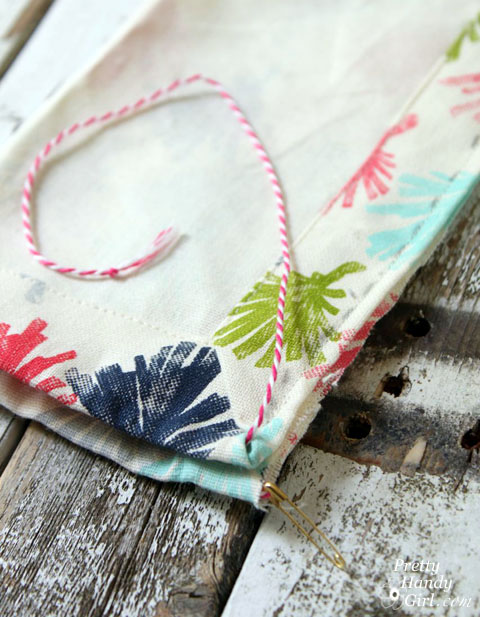
Use the seam ripper to open a small hole in the edge of the top corner. Tie the string onto the safety pin. Feed the safety pin into the hole.
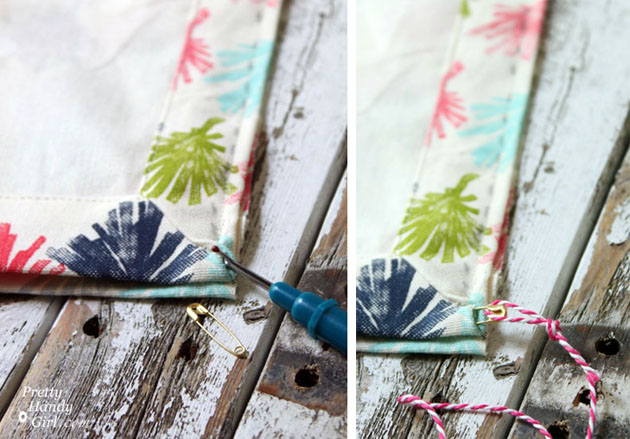
Push the safety pin along the inside of the top edge until the safety pin exits the other side.
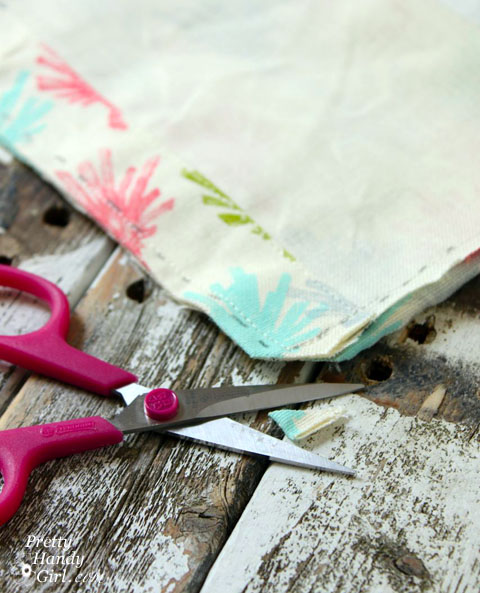
Trim off the corner of the bottom edges.
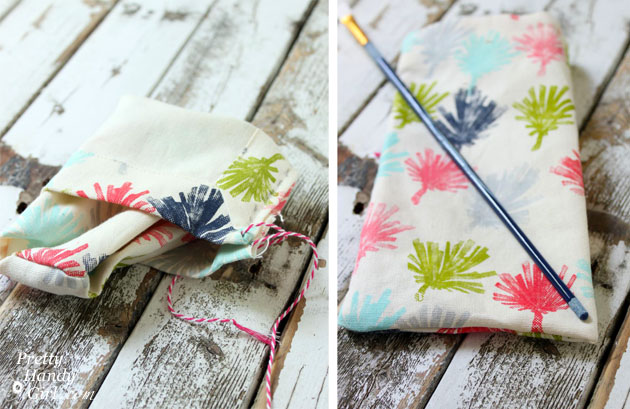
Turn your gift bag right side out. Use the chop stick to poke the corners until they are pointed.
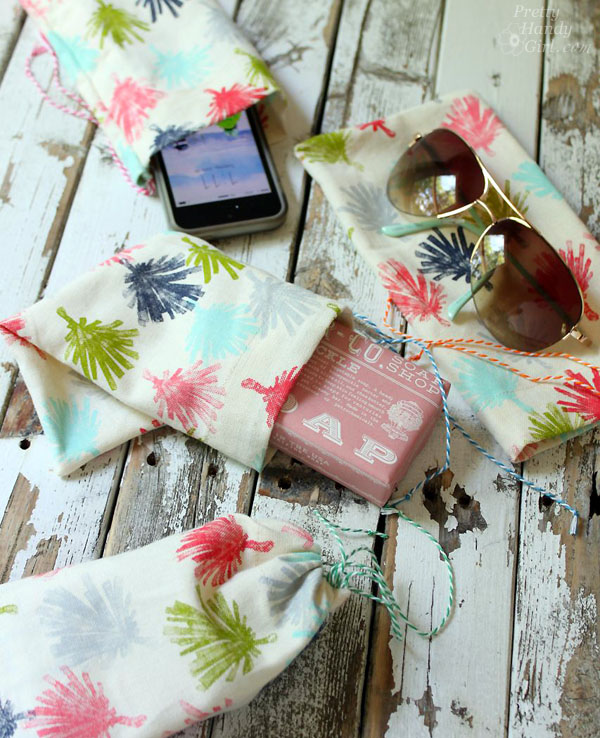
Slide in your gift item…
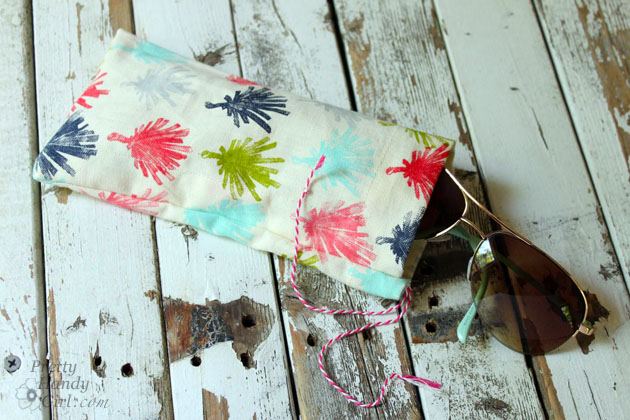
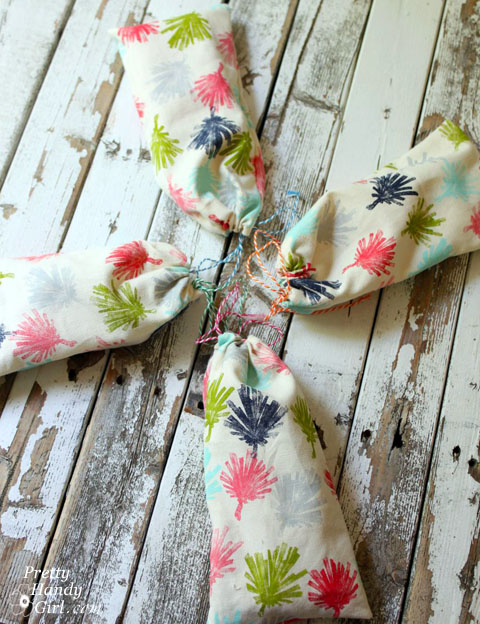
…and tie the drawstring in a bow.
These little cloth napkin gift bags are the gift that keeps on giving! They can be used again as gift bags for the next recipient. Or they can be used to protect valuables.
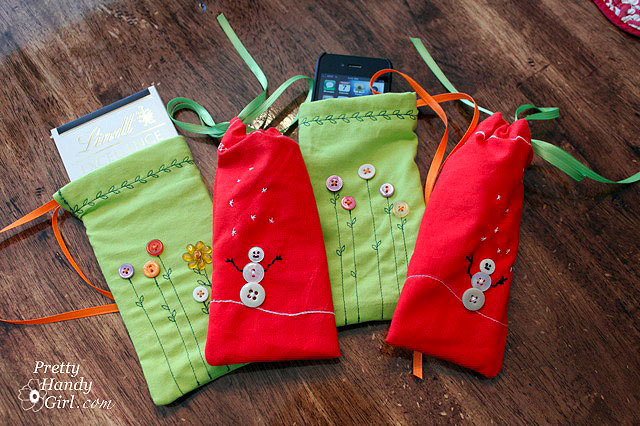
For a more embellished holiday version, read how to make these holiday gift pouches:
Linking up to Home Stories A to Z’s Tutorial and Tips Party.


Love this idea! Thanks so much for sharing. I’m going to try this!
Pinning and sharing on my FB Page!
Have a great weekend,
Leslie
Brilliant, Brittany! Love the way you’ve used the napkin’s edge to such good advantage. I like to give little gifts, and these bags would be perfect for them. Thanks for the great idea!
I especially like the green and red bags with the decorative stitching and buttons. She saws and sews; love it 🙂
Great idea, when I think of all the napkins I’ve gotten rid of for one reason or another. So easy too, thanks for this!
What a cute idea!
What a brilliant idea, and they turned out so cute:)