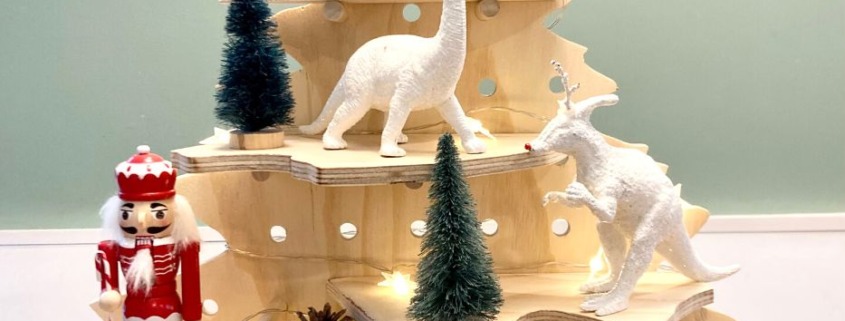
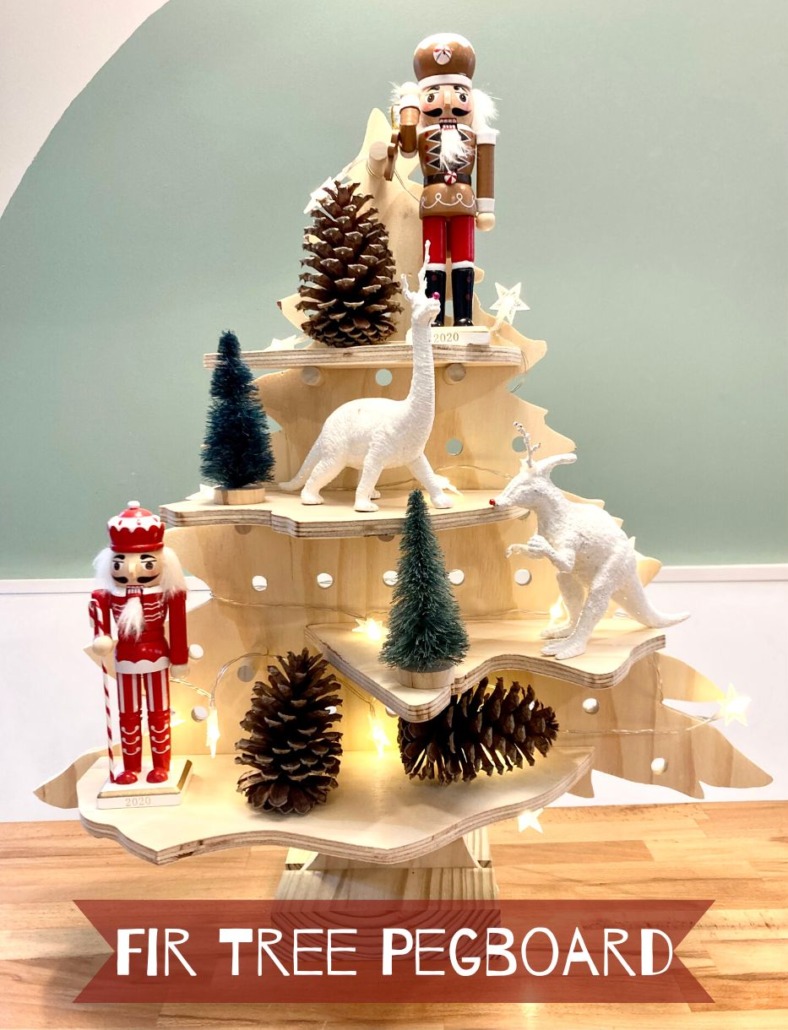
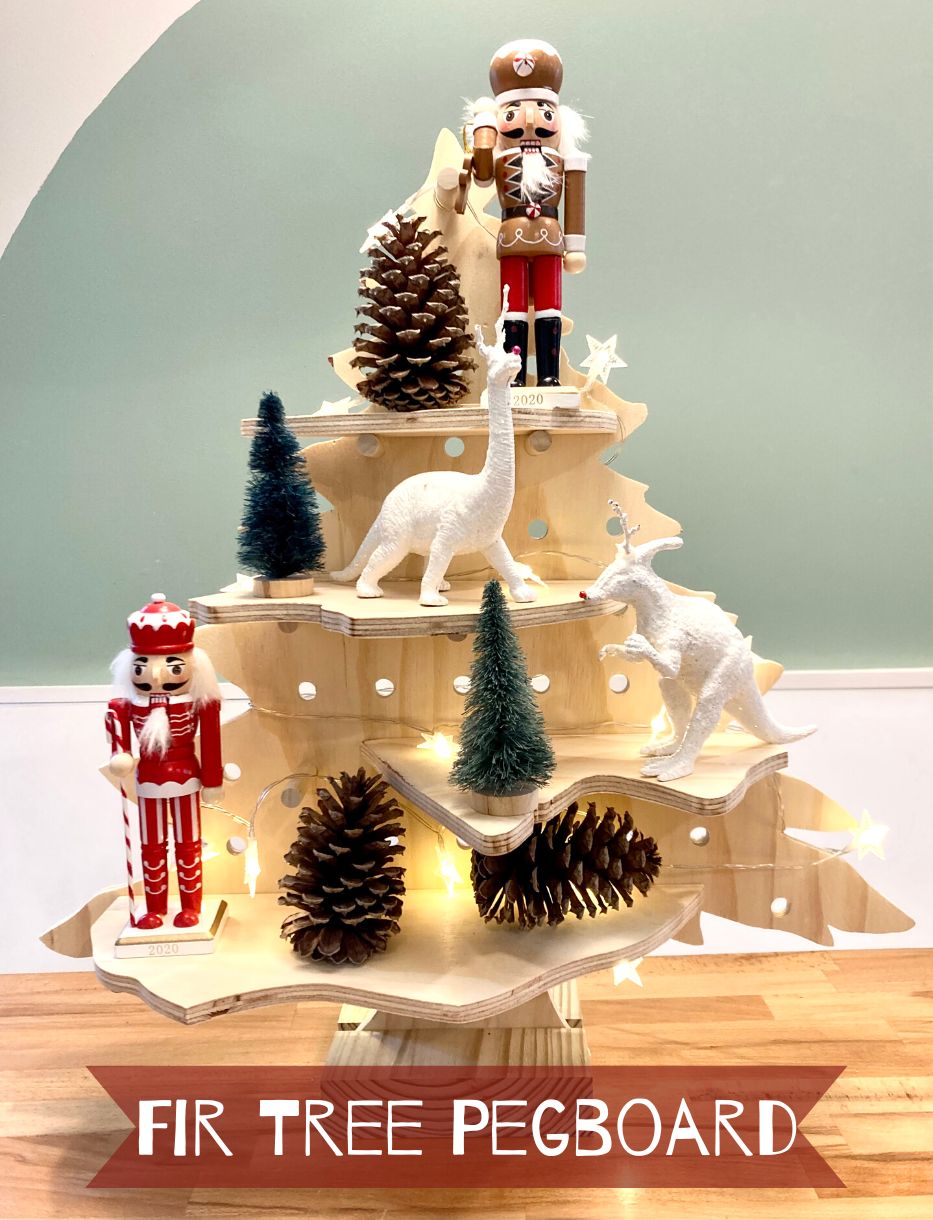
Looking for a last-minute holiday craft you can do with your kids (or alone in your own quiet spot)? How about a fir tree pegboard! This is a festive, fun project you can make in an evening.

Plywood tree with

How to Make a Fir Tree Pegboard

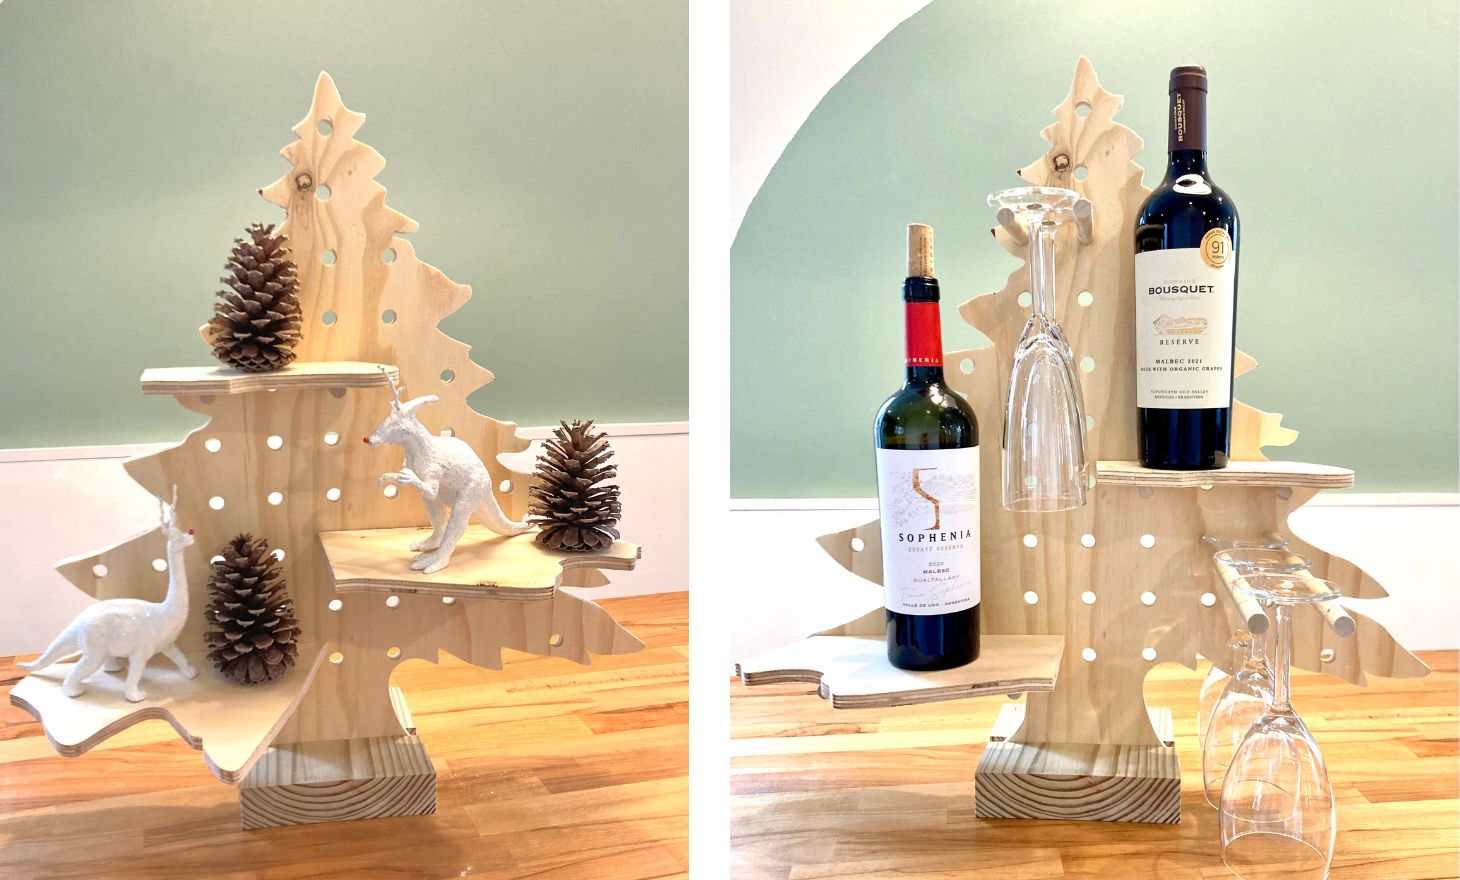
There are so many fun ways to use this pegboard tree! Weโ€™ve made a dino tree, a wino tree, and have big plans for a charcuter-tree (a.k.a. a vertical tree-shaped meat and cheese tray). I imagine even the Elf will find a โ€œshelfโ€ or two to relax on over the next few weeks. When the holidays are over, this tree can shed its twinkle lights and function as a nature-themed table display or become a donut tree! What are your creative ideas for this pegboard? Leave a comment below!

Materials:

  • 1/2โ€ plywood (only need a 2X2-foot piece)
  • 1/2โ€ dowel at 5 feet long
  • 2×6 at 7 inches
  • Paint (optional but not recommended)

(Iโ€™ve includedย affiliate links for your convenience. I earn a small percentage from a purchase using these links. Thereย is no additional cost to you. You canย readย more about affiliate links here.)

Tools:

Instructions:

Step 1: Determine the desired size of your fir tree peg board. I wanted something 2 feet tall and approximately 2 feet wide at the base with a 7-inch stump at the bottom. Using a table saw or a circular saw, trim down your plywood to a square or rectangular that will fit the outline of your tree. If you purchase plywood from your local hardware store, you can ask them to cut it down to your specifications.

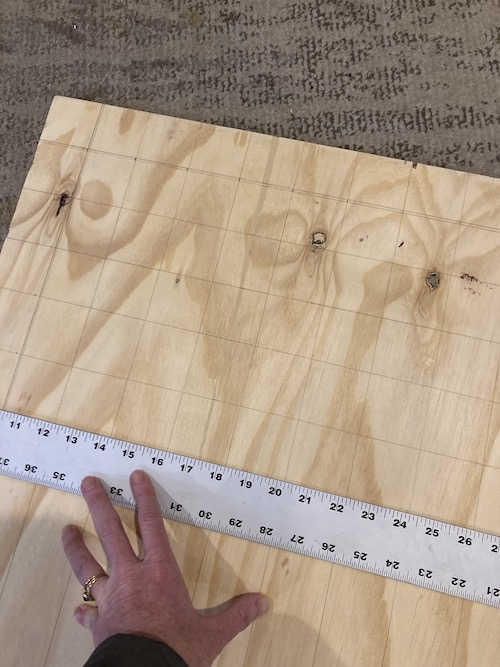
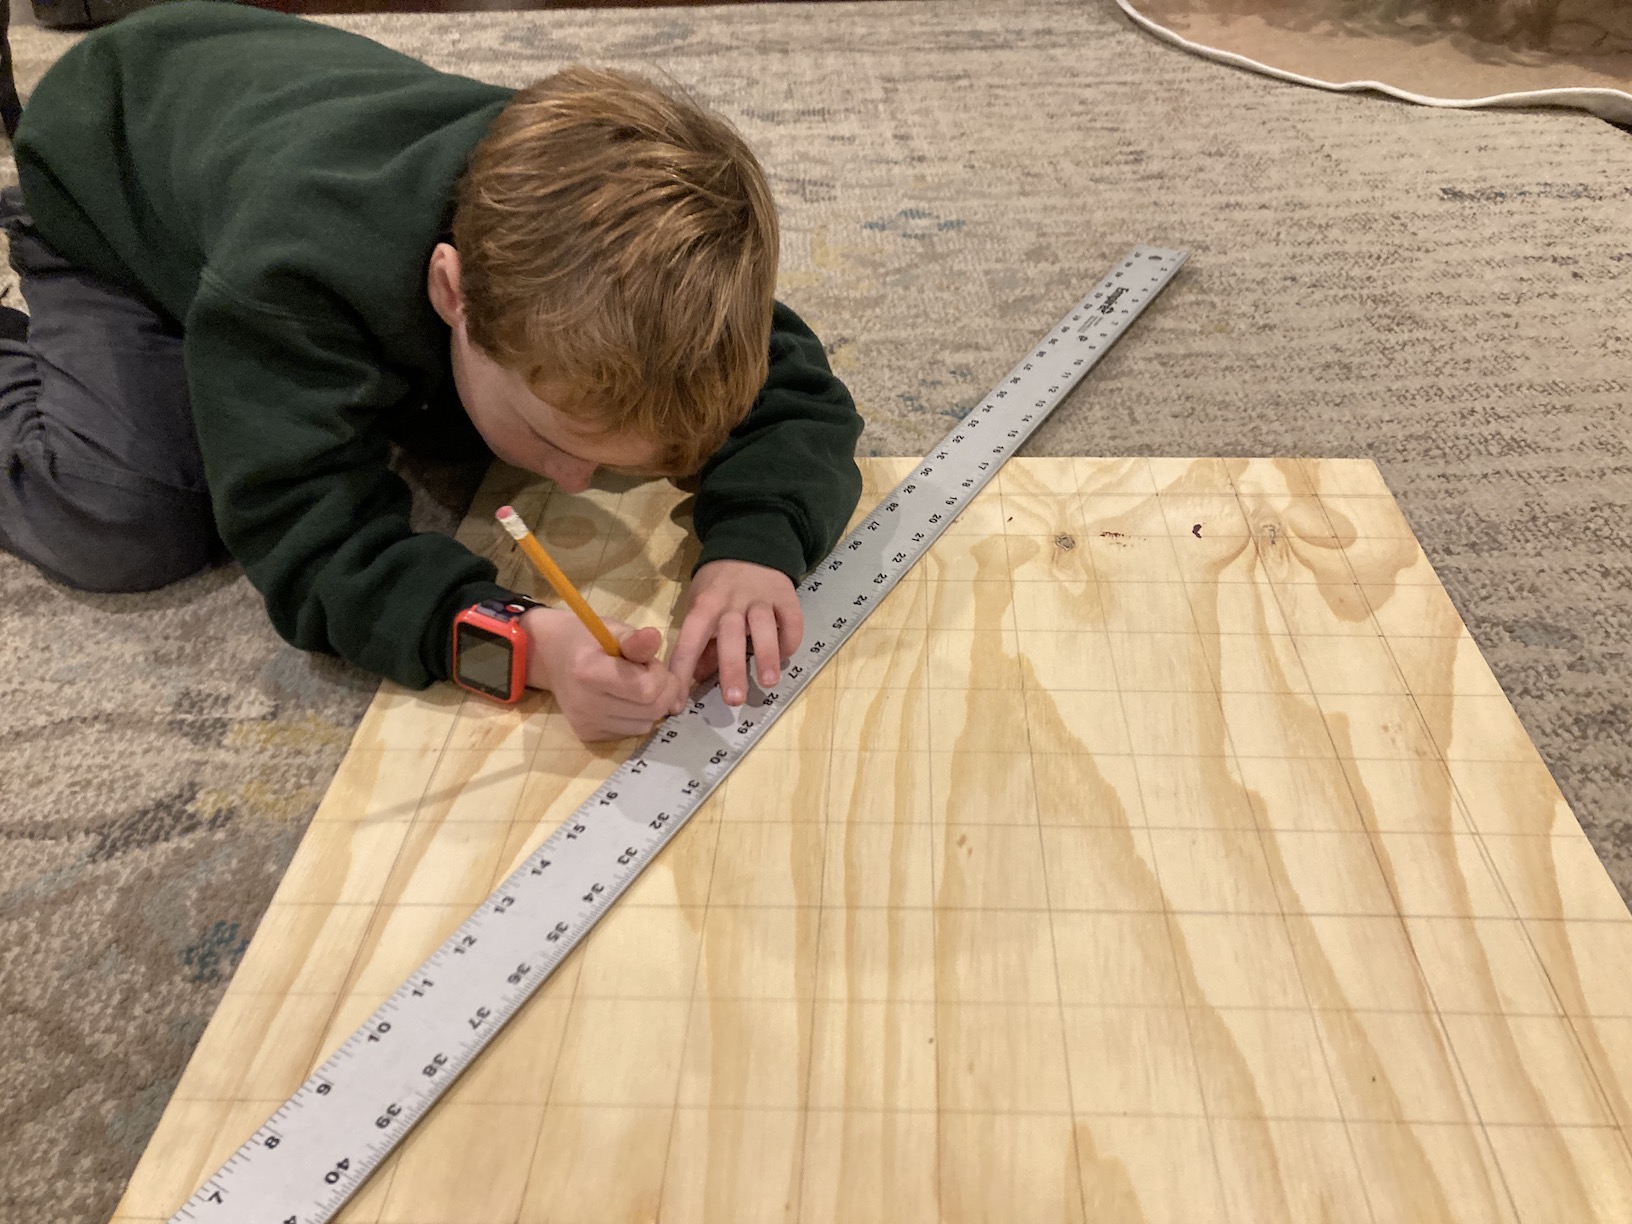
Step 2: With your plywood cut, determine how far apart you want your peg holes. Mine are spaced 2 inches apart from the center of each hole. Unpro tip: If you make the dimensions of your plywood section evenly divisible by the distance between the holes (for example, 24 inches wide with 2-inch hole spacing, or 21 inches wide with 3-inch hole spacing), this process is a breeze. If not, be prepared to do some 8thย grade level math. Use a pencil to mark the hole spacing along each edge of the plywood, then use a straight edge to connect the marks from side to side.

Step 3: You should have a grid on your 1/2โ€ plywood. If you are artistically inclined, use a pencil to freehand sketch the shape of a tree, starting from the center point at the top. The intersection of each grid line is where you will place a 1/2โ€ hole, so plan the edges of your tree accordingly. Of course, you always have the option of omitting holes too close to the edges. If you arenโ€™t artistically inclined, make a guide by drawing a triangle from the center at the top and down to each bottom corner.

Then sketch the tree branches following the lines on each side. I made a stump at the bottom because my son couldnโ€™t fathom a flat bottom tree (dramatic gasp!). I am NOT a gifted sketcher, but doing it this way was nearly foolproof. Alternatively, a simple triangle pegboard could make a stunning minimalist tree andย I love thatย for those of you who are overwhelmed by the thought of drawing and then cutting fir tree branches.

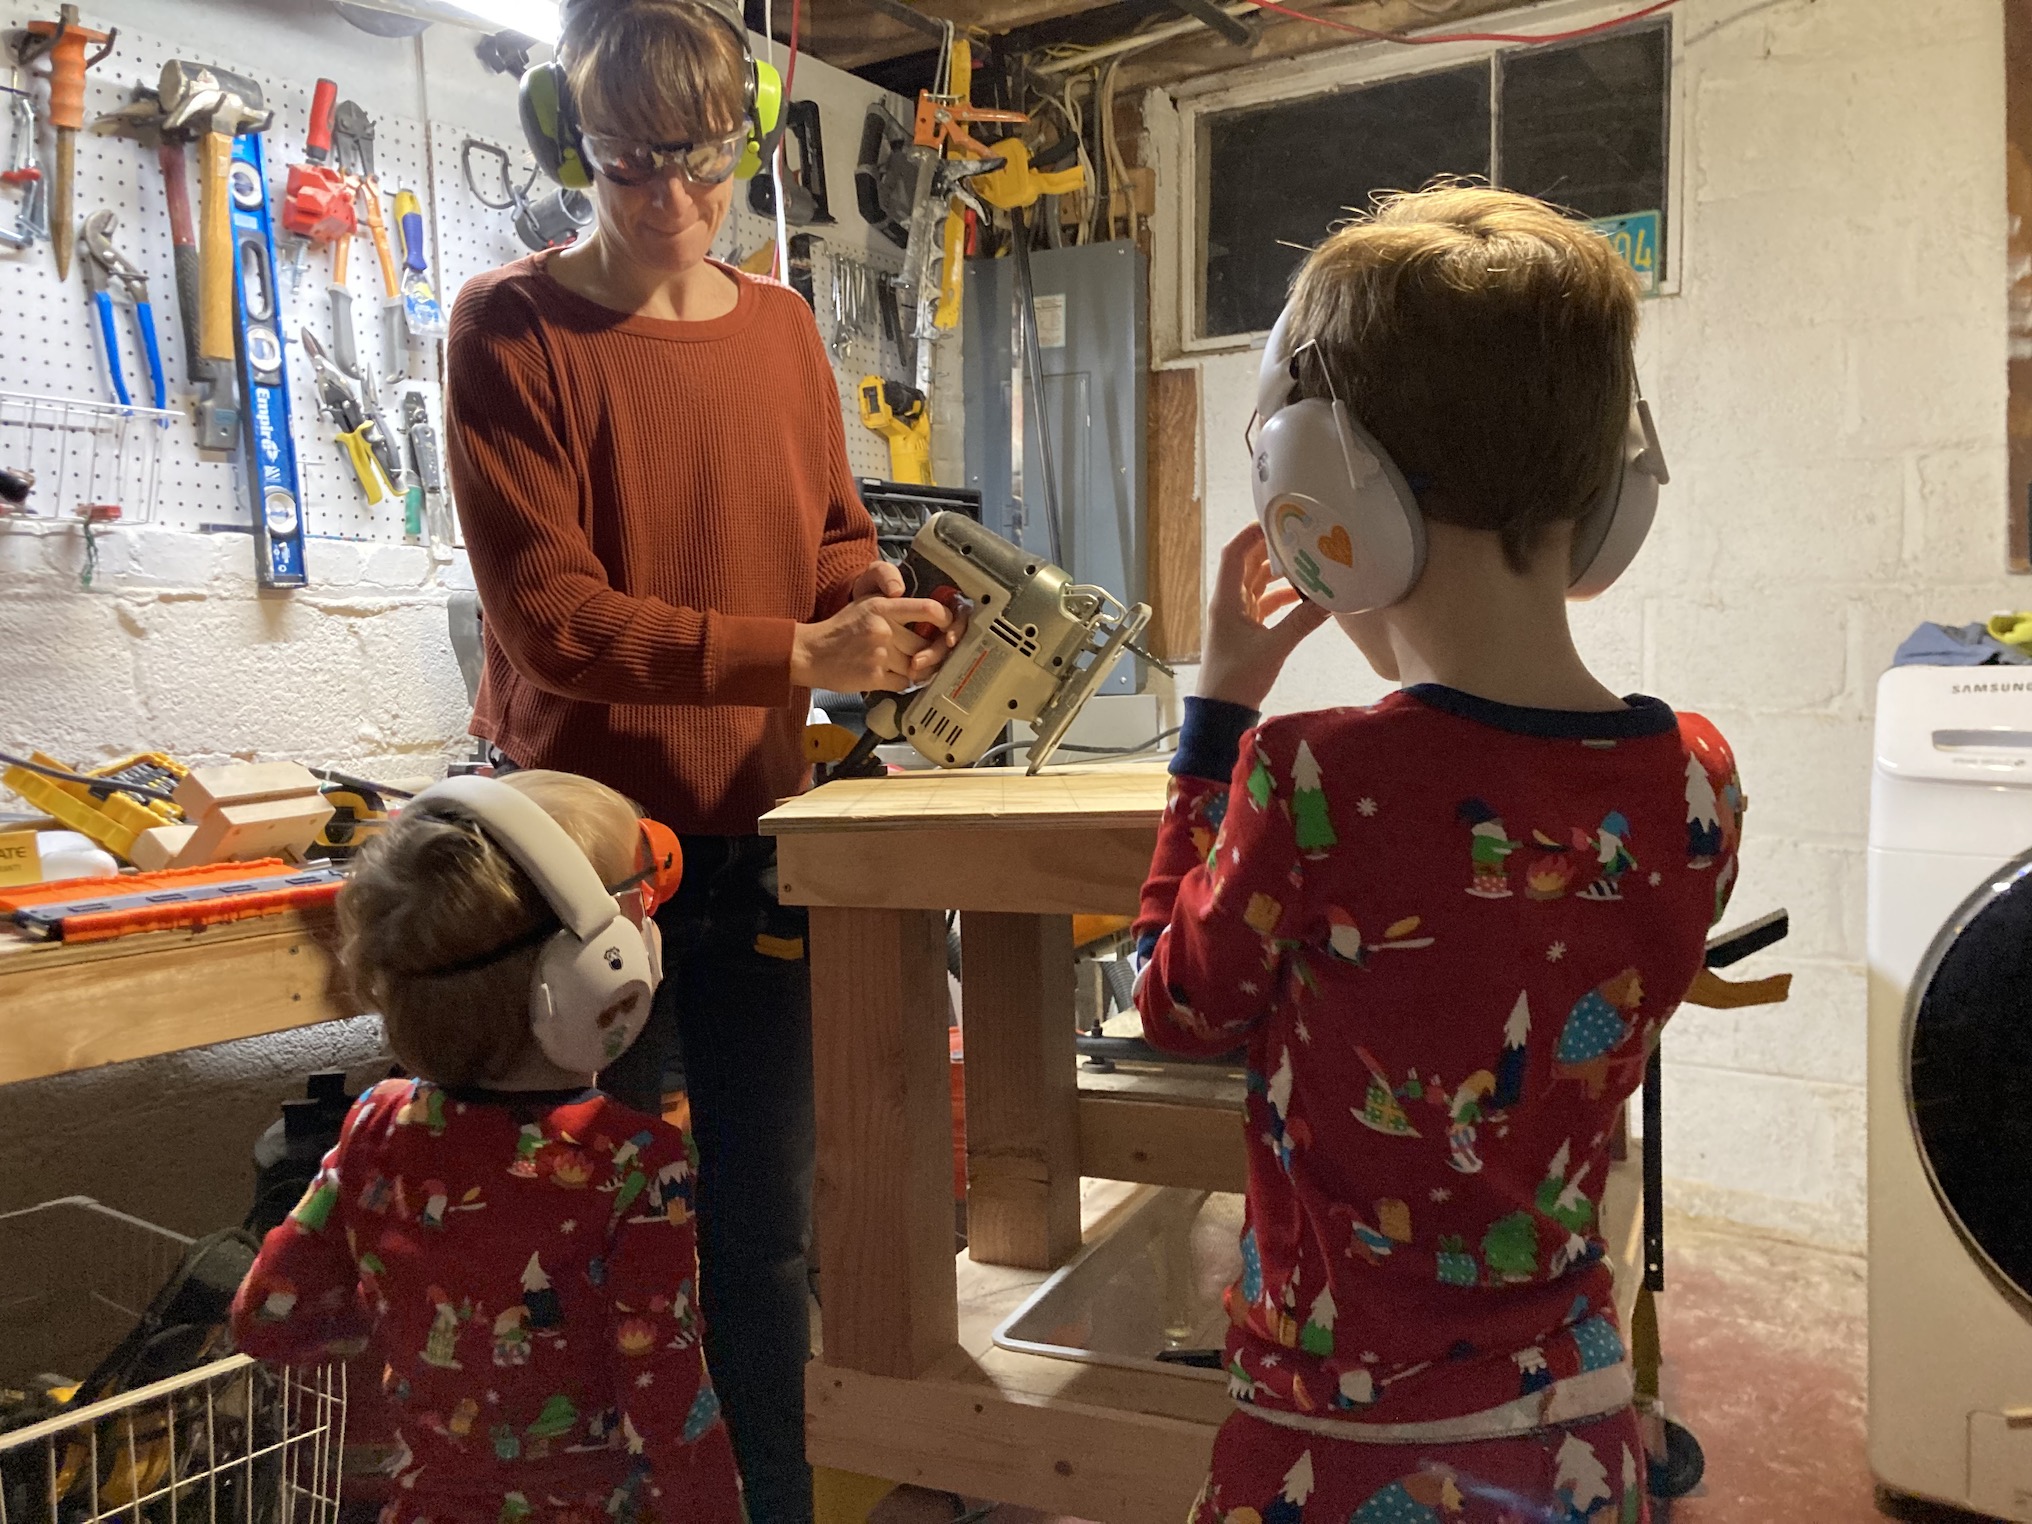
Step 4: Now for the tools. Both of my kids are notorious for following me into my workshop dungeon and I encourage it! But we have strict rules to keep everyone safe.

Rule number one is that no matter which tools we are using, everyone wears properly fitted (i.e. kid-sized) ear and eye protection. This creates good habits from an early age and prevents those โ€œwhoops!โ€ moments when you use the miter saw for โ€œjust a quick secondโ€ and now everyoneโ€™s ears are ringing. A quick hearing fact for the DIYers with kiddos: 1 in 6 school-aged in the children in the US suffers from noise-induced hearing loss. This is permanent hearing loss that can impact their social development and academic success and will ultimately need to be treated with hearing aids to offset the increased risk of early on-set dementia. Take a moment to let that sink in. This is why I am so cautious with my kids around loud tools (not to mention at loud events and on airplanes). My kids wear hearing protection made specifically for children.ย We useย Wise Little Earsย hearing protection from an audiologist and educator-owned company. In full disclosure, I am the educator half of this mom-owned business! We assure each pair is high quality and comes with guidance for how and when to use them. If you have children, I hope youโ€™ll look into our Wise Little Ears protective products for your little ones.

Now, with your safety gear on, clamp the plywood to a sturdy surface and use a jigsaw to cut out the shape of the tree on one side, then on the other side. Go slowly and make extra cuts to get into tight turns. Save the scraps, youโ€™ll use them for branch-looking shelves later.

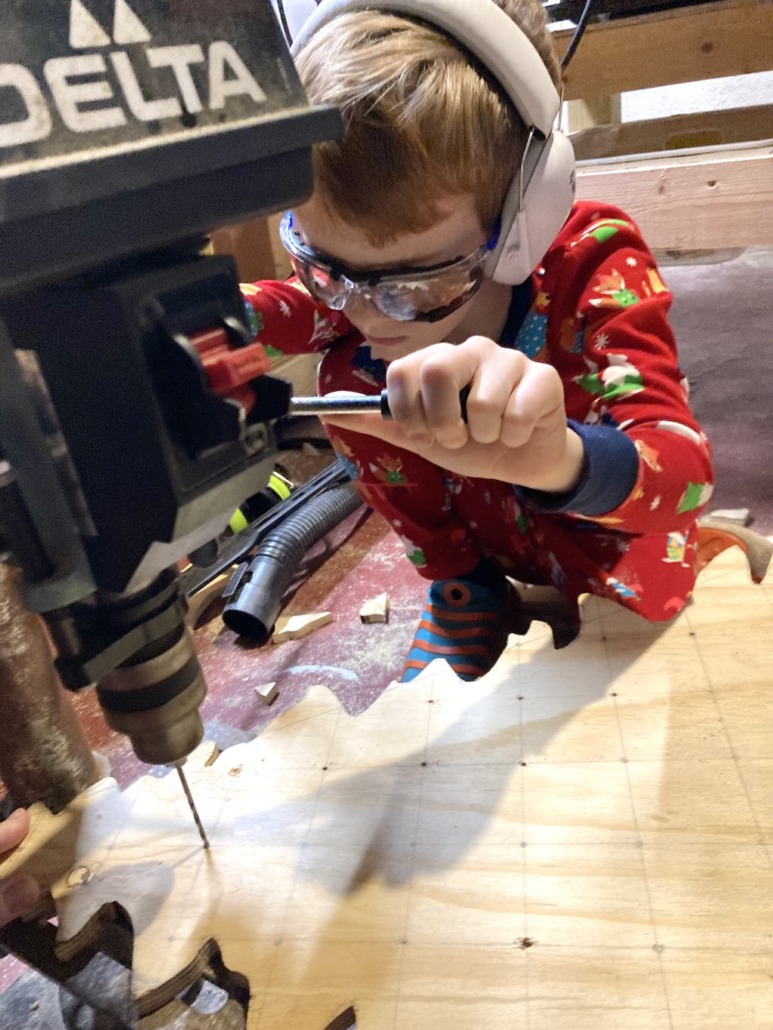
Step 5: You should have the outline of your tree with gridlines. Using a pencil, make a mark at all the intersections that are not close to an edge. Remember that the peg holes will be a 1/2โ€ in diameter, so they need a little space. Skip any hole that is too close to the edge. Using a drill, make small pilot holes at each mark. Pilot holes are optional, but they help guide the forstner bit.


(Drill press not necessary, a hand held drill would work fine.)

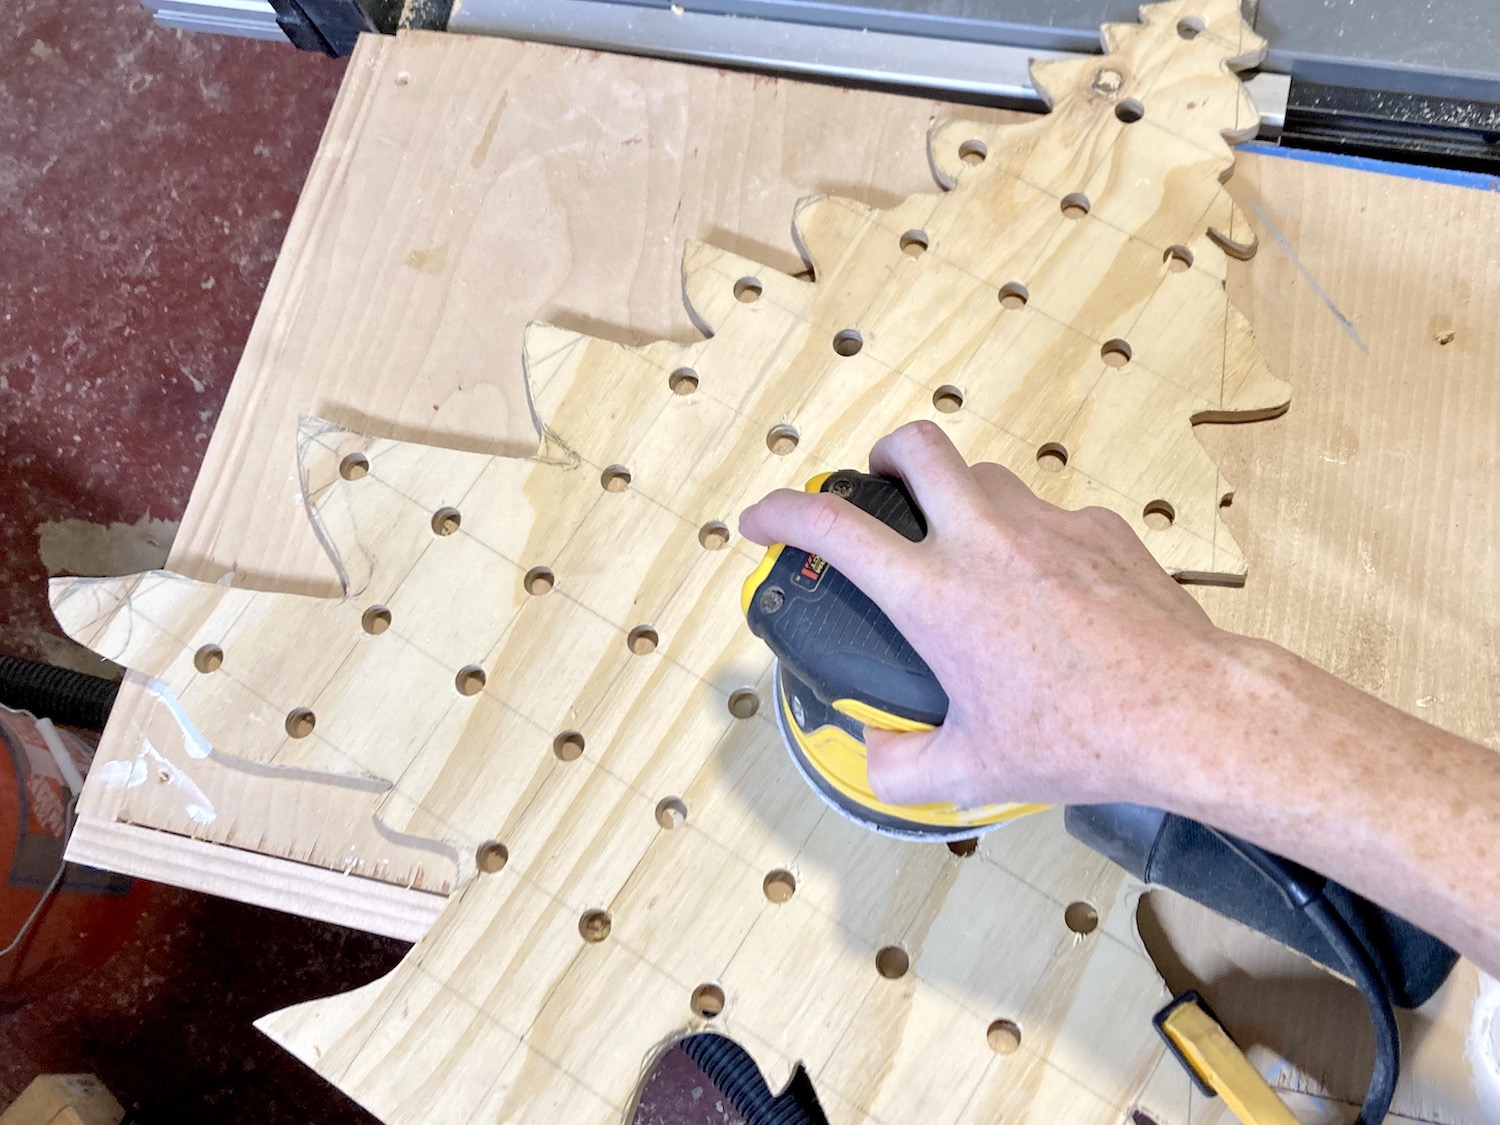
Then, using a sharp 1/2โ€ forstner bit, place the center of the bit into the pilot hole, drilling slowly at first, then speeding up through the plywood and out the back. When all the holes are drilled, lightly sand both sides of the plywood with 180-220 grit sandpaper to clean up and remove the pencil lines. Then lightly sand the edges and the bottom to remove splinters or sharp edges.

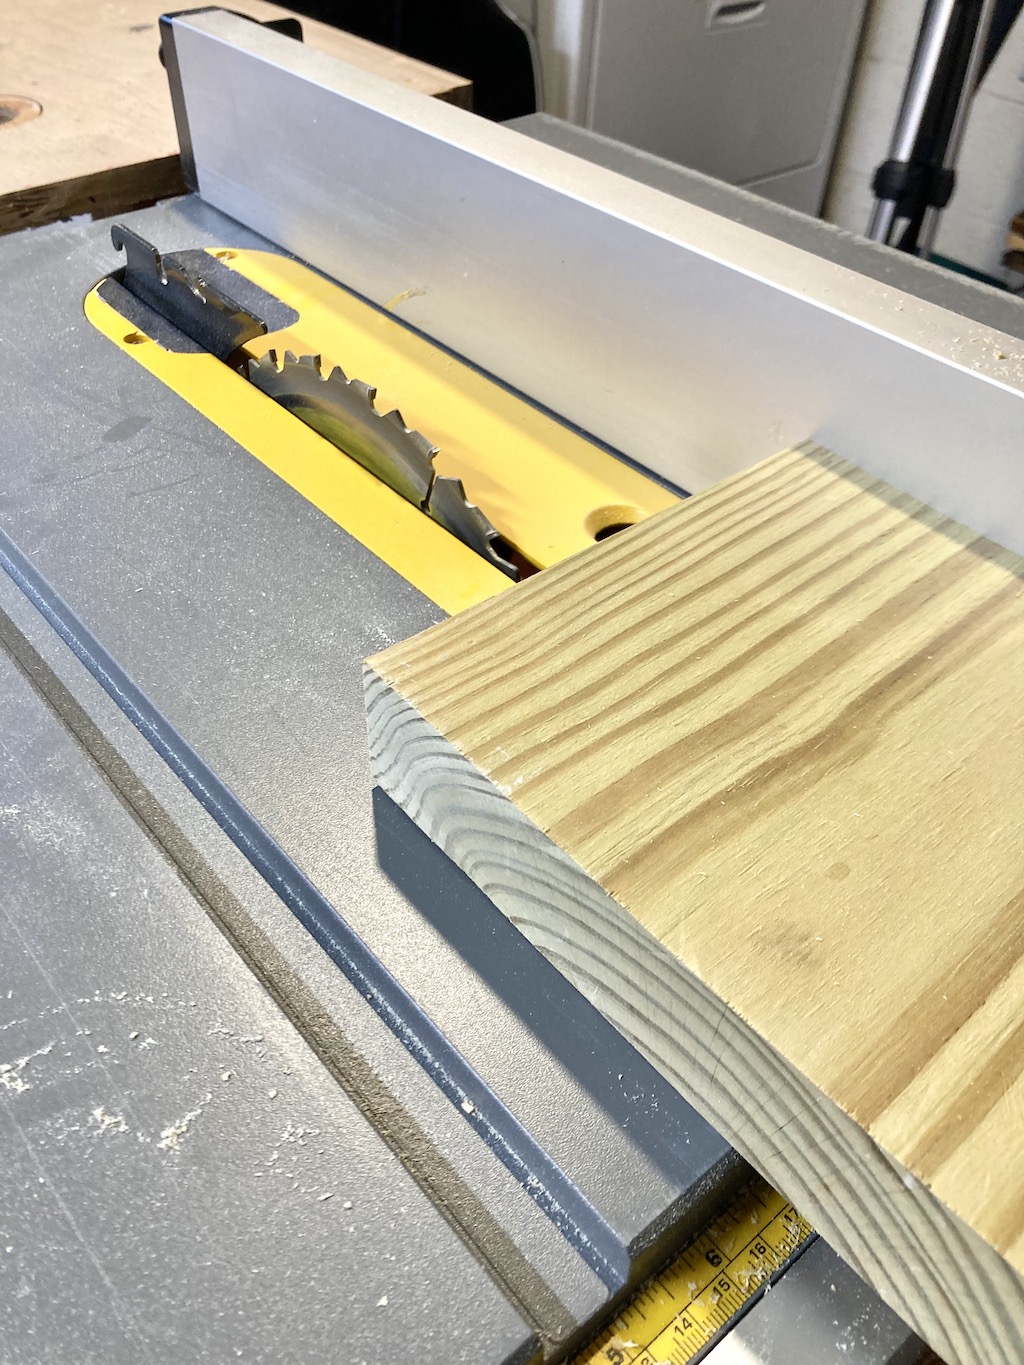
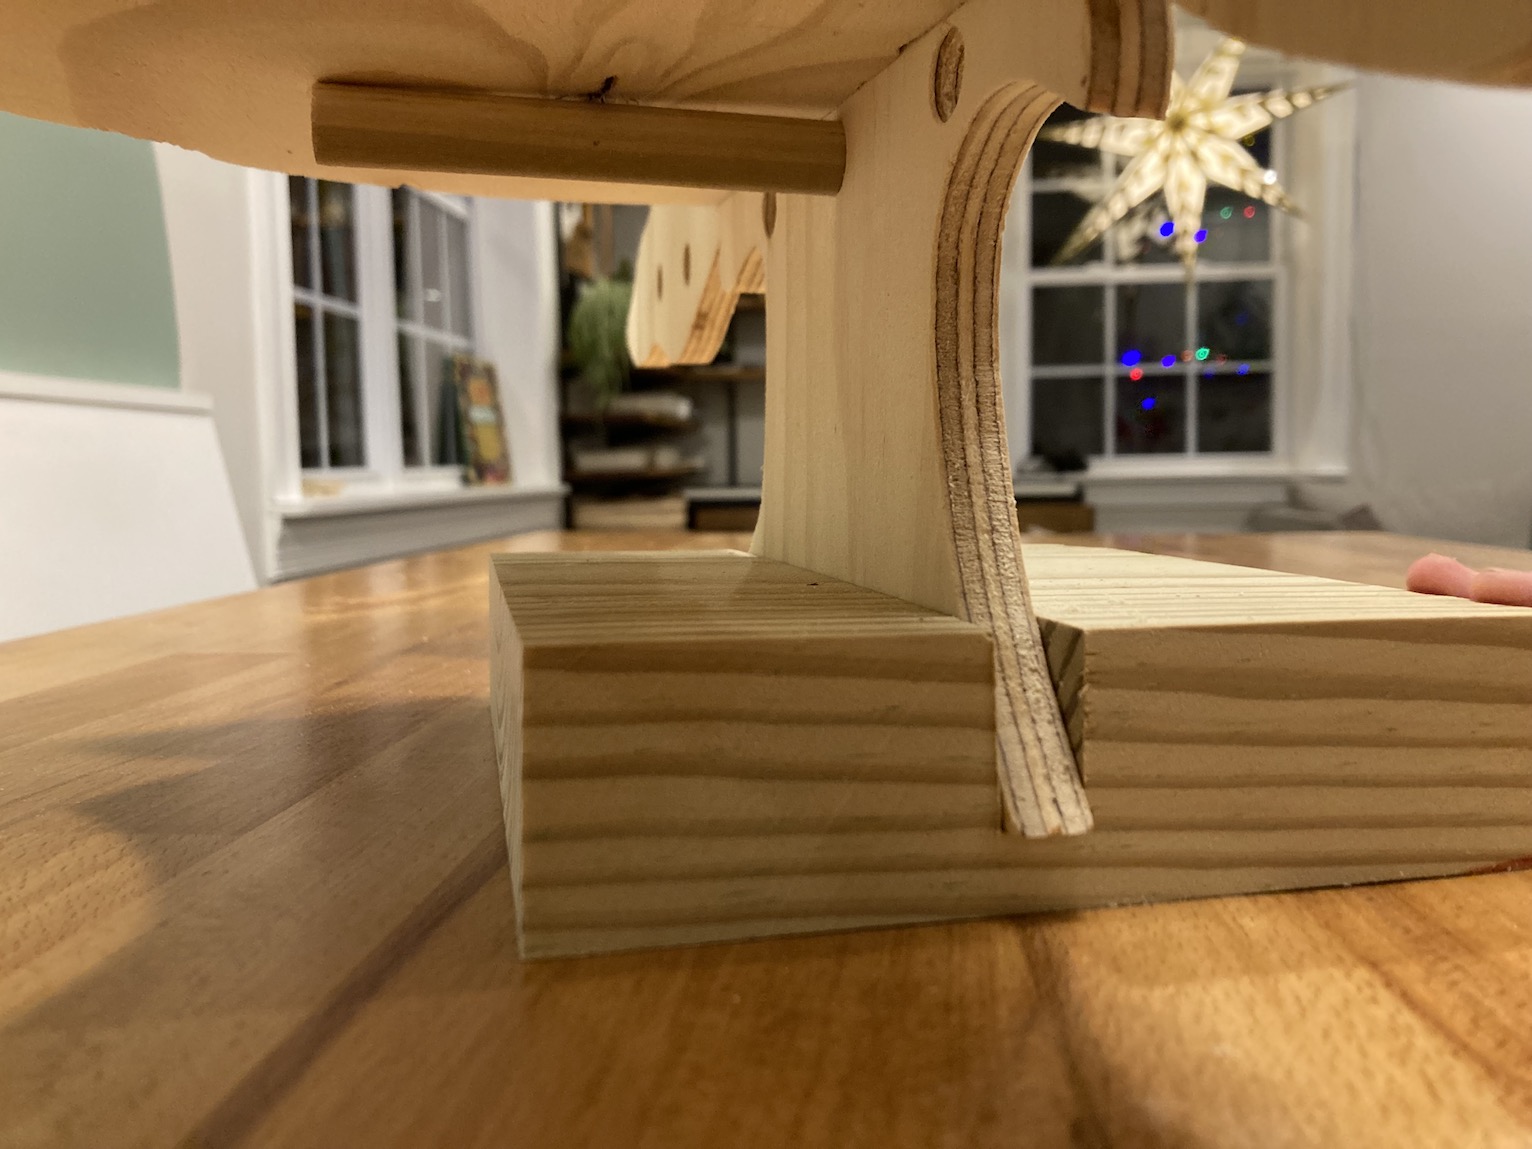
Step 6:ย To make a stand for your pegboard, cut a 2×6 the length of the bottom of your tree or stump and make a deep groove (also called a dado) through the middle of the 2×6 that is the same thickness of the plywood. You can do this with a router and a 1/2โ€ strait bit (be sure to clamp your wood for a hand held router. Alternatively, you can use a table saw.

To use a table saw, set the blade depth to about one inch so that when you pass the 2×6 flat over the blade, it cuts a channel instead of cutting all the way through the wood. Set the saw fence to the middle of the 2×6 (this doesnโ€™t have to be exact) and make your first pass over the blade. Turn the saw off, move the fence over slightly less than the width of the blade (typically 1/8โ€), then run your board in for another pass. Continue this process, checking the width of the groove after each pass with a scrap piece of the tree cutout, until the channel is the same thickness as the plywood. It is important that the tree fits snugly into the base, otherwise the tree will tip to one side or the other.

If you went big with the size of your tree, like REALLY BIG, you will need to modify the base to make it sturdier. For example, if your tree is in the 2-to-3-foot range, a 2×6 will work. Tree peg boards that are larger than 2-3 feet wide will need a larger base or create additional feet on the front and back.

Step 7:ย Now itโ€™s time to make your shelves and cut your pegs! Collect your leftover plywood scraps and determine which pieces would make good shelves. A good shelf must be longer than the distance between at least two peg holes and have a flat side that will sit flush against the tree. I picked the longest sections with interesting, branch like curves. If you didnโ€™t manage to get anything that fits this description, you can use your jigsaw to create a shape in any piece with at least one flat side. Or, if you prefer, you can cut standard 90 degree shelves.

Cut your pegs according to the depth of your shelves. The pegs should extend to the edge of the shelf for more stability. Cut a few long pegs to hang wine glasses and short pegs to hang coffee mugs, ornaments, or to string lights.

Optional step: Paint. Hereโ€™s the thing about paint and peg boards. Painted surfaces, especially with sheen, will stick together. There is also a good chance that a painted peg will fit not fit into painted hole because paint adds thickness to both surfaces, making the pegs slightly bigger and the holes slightly smaller. The easiest solution is to leave the tree and pegs completely unfinished. But if thatโ€™s not an option for you, your kids, or your wine glass, here are a few suggestions:

  • Pick a paint with a matte finish so there is less stick.
  • Donโ€™t paint the pegs OR the inside of the holes. Unpainted pegs and hole edges would look fun!
  • Thin out the (matte) paint and do a paint wash.
  • Sand the pegs and the holes. This is a risky option because if you sand too much, the pegs wonโ€™t be tight in the holes and if you donโ€™t sand enough, they wonโ€™t fit.
  • Use a sponge to make a textured accent rather than a solid coat of paint.

And there you have it! A fun festive project with endless options. Remember to check out Wise Little Ears for more information on protecting your little builderโ€™s ears.

Build scrappy and be safe!
~See More of Laraโ€™s Tutorials~

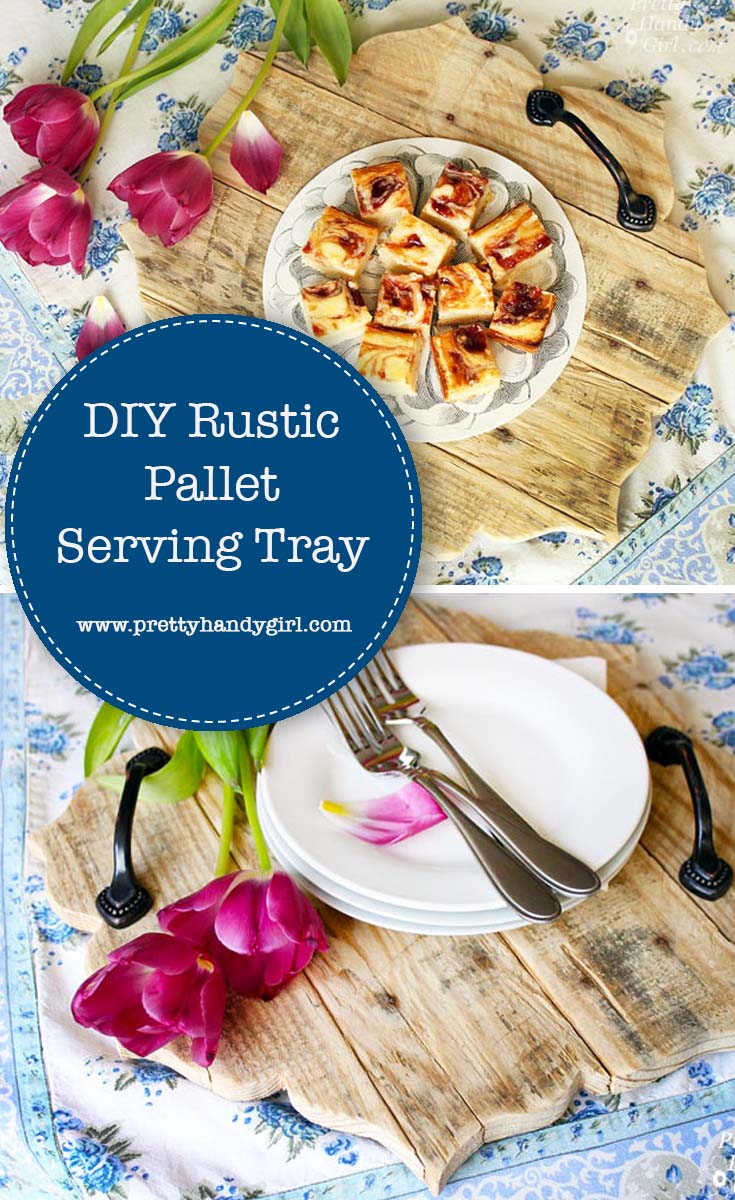
Rustic Pallet Serving Tray | Pretty Handy Girl

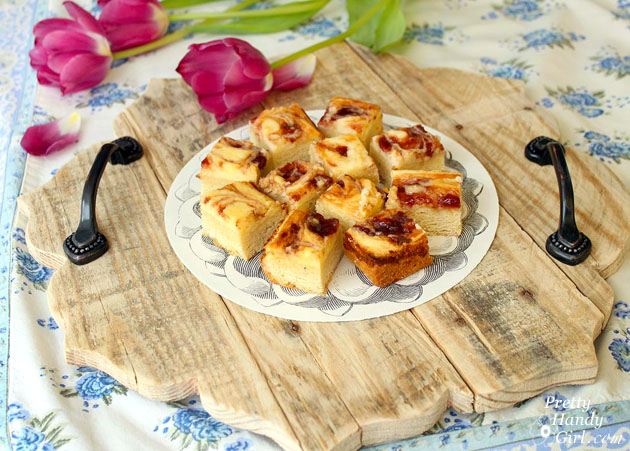
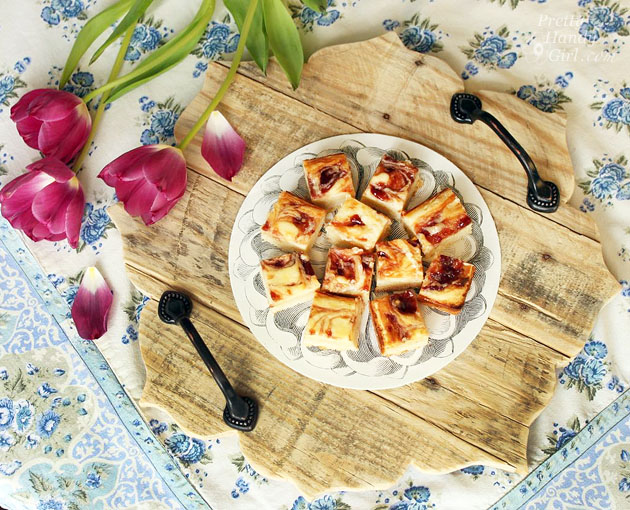
Itโ€™s amazing how serving food on a rustic tray can elevate your standard meal or dessert into an elegant occasion. This simple decorative rustic pallet serving tray is a simple project anyone can do!

Rustic Pallet Serving Tray | Pretty Handy Girl

Rustic Pallet Serving Tray

When I worked on a deck makeover with my sister, Caitlin (of Symmetry Designs), we shopped for a lot of the accessories ahead of time. She wanted me to find the perfect Bali-esque tray. Unfortunately I was coming up empty-handed. But, sometimes, you just have to DIY it! This Rustic Pallet Serving Tray was the brainchild of my sister,ย but I took her idea and ran with it.

Hereโ€™s how to make one for yourself.

Materials:

(Iโ€™ve includedย affiliate links for your convenience. I earn a small percentage from a purchase using these links. Thereย is no additional cost to you. You canย readย more about affiliate links here.)

Instructions:

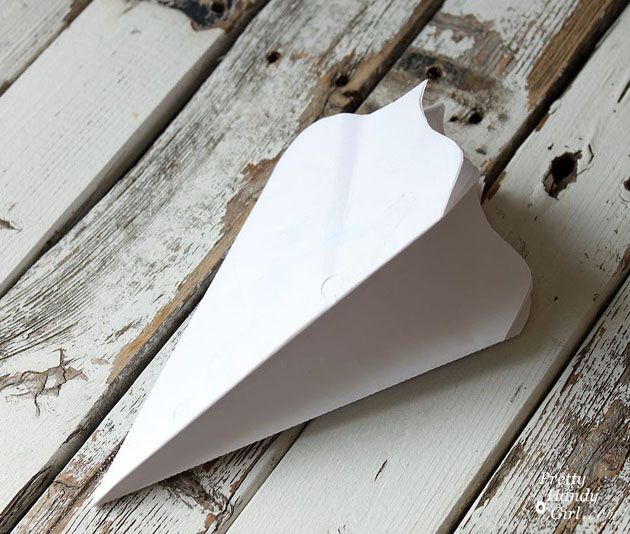
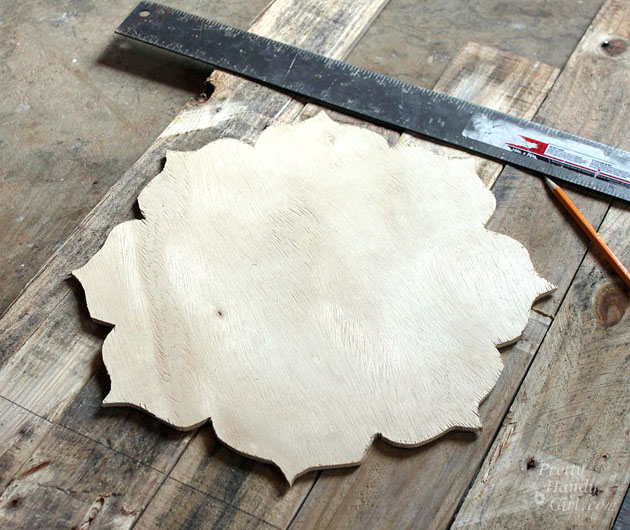
Fold aย piece of paper into eights. Cut a design along the edge. (I used a simple scallop shape like this โ€œ}โ€.)

Rustic Pallet Serving Tray | Pretty Handy Girl

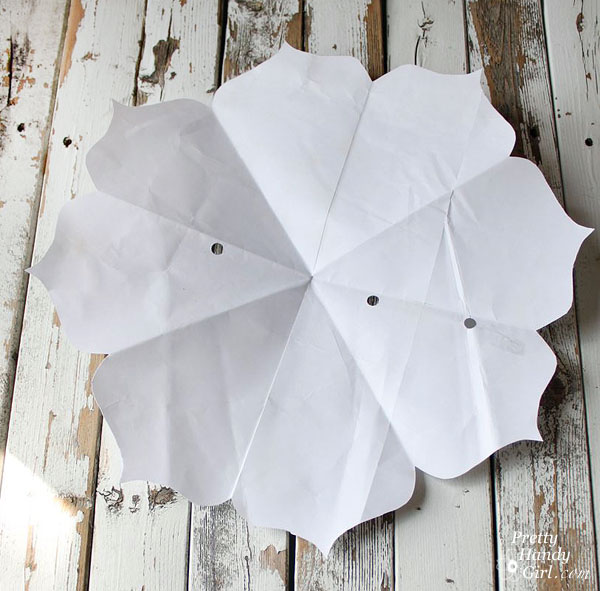
When you unfold the paper, you should have a paper template to use for tracing.

Rustic Pallet Serving Tray | Pretty Handy Girl

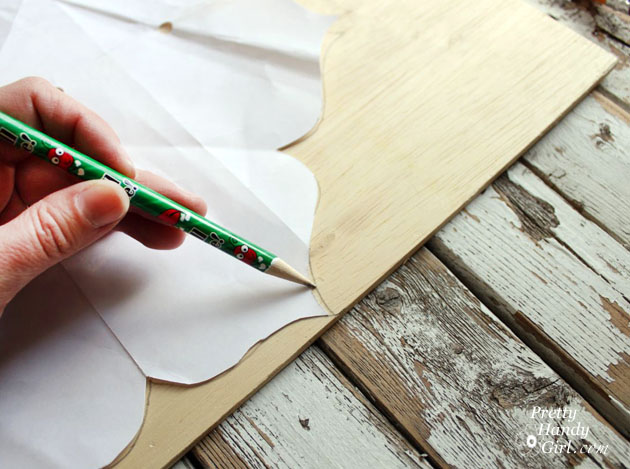
Trace the template onto a piece of thin plywood.

Rustic Pallet Serving Tray | Pretty Handy Girl

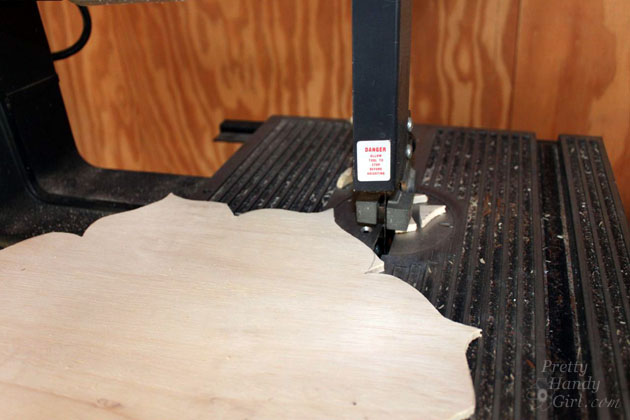
Use a jigsaw or band saw to cut out the shape. You might find this tutorial helpful for cutting out intricate shapes.

Rustic Pallet Serving Tray | Pretty Handy Girl

Lay your plywood shape on top of the rustic boards. Move the boards around until you like the sections that will make up the tray. Mark a square around the shape with a ruler.

Rustic Pallet Serving Tray | Pretty Handy Girl

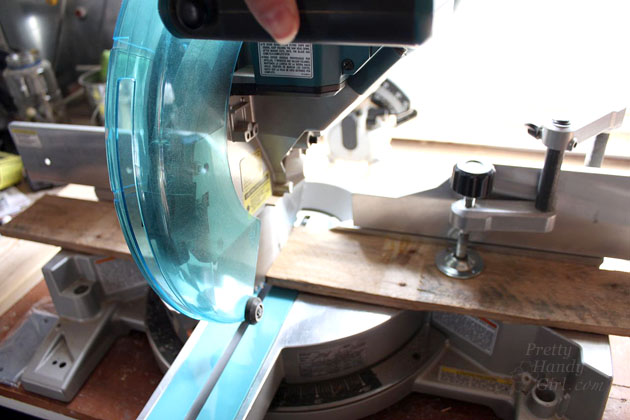
Cut the boards down to size using the pencil mark as a guide.

Rustic Pallet Serving Tray | Pretty Handy Girl

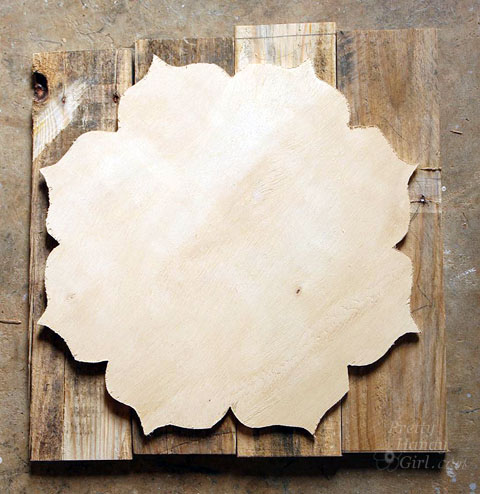
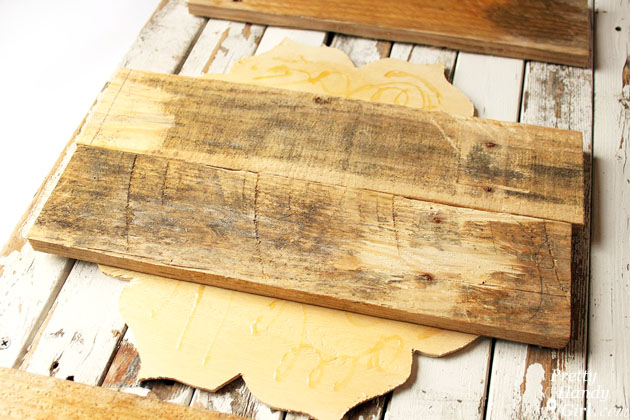
Dry fit the boards together on the plywood shape.

Rustic Pallet Serving Tray | Pretty Handy Girl

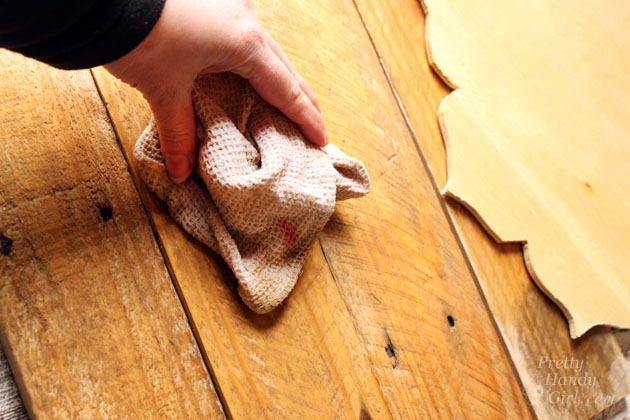
Wet both the plywood shape and the boards with a damp rag.

Rustic Pallet Serving Tray | Pretty Handy Girl

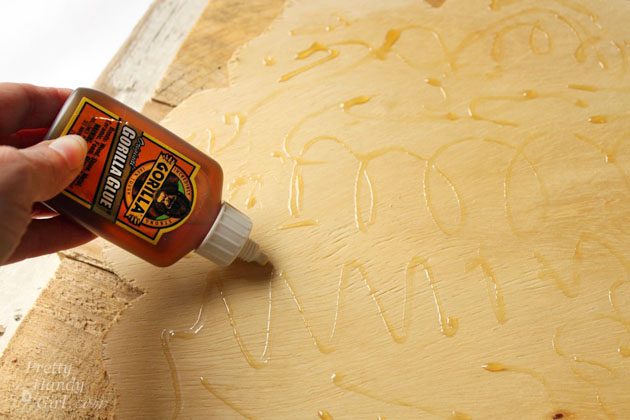
Apply Gorilla Glue to the plywood shape.

Rustic Pallet Serving Tray | Pretty Handy Girl

Set the rustic boards into the glue on the plywood shape.

Rustic Pallet Serving Tray | Pretty Handy Girl

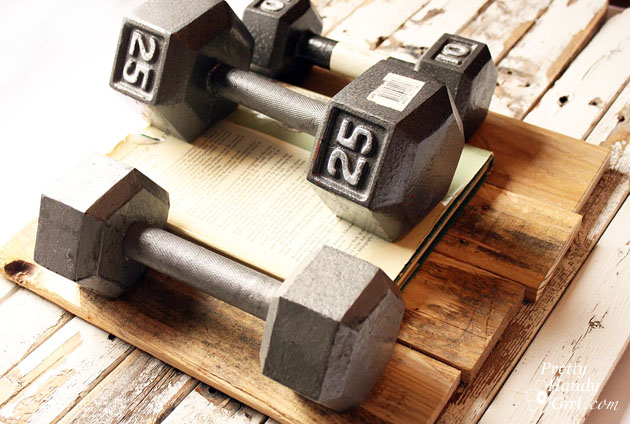
Weigh the boards down with weights or heavy books.

Rustic Pallet Serving Tray | Pretty Handy Girl

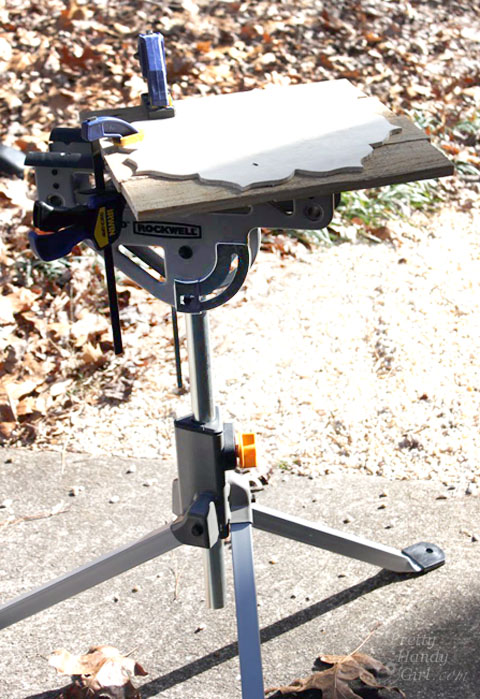
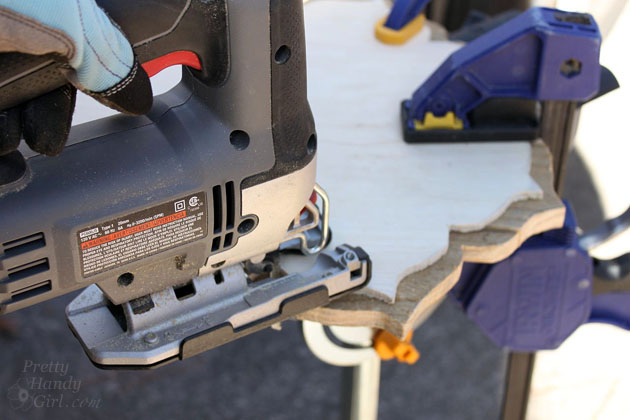
Allow to dry for at least an hour. Remove the weights and clamp the boards onto a work surface (with the area needing to be cut hanging over the edge. Make sure there is clearance for the jig saw blade. Youโ€™ll need to cut half the boards and then turn and re-clamp to cut the entire circumference. The Rockwell JawStand works beautifully for this task.

Rustic Pallet Serving Tray | Pretty Handy Girl

Draw a pencil line 1 inch out from the plywood shape. Cut around the pencil line with a jig saw.

Rustic Pallet Serving Tray | Pretty Handy Girl

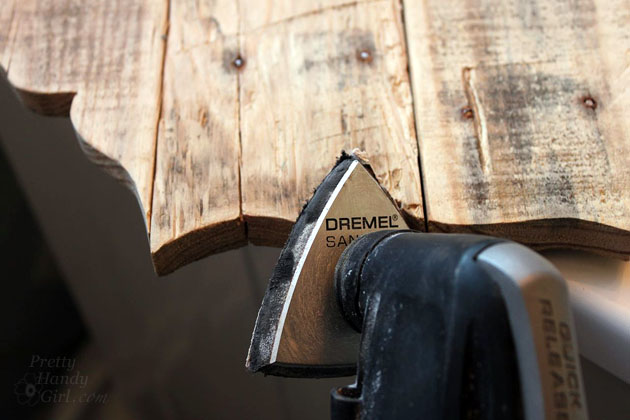
Sand edges and grooves with sandpaper or Dremel Multi-Max.

Rustic Pallet Serving Tray | Pretty Handy Girl

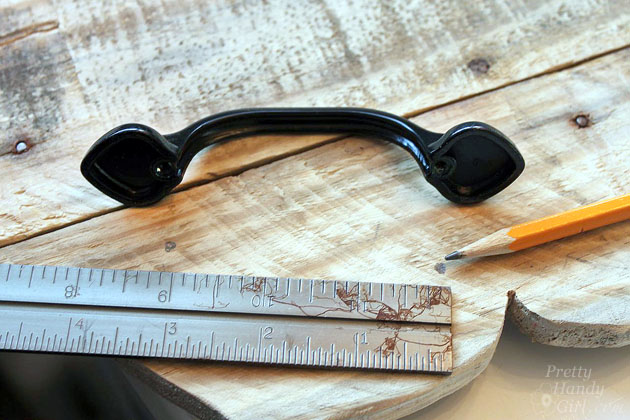
Measure and mark the location of the handles on the tray.

Rustic Pallet Serving Tray | Pretty Handy Girl

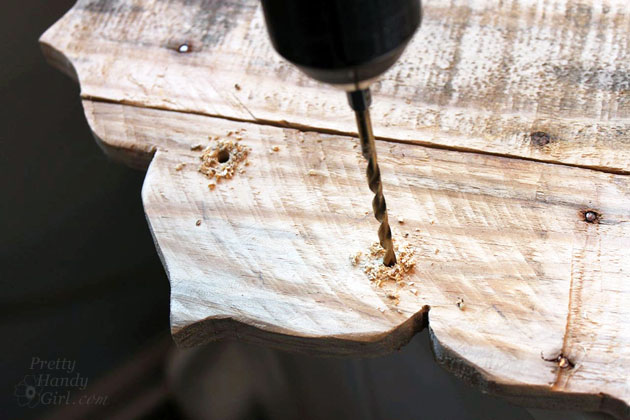
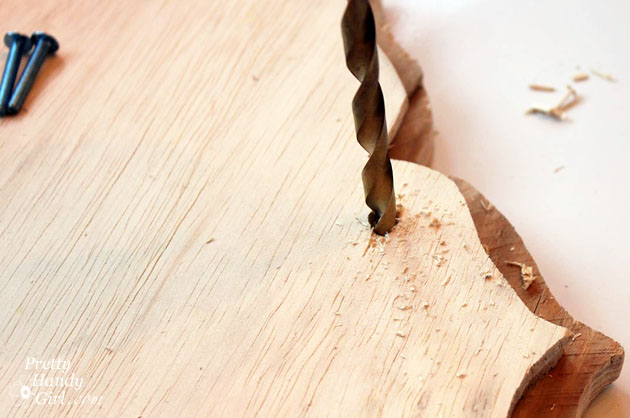
Pre-drill holes using a bit that is the same size as the handle screws.

Rustic Pallet Serving Tray | Pretty Handy Girl

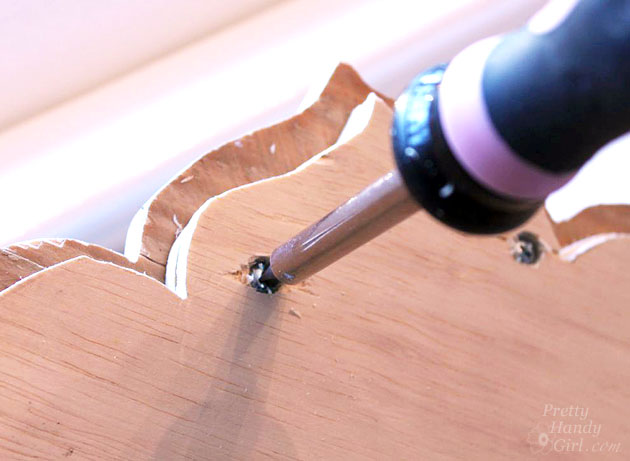
Flip the tray over and drill countersink holes with a larger drill bit.

Rustic Pallet Serving Tray | Pretty Handy Girl

Attach the handles with the screws. The screw heads should sink into the plywood.

Rustic Pallet Serving Tray | Pretty Handy Girl

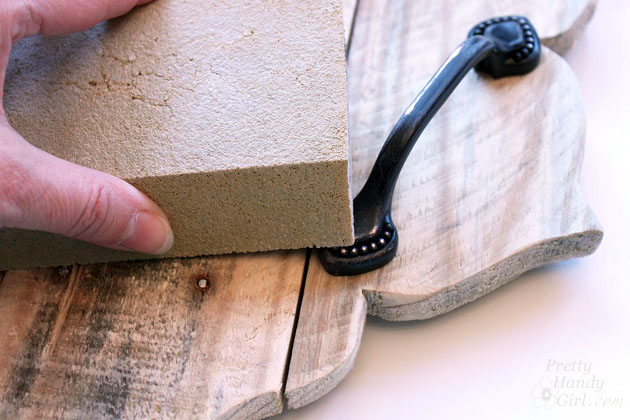
If you want a truly rustic look, lightly sand your handles.

Rustic Pallet Serving Tray | Pretty Handy Girl

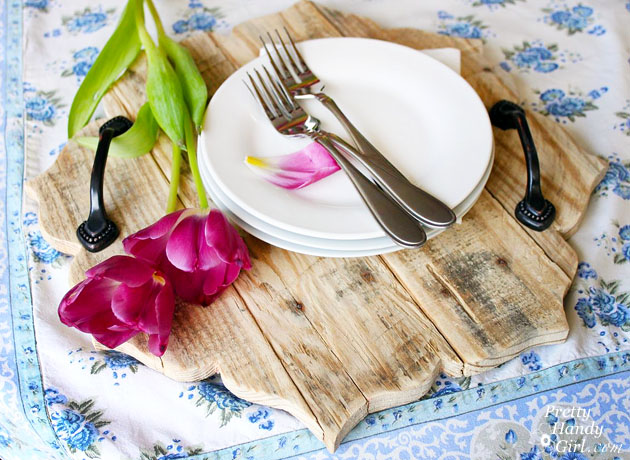
If you are going to use your tray for food, use a plate or doily under the food.

Rustic Pallet Serving Tray | Pretty Handy Girl

What do you think? Do you like this beautiful rustic tray? Think you could make one? I bet you could!

Rustic Pallet Serving Tray | Pretty Handy Girl

You can see this tray and our Bali-inspired deck makeover here.

PHGFancySign

Pin for later!

This DIY Rustic Pallet Serving Tray is easy to create with a cutout pattern | Plank serving tray | Pretty Handy Girl #DIY #woodworking #DIYtray #servingtray #rustichomedecor

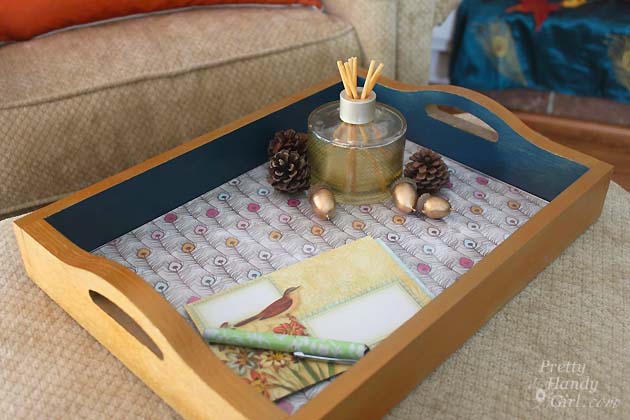
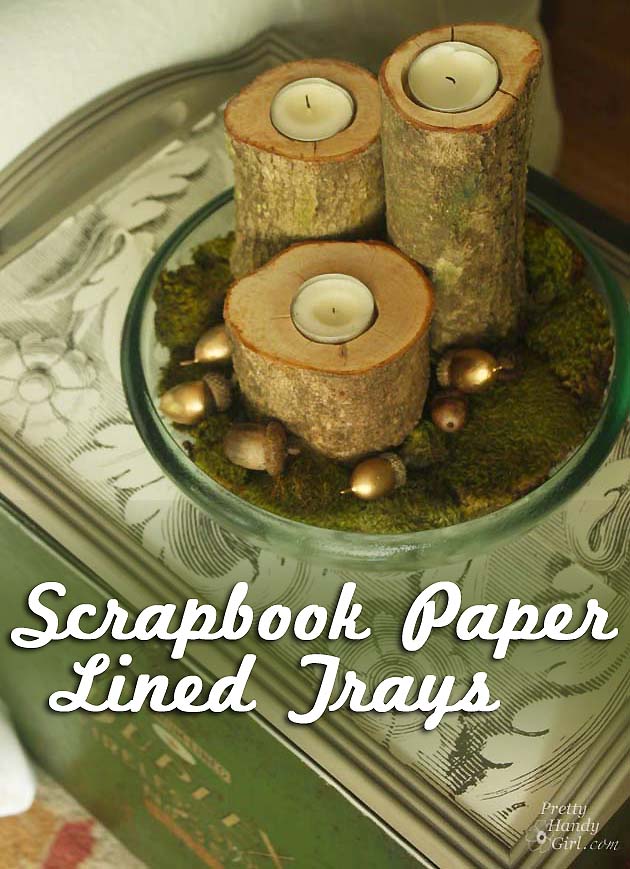
Scrapbook Paper Lined Painted Trays | Pretty Handy Girl

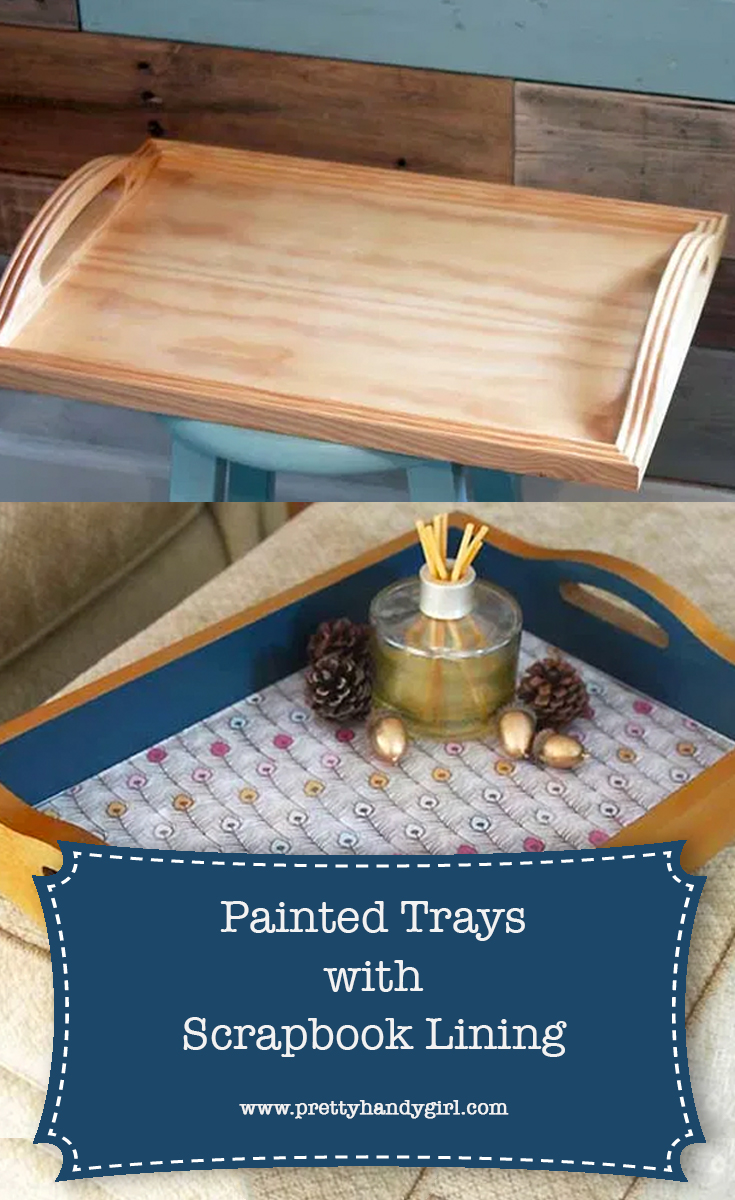
Look around your house or the next time youโ€™re at a thrift shop. Find either an unpainted tray or a tray that needs a makeover. This is a quick project to create a Painted Trays with Scrapbook Lining for a beautiful and elegant tray to display or organize things in your home.

Scrapbook Paper Lined Painted Trays | Pretty Handy Girl

Painted Trays with Scrapbook Lining

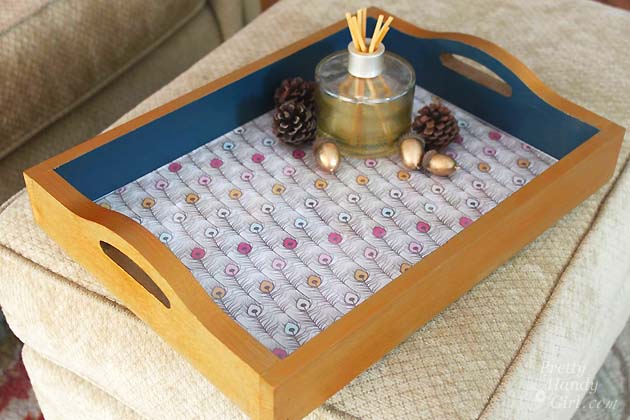
Today I have a really adorable and easy DIY idea for you! Scrapbook paper-lined and painted trays. These trays are so versatile, they can be used in the kitchen, bedroom, bathroom, or anywhere you want to corral items or have a flat surface available. They also make a great gift if you want to load them up with some smaller gift items. But best of all, you can change their look in a snap.

Scrapbook Paper Lined Painted Trays | Pretty Handy Girl

(Iโ€™ve includedย affiliate links for your convenience. I earn a small percentage from a purchase using these links. Thereย is no additional cost to you. You canย readย more about affiliate links here.)

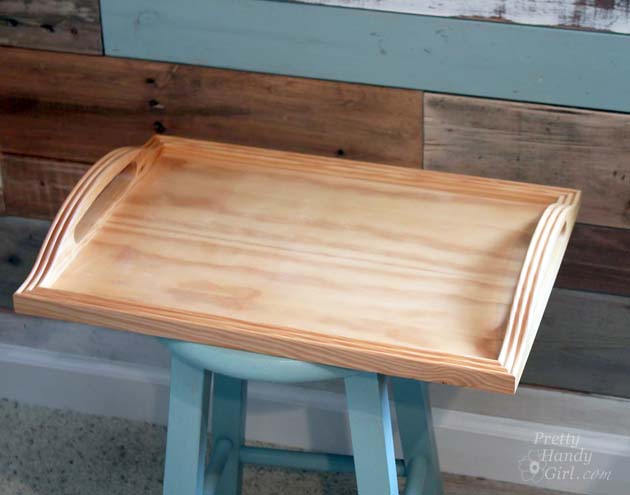
As I mentioned above unfinished trays can be purchased at many places. If you want a new one, look at your local craft supply store or order one online on Amazon for cheap.

Youโ€™ll also want some decorative scrapbook paper, gift wrap, or fabric to line the bottom of your tray.

Scrapbook Paper Lined Painted Trays | Pretty Handy Girl

Materials:

Instructions:

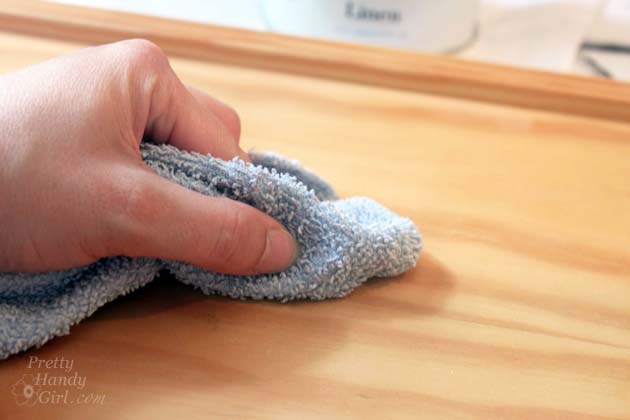
Lightly sand and wipe off tray with a damp rag.

Scrapbook Paper Lined Painted Trays | Pretty Handy Girl

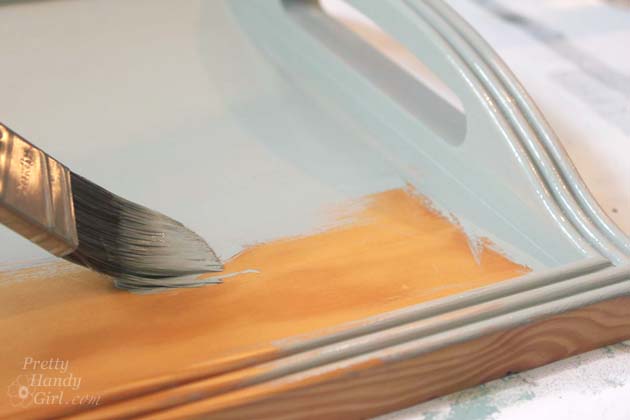
Prime tray (if using non-chalk paint.) Paint tray desired color. For this tray, I used Annie Sloan Chalk Paint in French Linen.

Scrapbook Paper Lined Painted Trays | Pretty Handy Girl

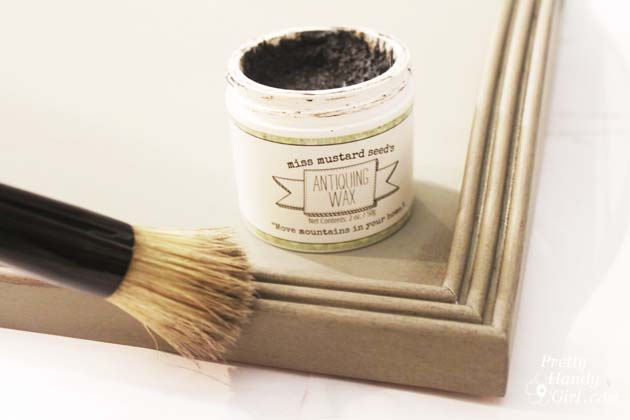
After the paint has dried, brush antiquing wax onto your tray if desired. Buff off excess with a dry rag.

Scrapbook Paper Lined Painted Trays | Pretty Handy Girl

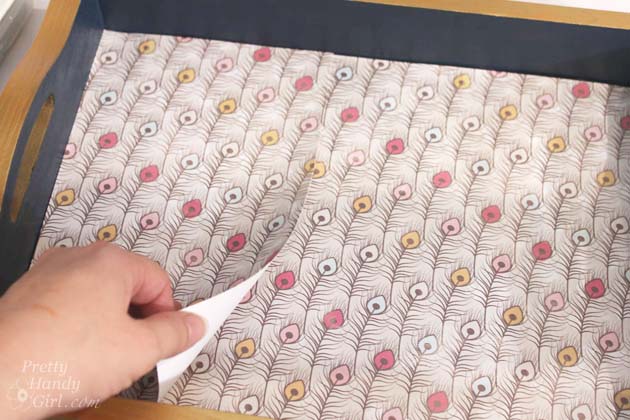
Cut scrapbook paper to fit inside the tray. When overlapping paper, make sure to line up the repeating pattern.

Scrapbook Paper Lined Painted Trays | Pretty Handy Girl

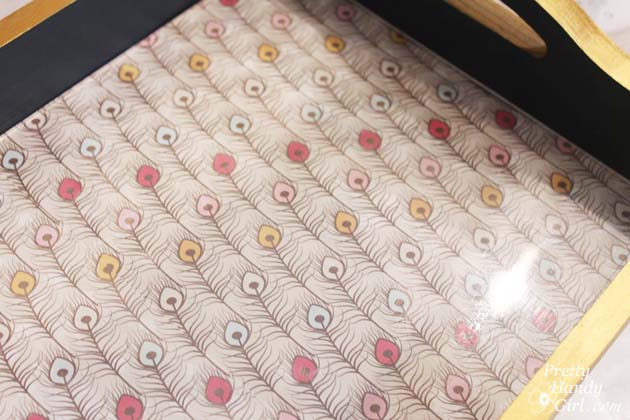
For the best durability, line the tray with a piece of glass or plexiglass cut to fit inside the tray. (Ask your local home improvement store to cut or order online.) If you want it to be permanent, seal the edges of the glass with clear silicone.

Scrapbook Paper Lined Painted Trays | Pretty Handy Girl

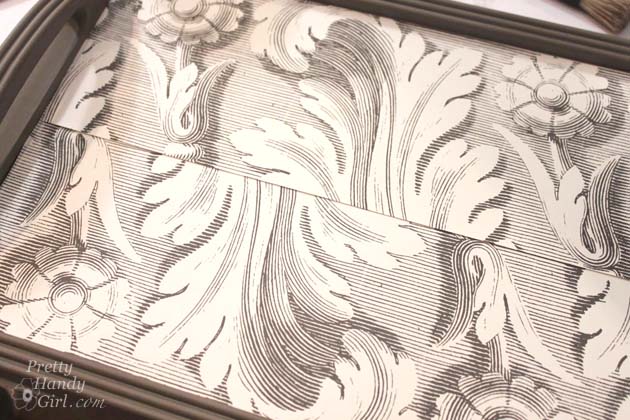
The paper you use to line the tray doesnโ€™t have to necessarily be scrapbook paper. I got this paper from Ballard Designs. Itโ€™s actually cheese paper, but I loved the design. It doesnโ€™t quite match up, so I just rotated the paper.

Scrapbook Paper Lined Painted Trays | Pretty Handy Girl

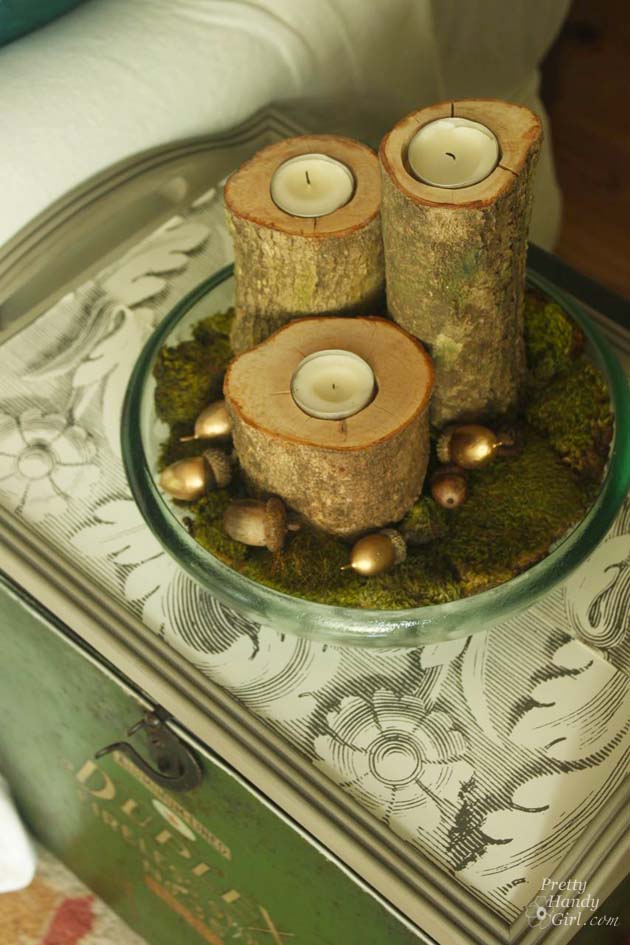
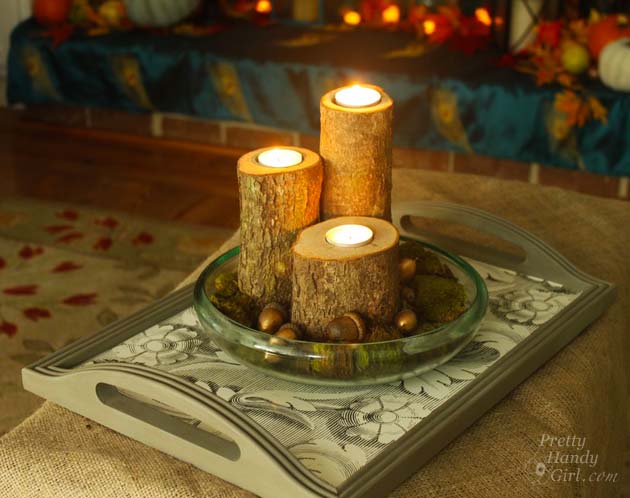
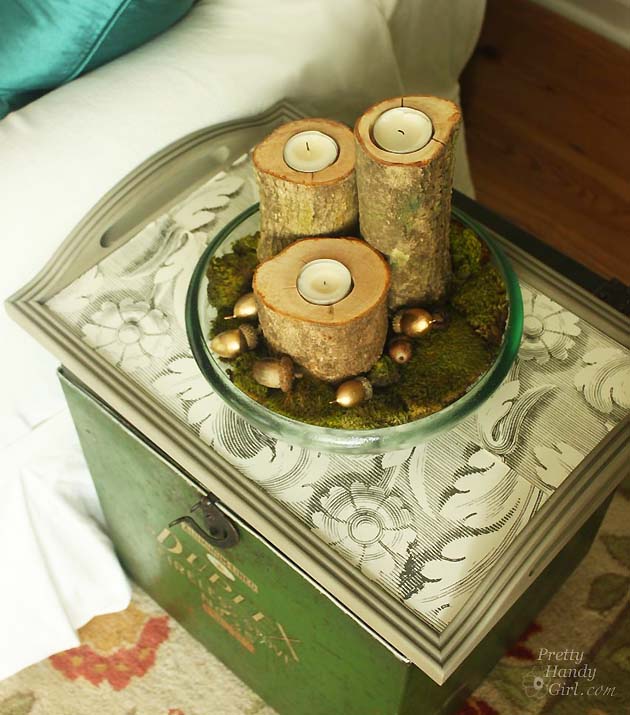
When you put something on top of the tray, you hardly notice the seam.

Scrapbook Paper Lined Painted Trays | Pretty Handy Girl

The nifty thing about these trays is the decorative paper can be swapped out when you bore of the design. (Unless, you seal the edges.)

Scrapbook Paper Lined Painted Trays | Pretty Handy Girl

Scrapbook Paper Lined Painted Trays | Pretty Handy Girl

Once again, Iโ€™m loving this idea too muchโ€ฆI might be keeping this one for myself ;-).

Scrapbook Paper Lined Painted Trays | Pretty Handy Girl

Do tell me if you love this idea or have any unique ideas for lining the bottom.

PHGFancySign

Pin for later!

DIY Painted Trays with Scrapbook Lining | Pretty Handy Girl

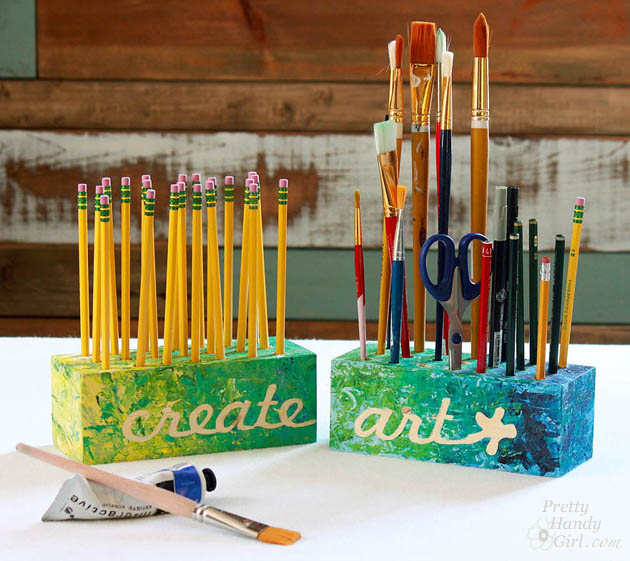
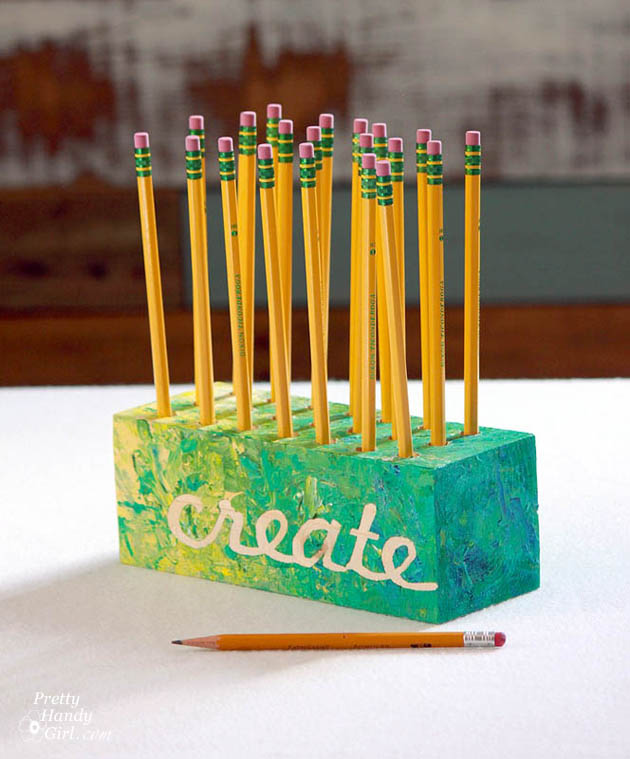
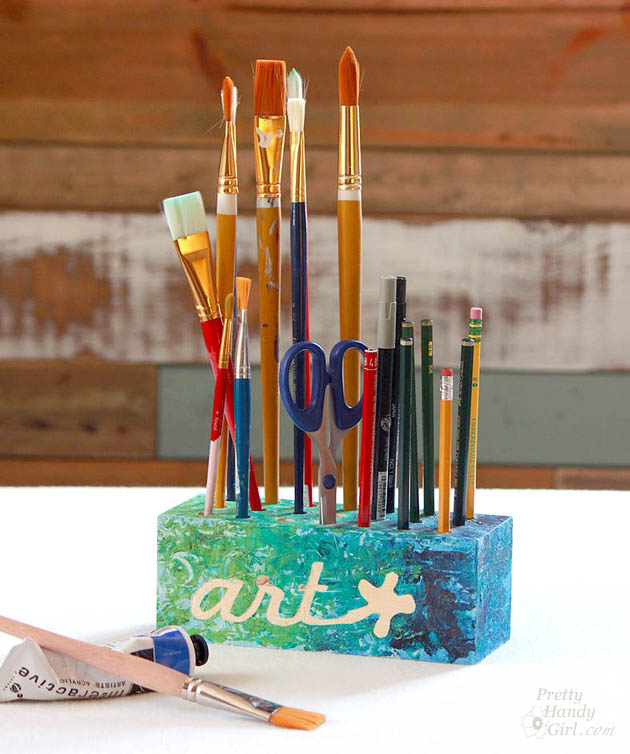
Need a quick gift using scrap wood? A Creative Block Desk & Art Utensil Holder is an easy and fun gift to make and certainly a project that you can customize to meet your needs. Best of all, the kids can help with the painting step!

create_art_block_holders_sm

Creative Block Desk & Art Utensil Holder

Motherโ€™s Day is this coming weekend! Have you decided how to show her your appreciation and love?! I did! My mother is a professional artist. She creates amazing paintings that inspire others and brightens their homes. For Motherโ€™s Day I wanted to brighten her studio with these art utensil holders. I call them โ€œCreative Blocks.โ€

Go ahead and raid your scrap pile and join us as we make these colorful and fun Creative Block Desk & Art Utensil Holders.

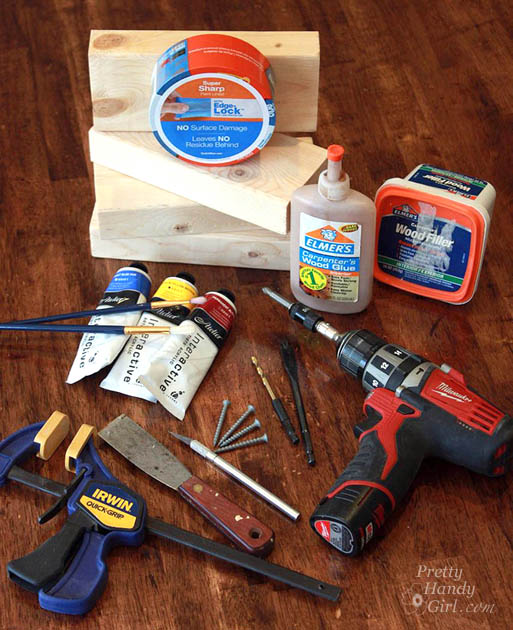
Materials:

(Iโ€™ve includedย affiliate links for your convenience. I earn a small percentage from a purchase using these links. Thereย is no additional cost to you. You canย readย more about affiliate links here.)

materials_wood_blocks_sm

Instructions:

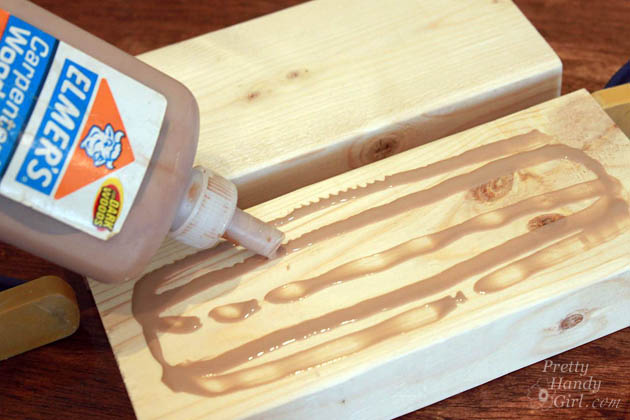
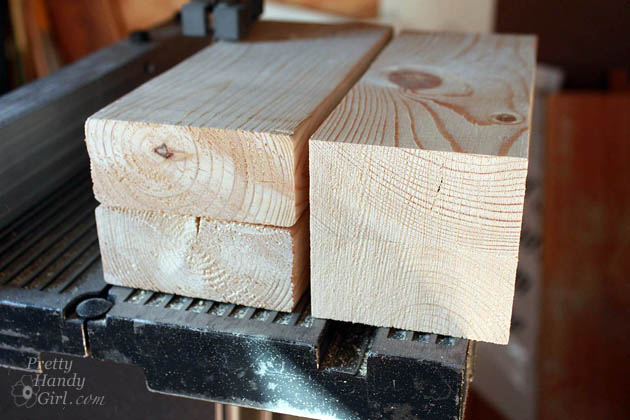
1. Block assembly: Select two 2×4โ€ณ scraps cut to the same length. Spread glue on one board and sandwich them together.

glue_blocks_together_sm

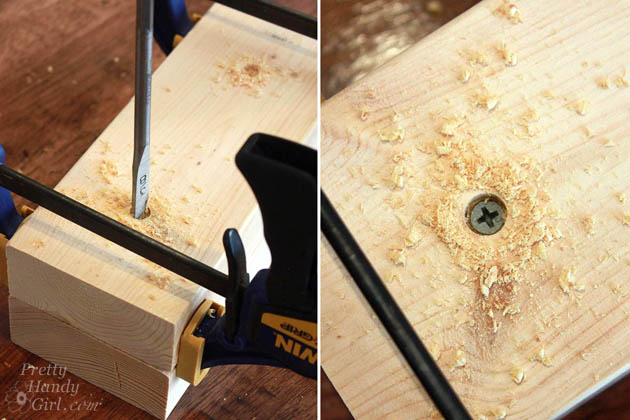
Clamp the wood together and drill two small holes to countersink the heads of the screws. Drive two screws into the bottom of the wood to hold the pieces together.

drill_blocks_together_sm

Use a band saw, jigsaw, or table saw to trim off the rounded edges of the wood so you have a square block of wood with straight corners.

square_off_2x4s_bandsaw_sm

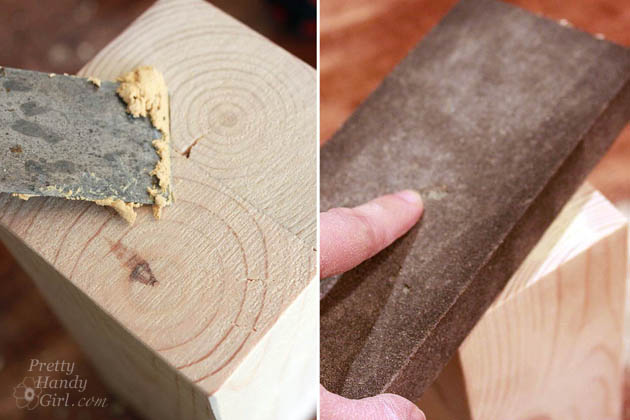
Putty any cracks or holes. Sand until smooth.

putty_and_sand_blocks_sm

2. Creating the mask:

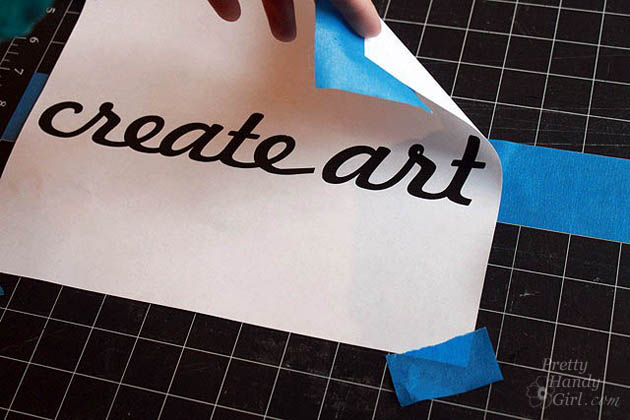
If you have a craft cutter (Silhouette or Cricut) you can create a mask in vinyl easily. But, if you donโ€™t you can use the computer to print out your words. Lay the print out on top of a strip of Painterโ€™s Tape. Use a few pieces of tape to secure the corners.

create_art_printout

Trace around the words with the X-acto knife (be sure to have a few fresh blades on hand.) Transfer the resulting cut-out tape onto the block of wood. Press the edges of the tape mask to secure the tape.

add_scotch_blue_tape_letters

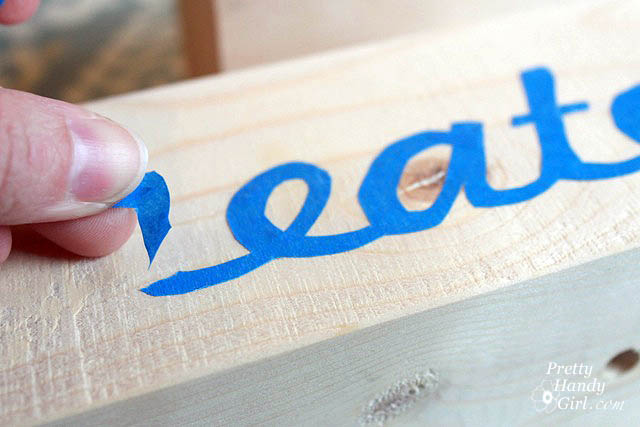
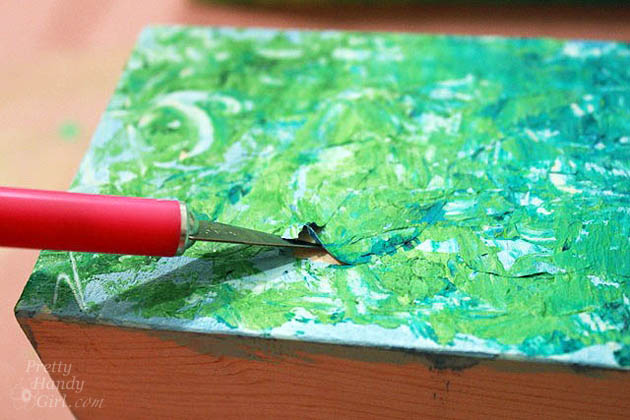
3. Painting the block: Paint a base color onto the block. Then use a brush and/or palette knife to dab thick paint over the block (minus the base.) Use the X-acto knife to gently peel off the tape mask. Let the paint dry thoroughly overnight.

lift_tape_up

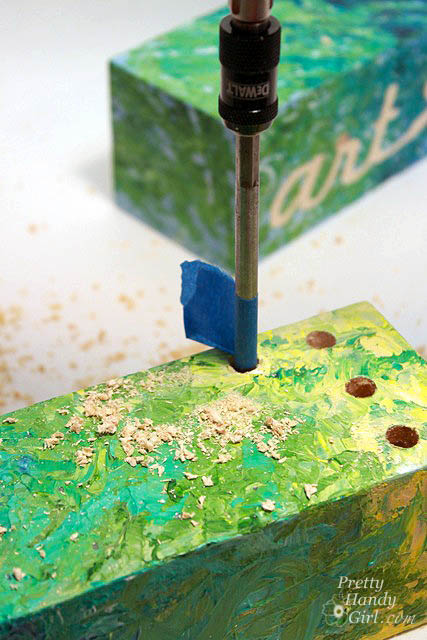
4. Drilling Holes: ย After the paint has dried completely, mark the location of the utensil holes with a pencil. Put a piece of painterโ€™s tape on the drill bit to mark the depth of your holes. Clamp the block and drill holes at each pencil mark.

drill_holes

Dump sawdust out of the holes.

Wrap up the blocks in gift wrap and enjoy the look of joy as your Mom opens her Creative Block Motherโ€™s Day gift!

create_pencil_holder_sm

art_brush_holder

You know, as an artist myself, I almost loved these too much to give them away. But, my Mom is worth it. (And I can make another set if I want ;-).)

create_art_block_holders_sm

For more last-minute Motherโ€™s Day gift ideas and many other creative projects, check out the Gift Ideas section here on the blog.

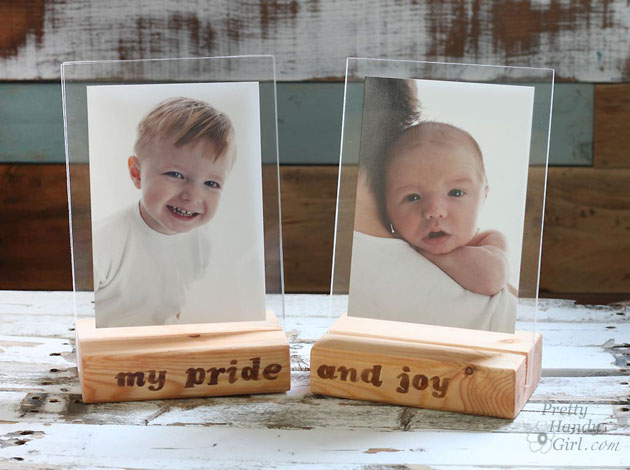
PHGFancySignIf you liked this project, youโ€™ll love these floating picture frames using more 2×4 scrap wood.

wood-block-picture-frames

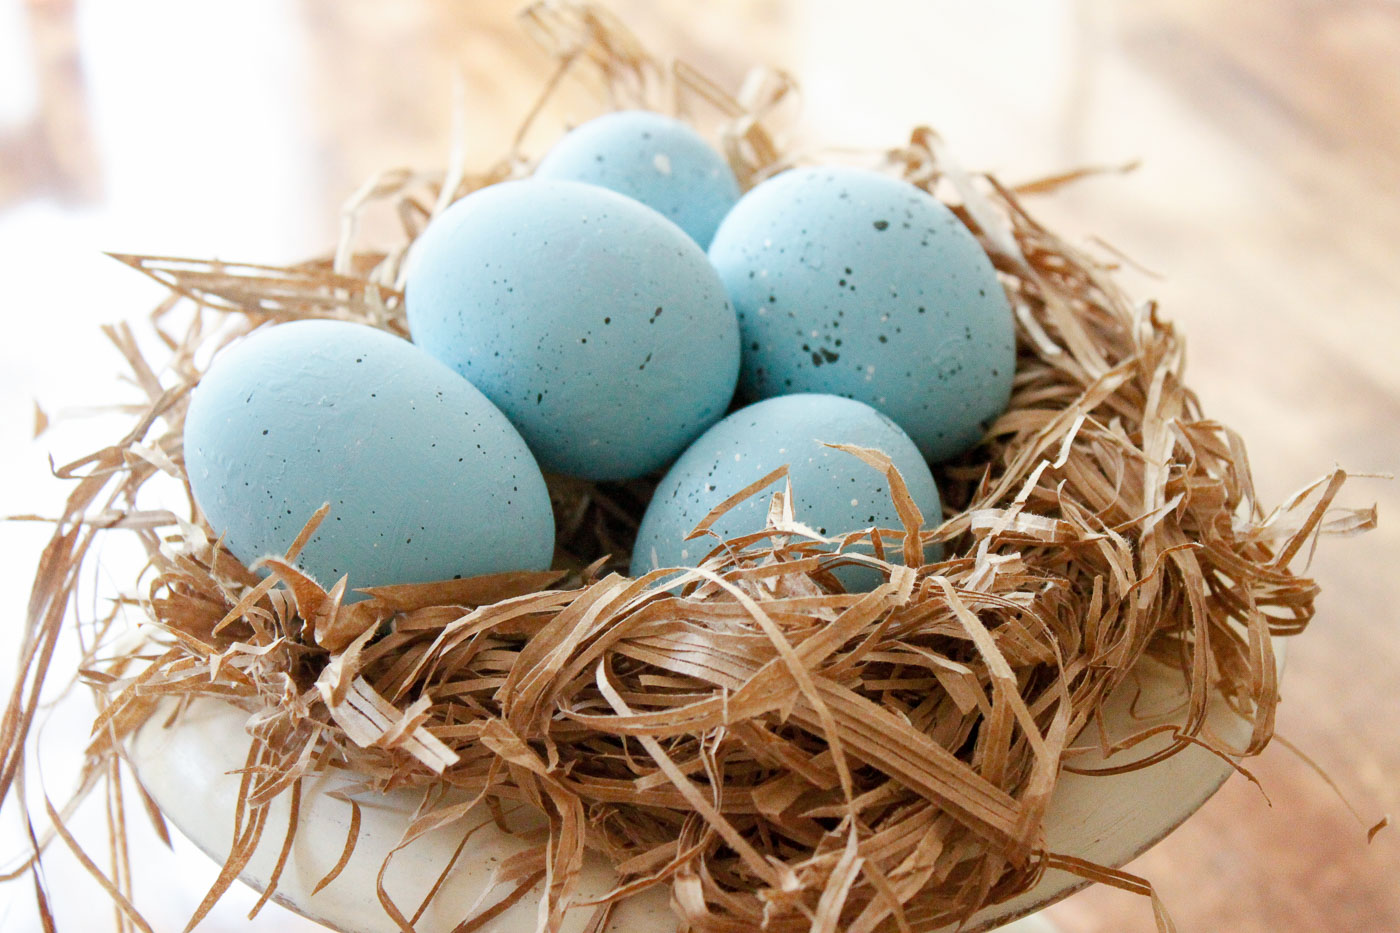
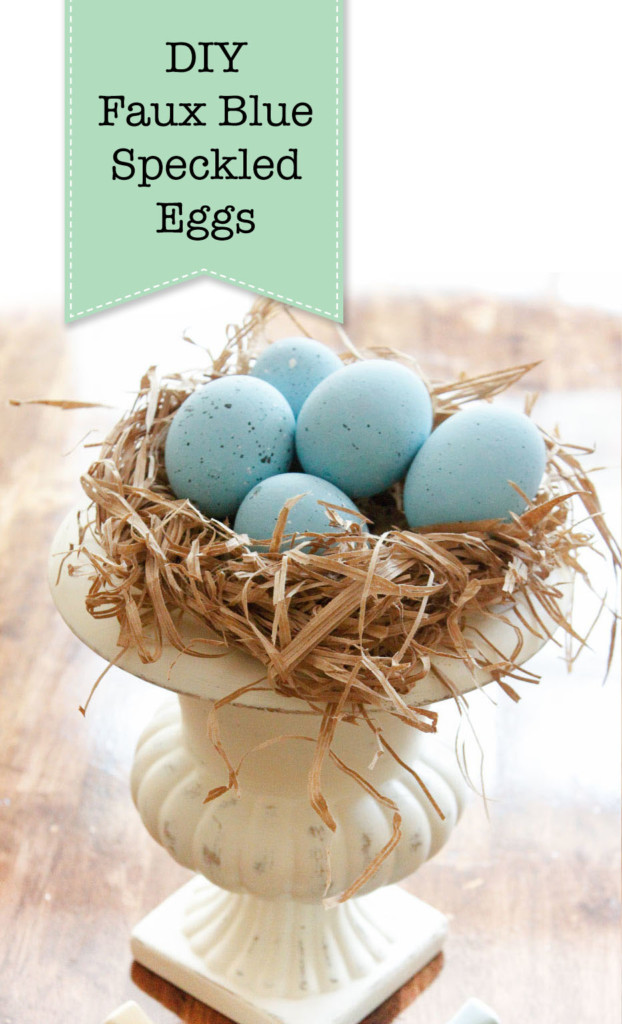
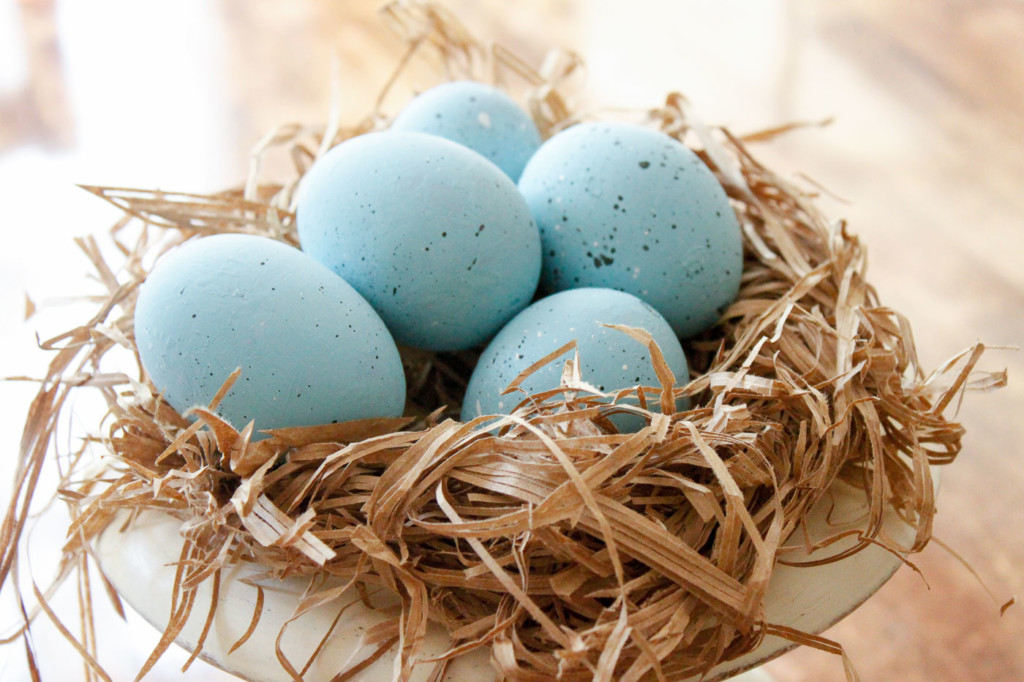
Can you think of anything more spring-like than a nest full of blue eggs? Today I want to show you how to make Faux Blue Speckled Bird Eggs and a Nest!

Faux Blue Bird Eggs and Nest

Spring has arrived in North Carolina and I want to dance and sing and tiptoe through the tulips. Now that Valentineโ€™s Day has come and gone, it is the perfect time to start decorating for Easter! A nest of Blue Speckled Bird Eggs makes a beautiful centerpiece! Mother Robin sure does create beautiful blue eggs, but weโ€™d never think of disturbing those precious eggs.
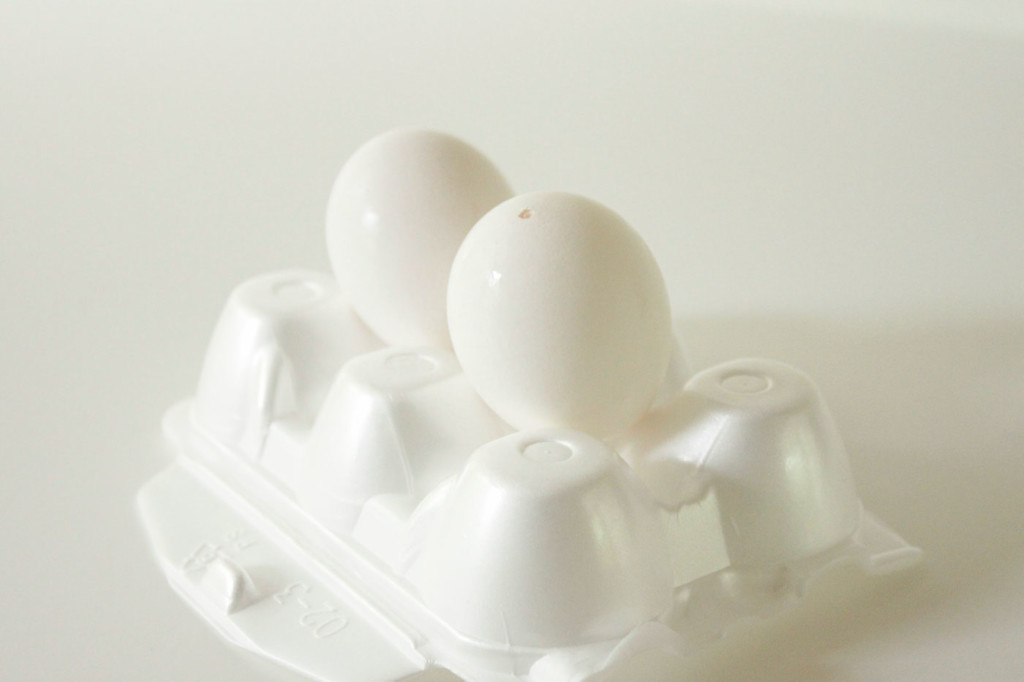
Instead, Iโ€™ll show you how to turn regular chicken eggsโ€ฆ

โ€ฆinto a beautiful nest of blue speckled eggs to decorate for Easter or Spring.

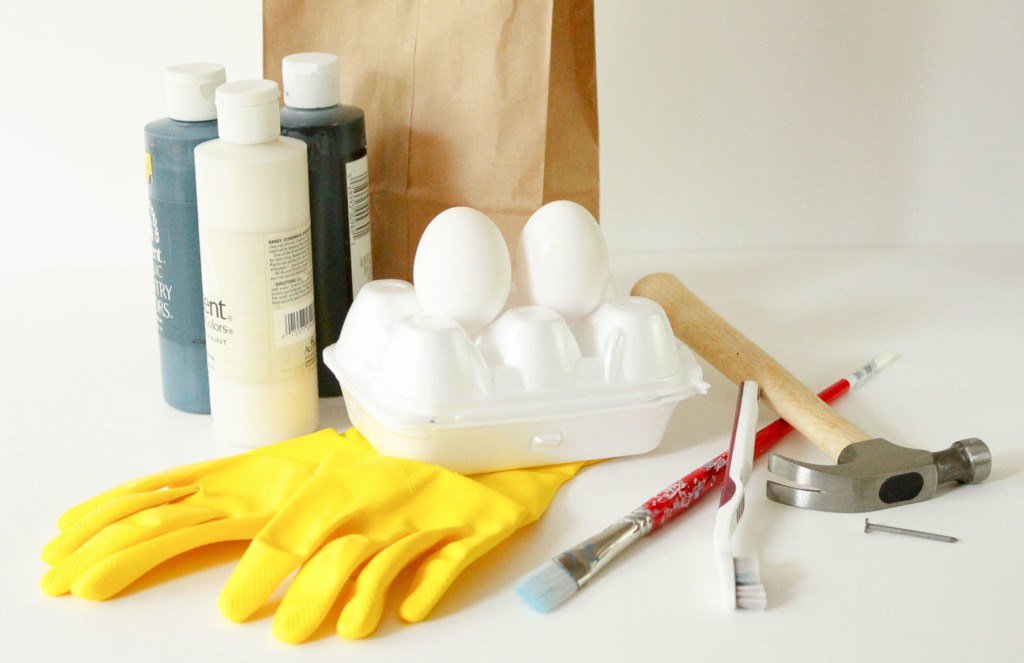
Materials:

(Iโ€™ve includedย affiliate links for your convenience. I earn a small percentage from a purchase using these links. Thereย is no additional cost to you. You canย readย more about affiliate links here.)

Instructions:

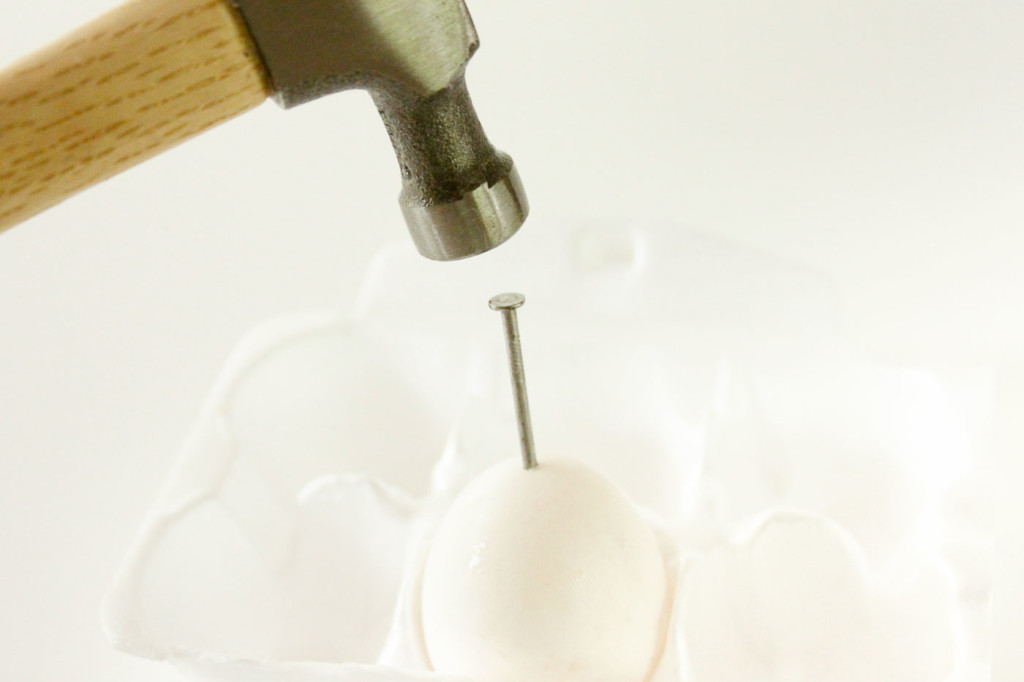
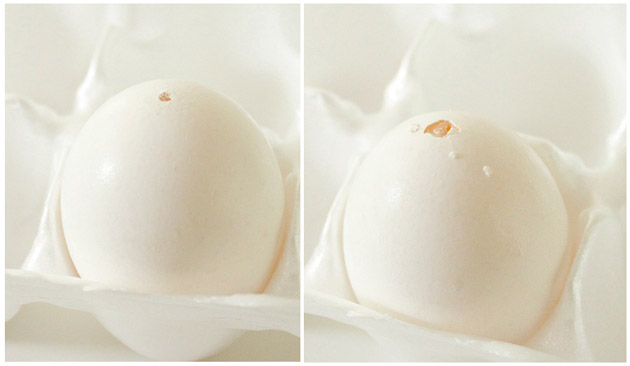
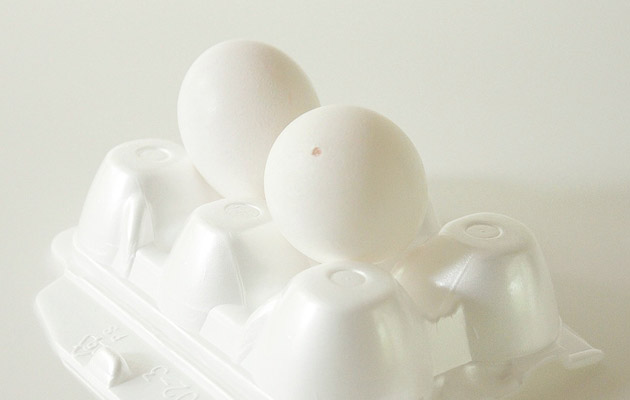
Itโ€™s time to get messy. Put down a drop cloth or tarp to cover your work area (and beyond.) First, Iโ€™ll show you a magic trick! Learn how to remove the white and yolk out of eggs without breaking the shell. Rest an egg inside the empty carton. Gently tap a nail into the top of your egg.
Turn the egg upside down and put another hole into the other side. Typically youโ€™ll need one hole slightly larger.

Faux Robin's Egg Spring Nest | Pretty Handy Girl

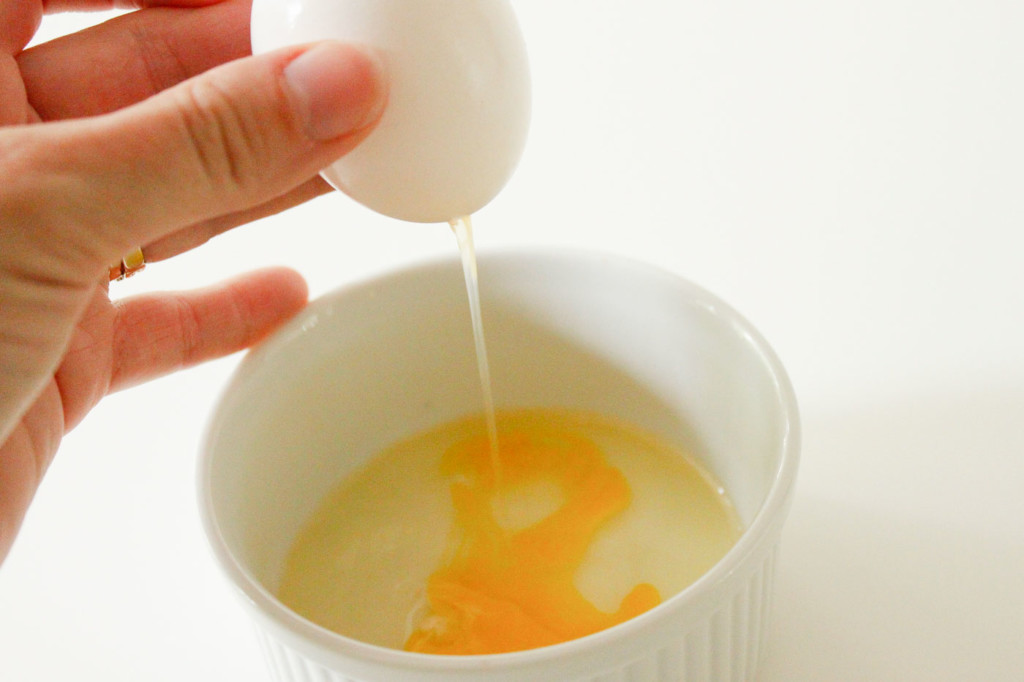
Pucker up and blow through the smaller hole until the egg white and yolk drain out the larger bottom hole. (Of course, youโ€™ll probably want to save the eggs for omelets or scrambled eggs.)

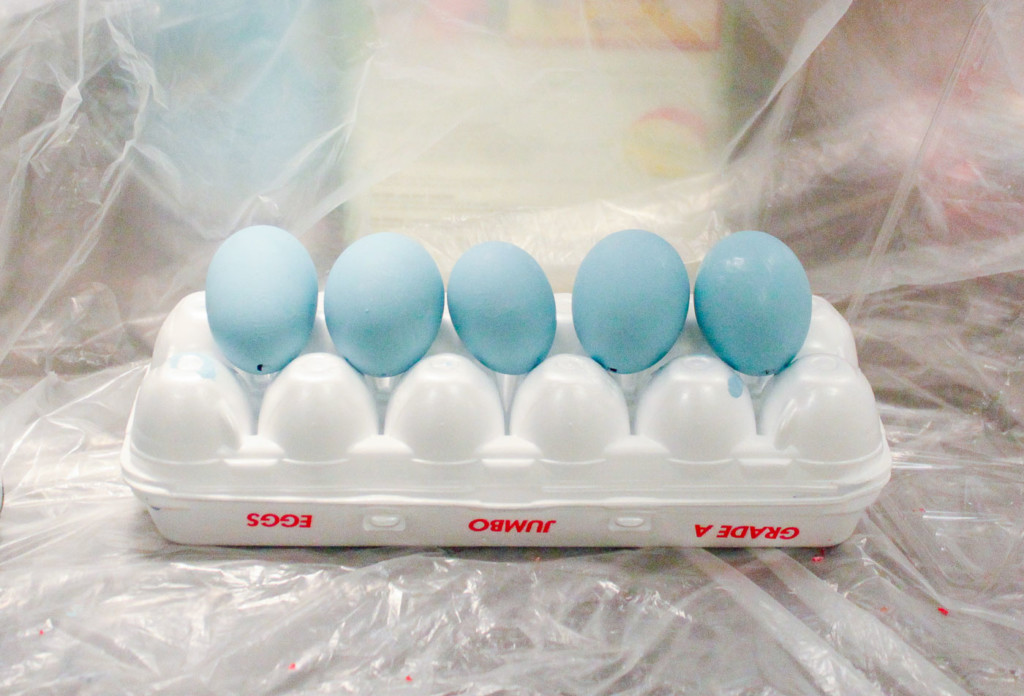
Once you have emptied your eggs, clean them off. Then close your egg carton and flip it upside down to create a raised support for your eggs.

Faux Robin's Egg Spring Nest | Pretty Handy Girl

Gather your blue, black, and white acrylic paints. Paint the egg a robinโ€™s egg blue color and allow them to dry.

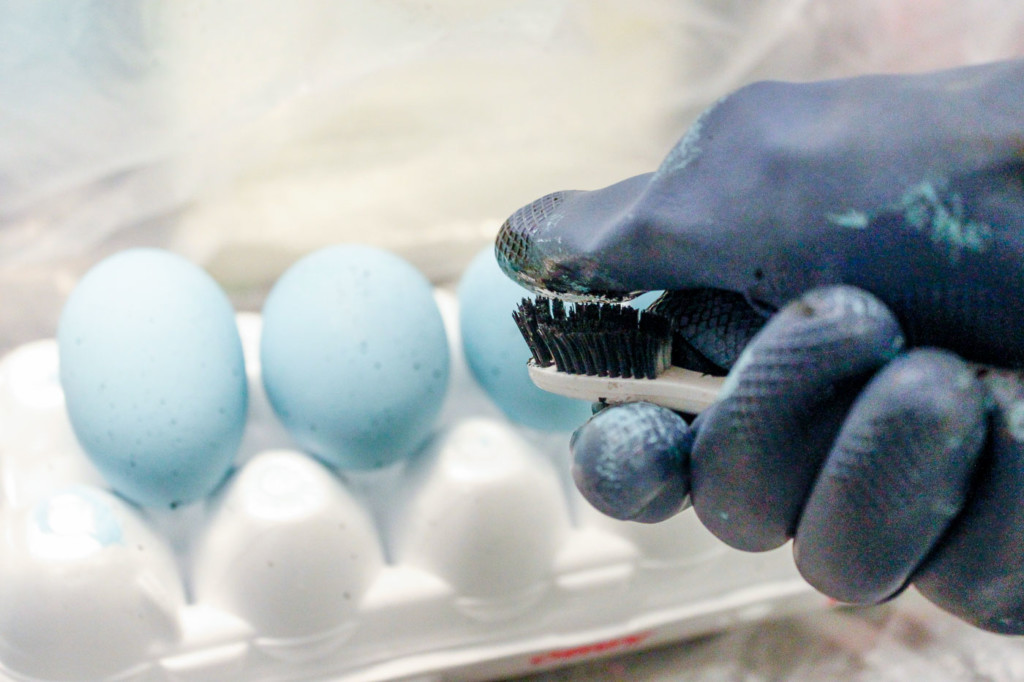
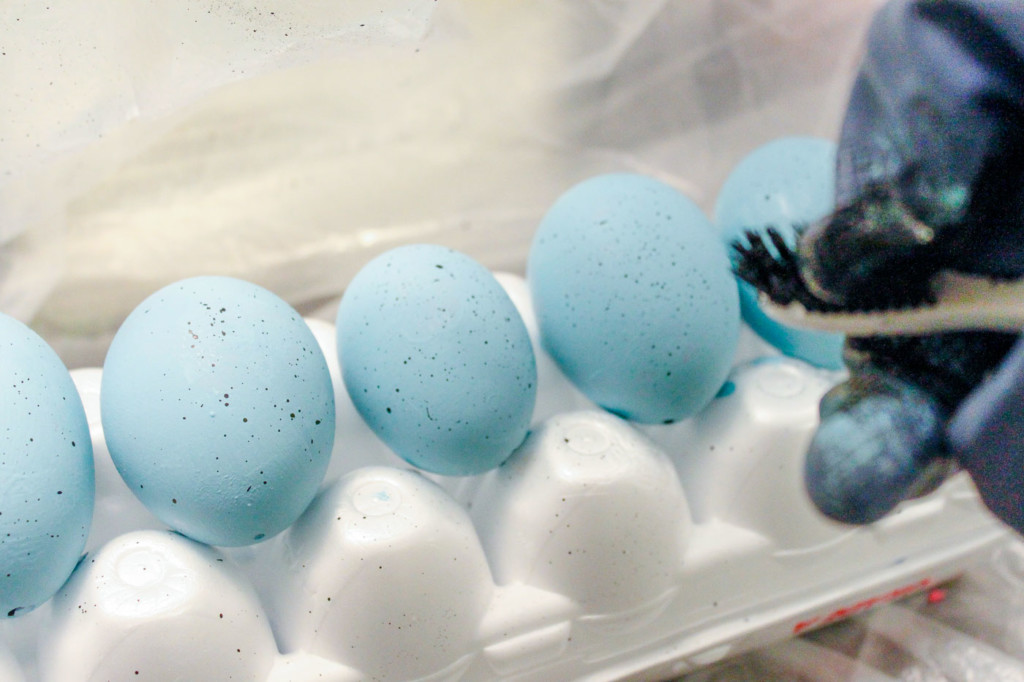
Put on rubber gloves. Pour a small amount of black acrylic paint onto a paper plate. Add a little water to create a runny consistency. Dip the toothbrush into the paint mixture. Aim the toothbrush at the eggs and stroke your finger along the bristles to spatter black dots all over the eggs.

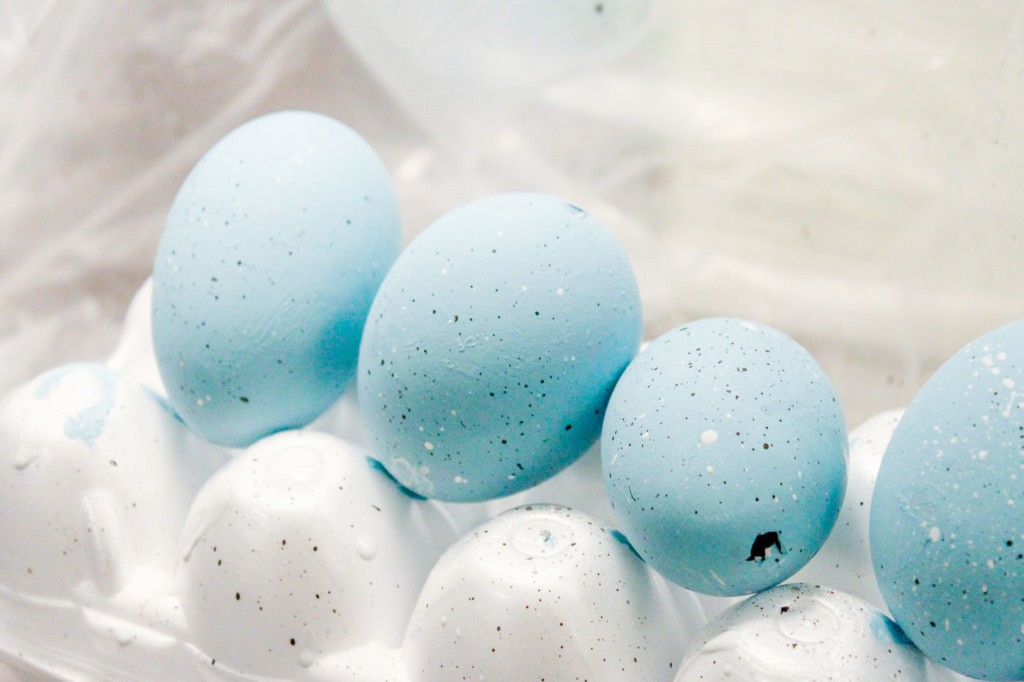
Allow the black speckles to dry and repeat the process using the white paint.

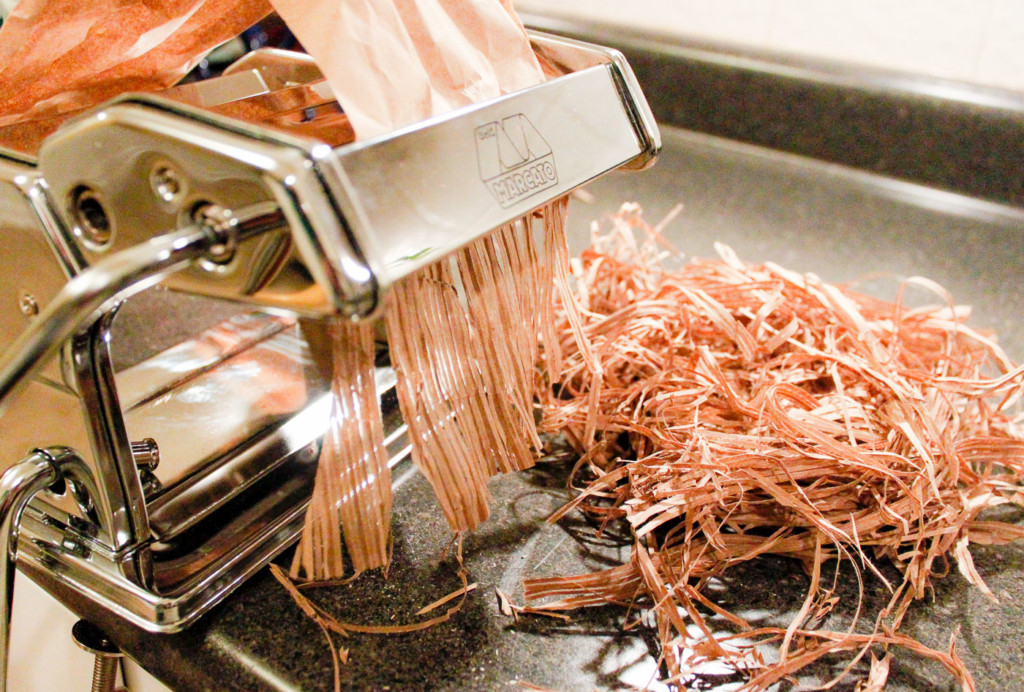
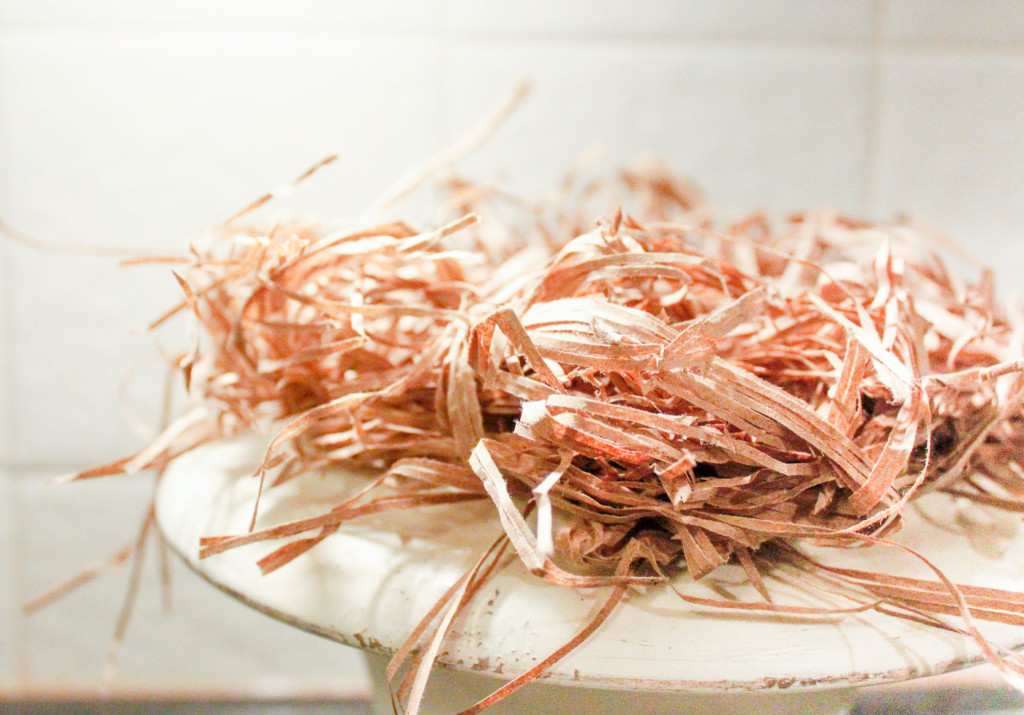
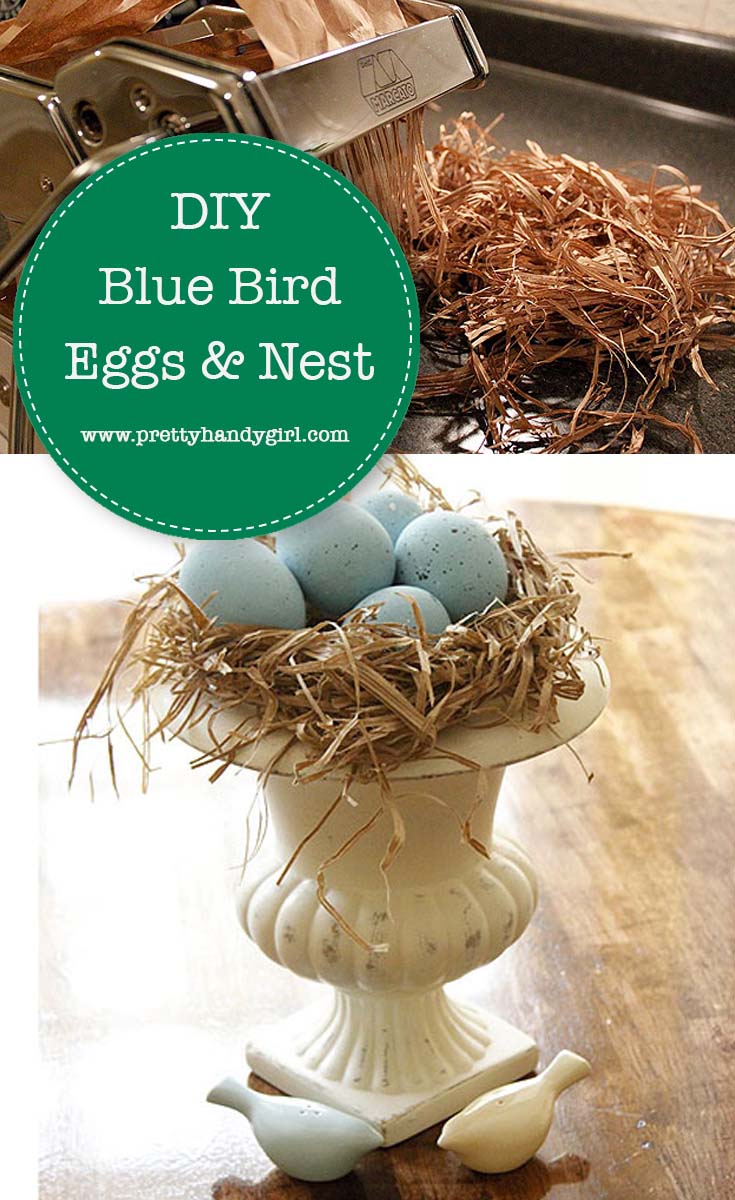
While the eggs are drying, pull out your pasta maker. (Am I the only one who never uses my pasta maker for making pasta?) Cut the paper bag into sections wide enough to fit into the pasta maker.

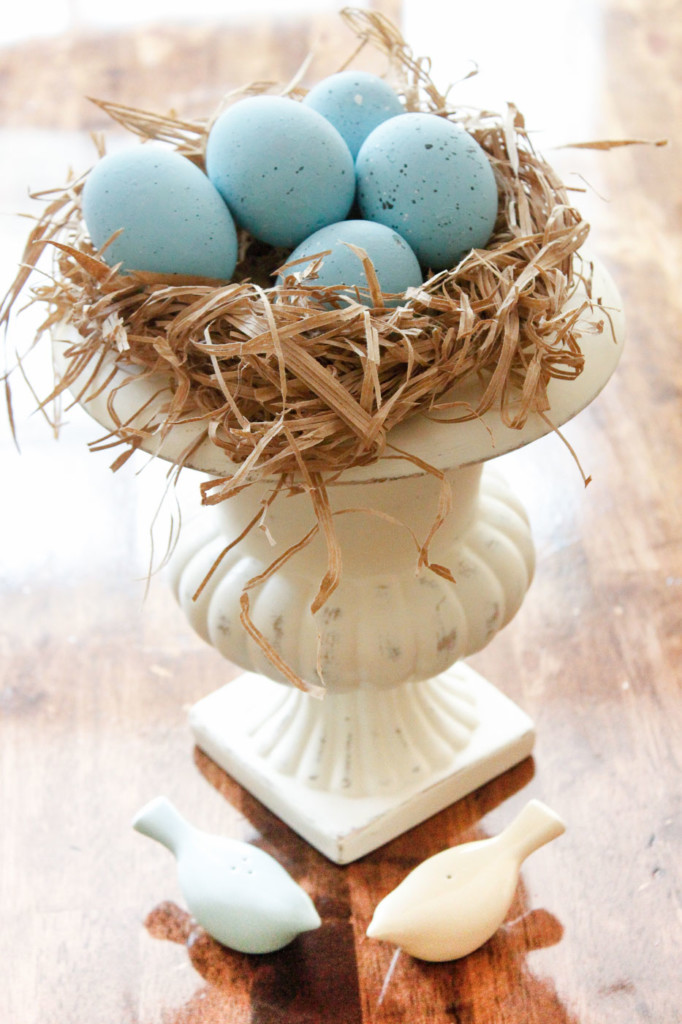
Feed the paper bag through the pasta maker to shred it. (You can shred the bag with a paper shredder or scissors if you donโ€™t have a pasta maker.) Arrange the shreds into a nest form in a bowl, urn, or basket.

Set your faux blue bird eggs into the nest and admire your beautiful Spring dรฉcor!

This centerpiece can be left out until you are tired of looking at it. Then store the eggs in the carton and bring them out again next year.


Have a great week! I hope the weather is warming up where you are!


Pin for later!

This DIY nest of Blue Bird Eggs makes a beautiful centerpiece for your Easter decor! | DIY Easter table centerpiece | Pretty Handy Girl #prettyhandygirl #easterdecor #tablecenterpiece