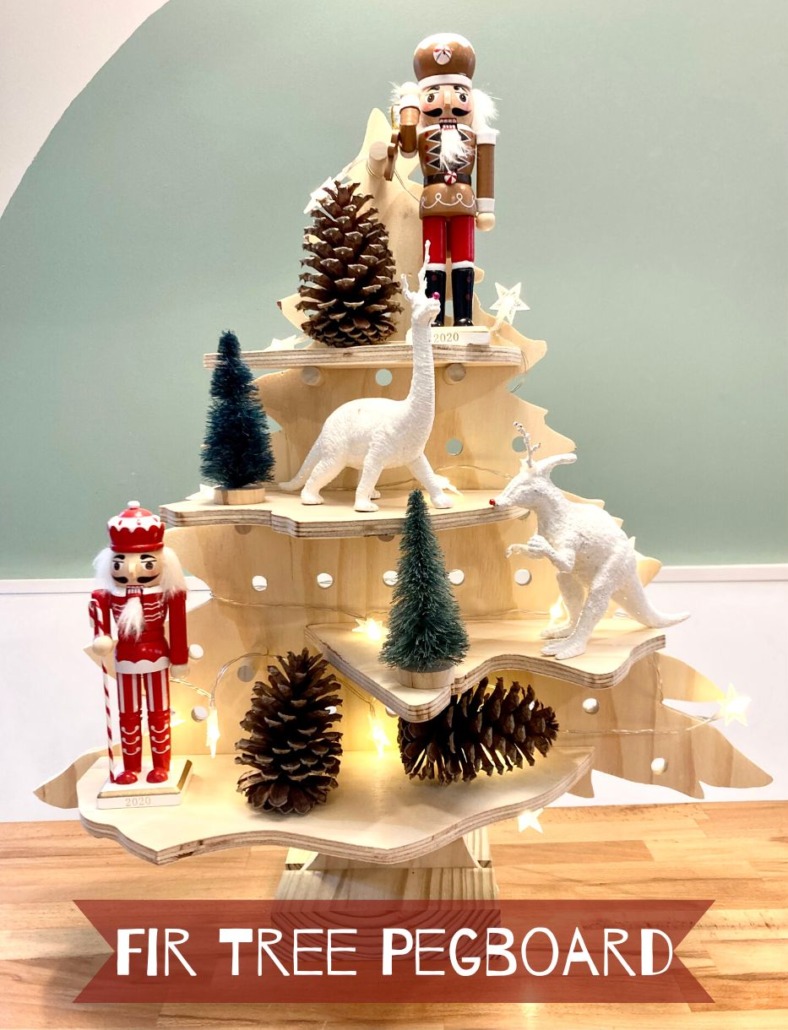
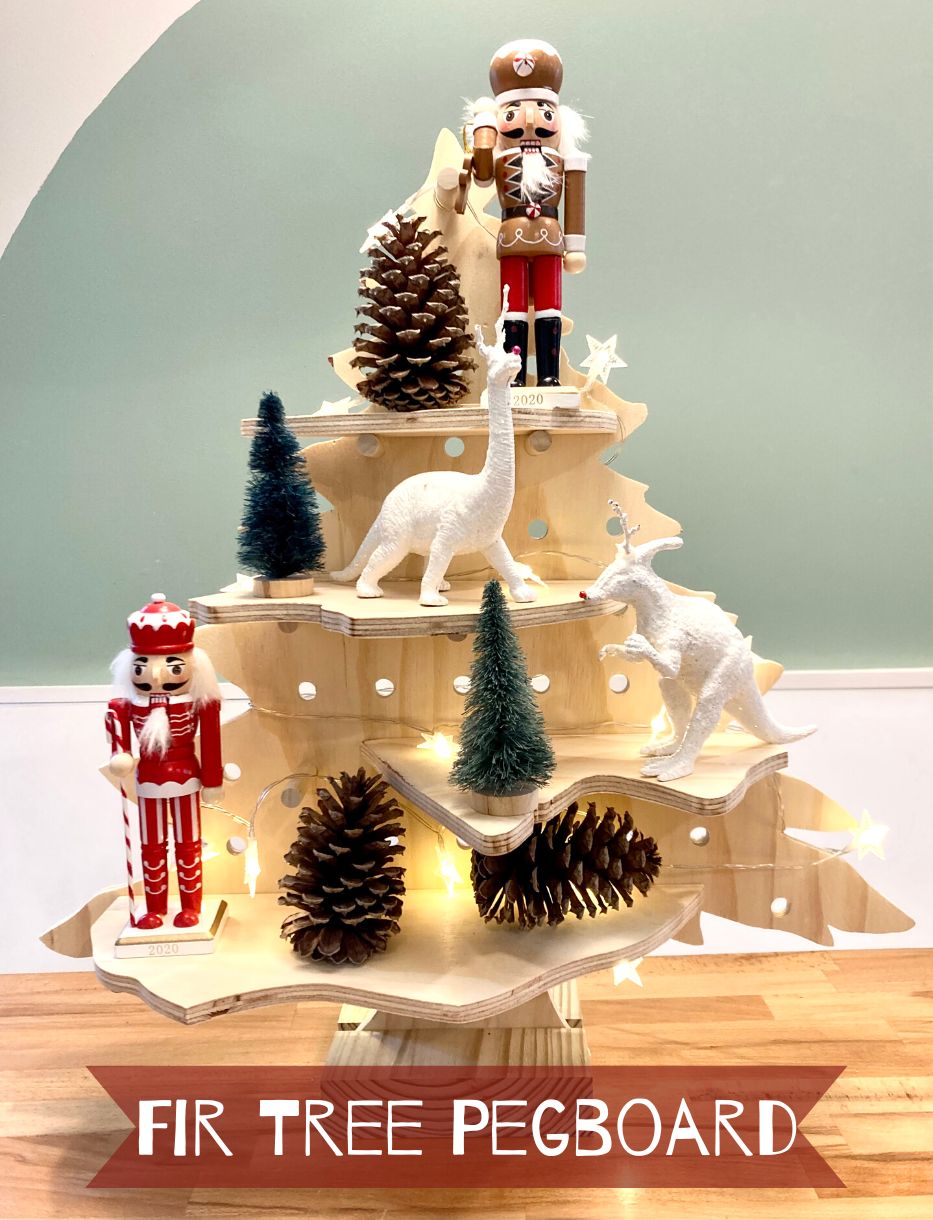
Looking for a last-minute holiday craft you can do with your kids (or alone in your own quiet spot)? How about a fir tree pegboard! This is a festive, fun project you can make in an evening.

Plywood tree with

How to Make a Fir Tree Pegboard

There are so many fun ways to use this pegboard tree! Weโ€™ve made a dino tree, a wino tree, and have big plans for a charcuter-tree (a.k.a. a vertical tree-shaped meat and cheese tray). I imagine even the Elf will find a โ€œshelfโ€ or two to relax on over the next few weeks. When the holidays are over, this tree can shed its twinkle lights and function as a nature-themed table display or become a donut tree! What are your creative ideas for this pegboard? Leave a comment below!

Materials:

  • 1/2โ€ plywood (only need a 2X2-foot piece)
  • 1/2โ€ dowel at 5 feet long
  • 2×6 at 7 inches
  • Paint (optional but not recommended)

(Iโ€™ve includedย affiliate links for your convenience. I earn a small percentage from a purchase using these links. Thereย is no additional cost to you. You canย readย more about affiliate links here.)

Tools:

Instructions:

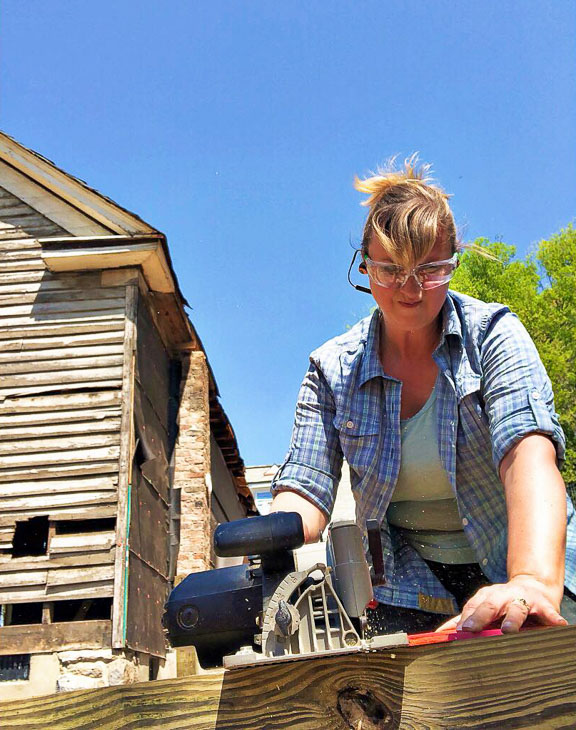
Step 1: Determine the desired size of your fir tree peg board. I wanted something 2 feet tall and approximately 2 feet wide at the base with a 7-inch stump at the bottom. Using a table saw or a circular saw, trim down your plywood to a square or rectangular that will fit the outline of your tree. If you purchase plywood from your local hardware store, you can ask them to cut it down to your specifications.

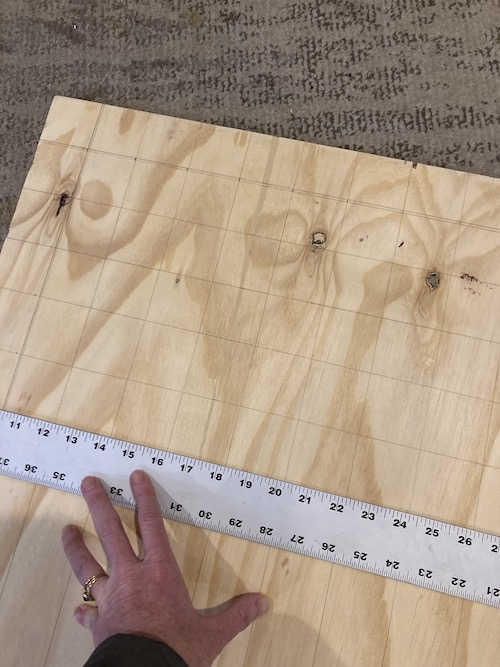
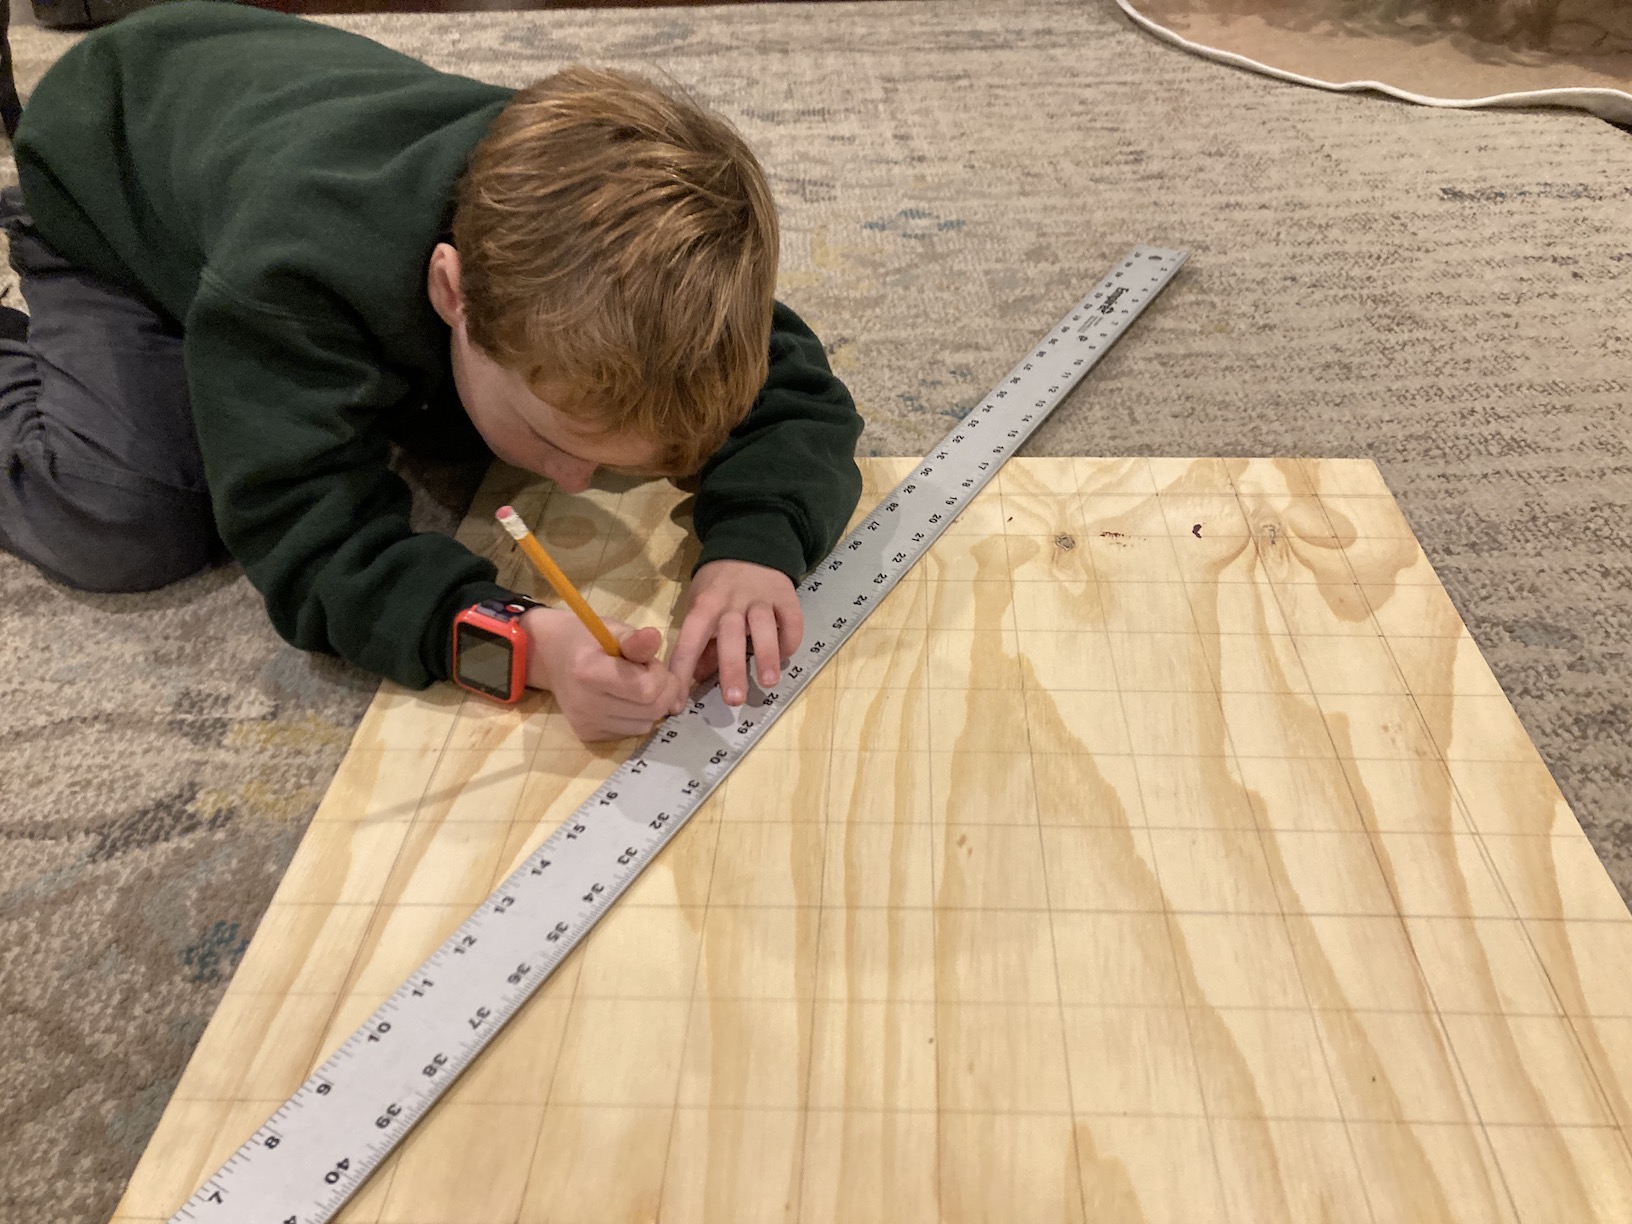
Step 2: With your plywood cut, determine how far apart you want your peg holes. Mine are spaced 2 inches apart from the center of each hole. Unpro tip: If you make the dimensions of your plywood section evenly divisible by the distance between the holes (for example, 24 inches wide with 2-inch hole spacing, or 21 inches wide with 3-inch hole spacing), this process is a breeze. If not, be prepared to do some 8thย grade level math. Use a pencil to mark the hole spacing along each edge of the plywood, then use a straight edge to connect the marks from side to side.

Step 3: You should have a grid on your 1/2โ€ plywood. If you are artistically inclined, use a pencil to freehand sketch the shape of a tree, starting from the center point at the top. The intersection of each grid line is where you will place a 1/2โ€ hole, so plan the edges of your tree accordingly. Of course, you always have the option of omitting holes too close to the edges. If you arenโ€™t artistically inclined, make a guide by drawing a triangle from the center at the top and down to each bottom corner.

Then sketch the tree branches following the lines on each side. I made a stump at the bottom because my son couldnโ€™t fathom a flat bottom tree (dramatic gasp!). I am NOT a gifted sketcher, but doing it this way was nearly foolproof. Alternatively, a simple triangle pegboard could make a stunning minimalist tree andย I love thatย for those of you who are overwhelmed by the thought of drawing and then cutting fir tree branches.

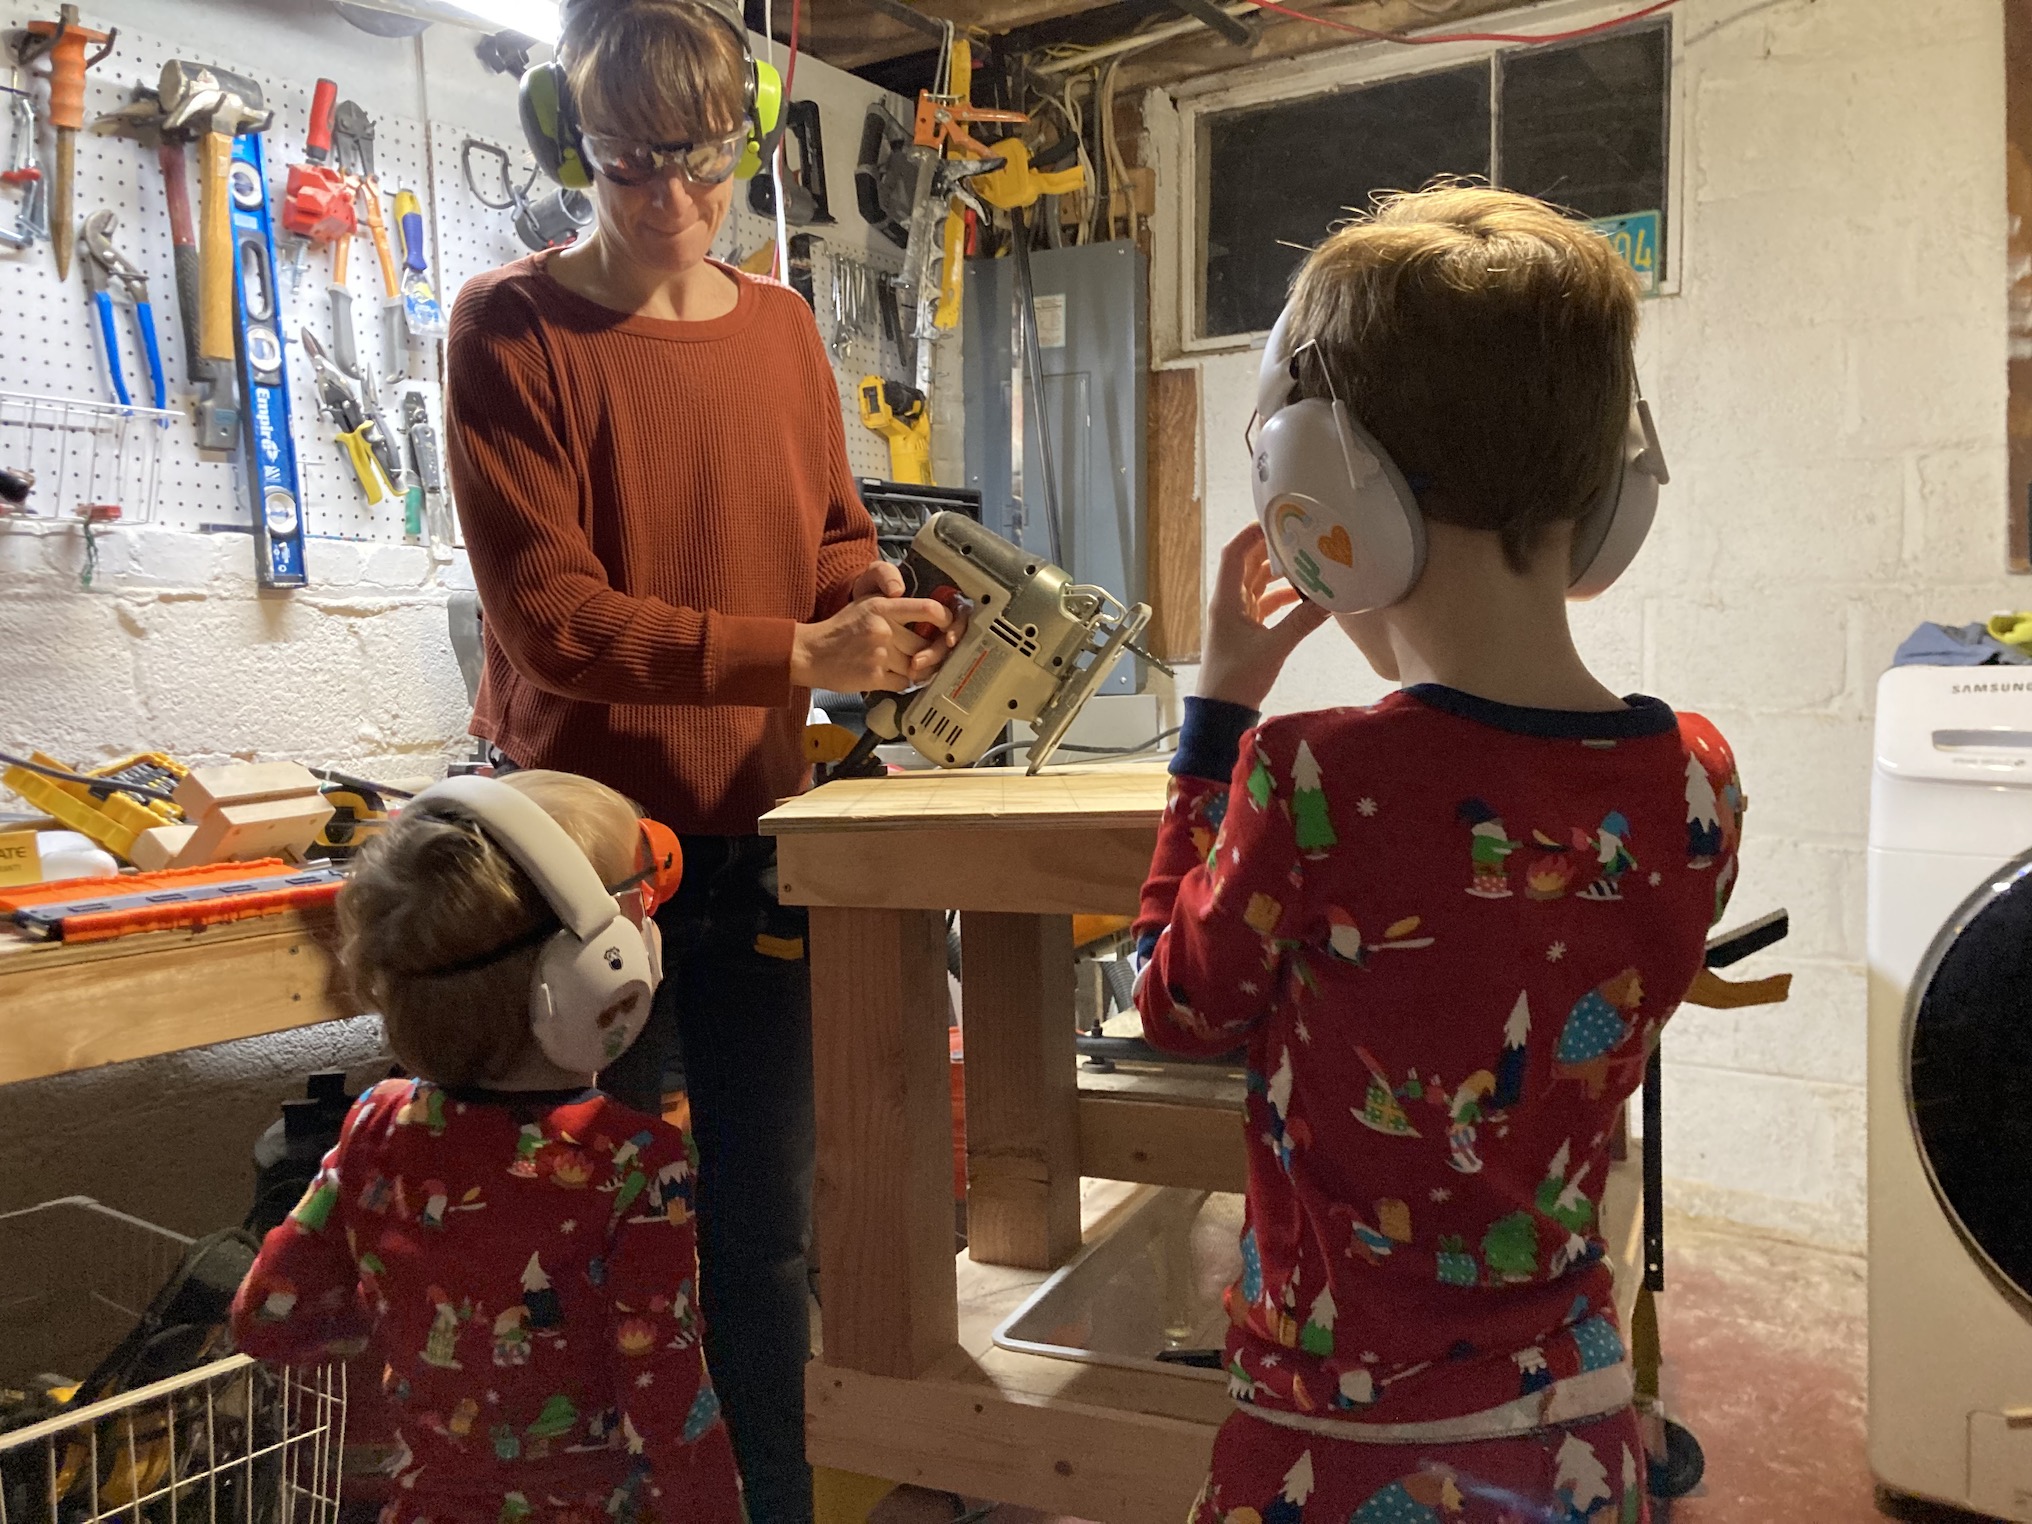
Step 4: Now for the tools. Both of my kids are notorious for following me into my workshop dungeon and I encourage it! But we have strict rules to keep everyone safe.

Rule number one is that no matter which tools we are using, everyone wears properly fitted (i.e. kid-sized) ear and eye protection. This creates good habits from an early age and prevents those โ€œwhoops!โ€ moments when you use the miter saw for โ€œjust a quick secondโ€ and now everyoneโ€™s ears are ringing. A quick hearing fact for the DIYers with kiddos: 1 in 6 school-aged in the children in the US suffers from noise-induced hearing loss. This is permanent hearing loss that can impact their social development and academic success and will ultimately need to be treated with hearing aids to offset the increased risk of early on-set dementia. Take a moment to let that sink in. This is why I am so cautious with my kids around loud tools (not to mention at loud events and on airplanes). My kids wear hearing protection made specifically for children.ย We useย Wise Little Earsย hearing protection from an audiologist and educator-owned company. In full disclosure, I am the educator half of this mom-owned business! We assure each pair is high quality and comes with guidance for how and when to use them. If you have children, I hope youโ€™ll look into our Wise Little Ears protective products for your little ones.

Now, with your safety gear on, clamp the plywood to a sturdy surface and use a jigsaw to cut out the shape of the tree on one side, then on the other side. Go slowly and make extra cuts to get into tight turns. Save the scraps, youโ€™ll use them for branch-looking shelves later.

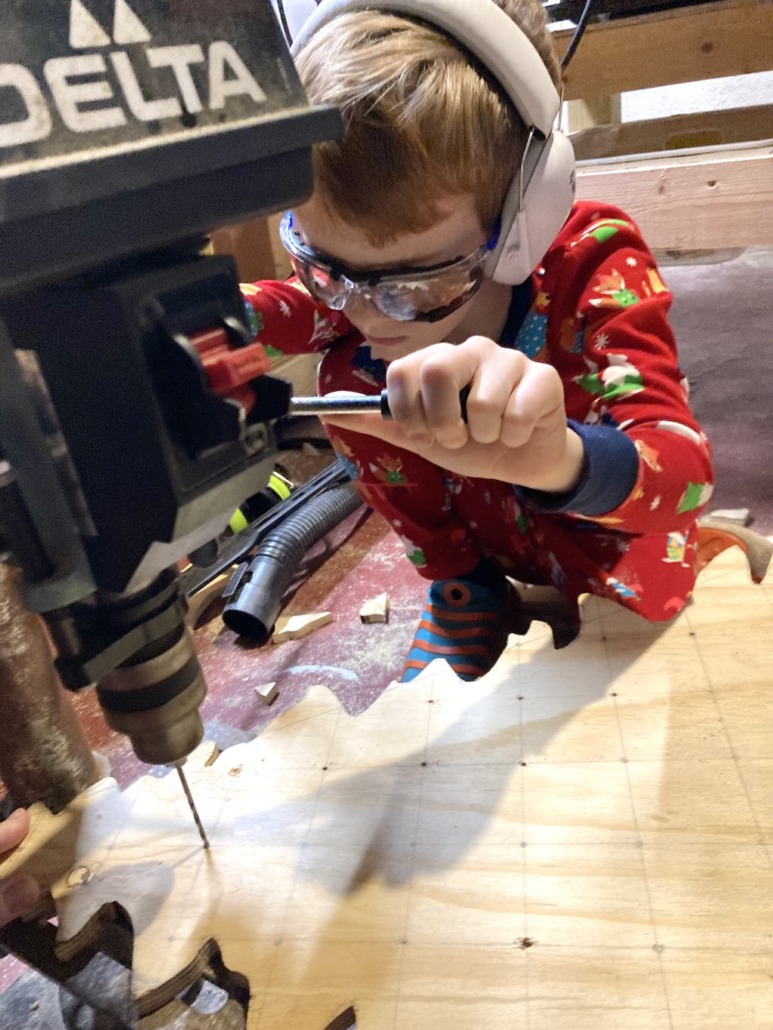
Step 5: You should have the outline of your tree with gridlines. Using a pencil, make a mark at all the intersections that are not close to an edge. Remember that the peg holes will be a 1/2โ€ in diameter, so they need a little space. Skip any hole that is too close to the edge. Using a drill, make small pilot holes at each mark. Pilot holes are optional, but they help guide the forstner bit.


(Drill press not necessary, a hand held drill would work fine.)

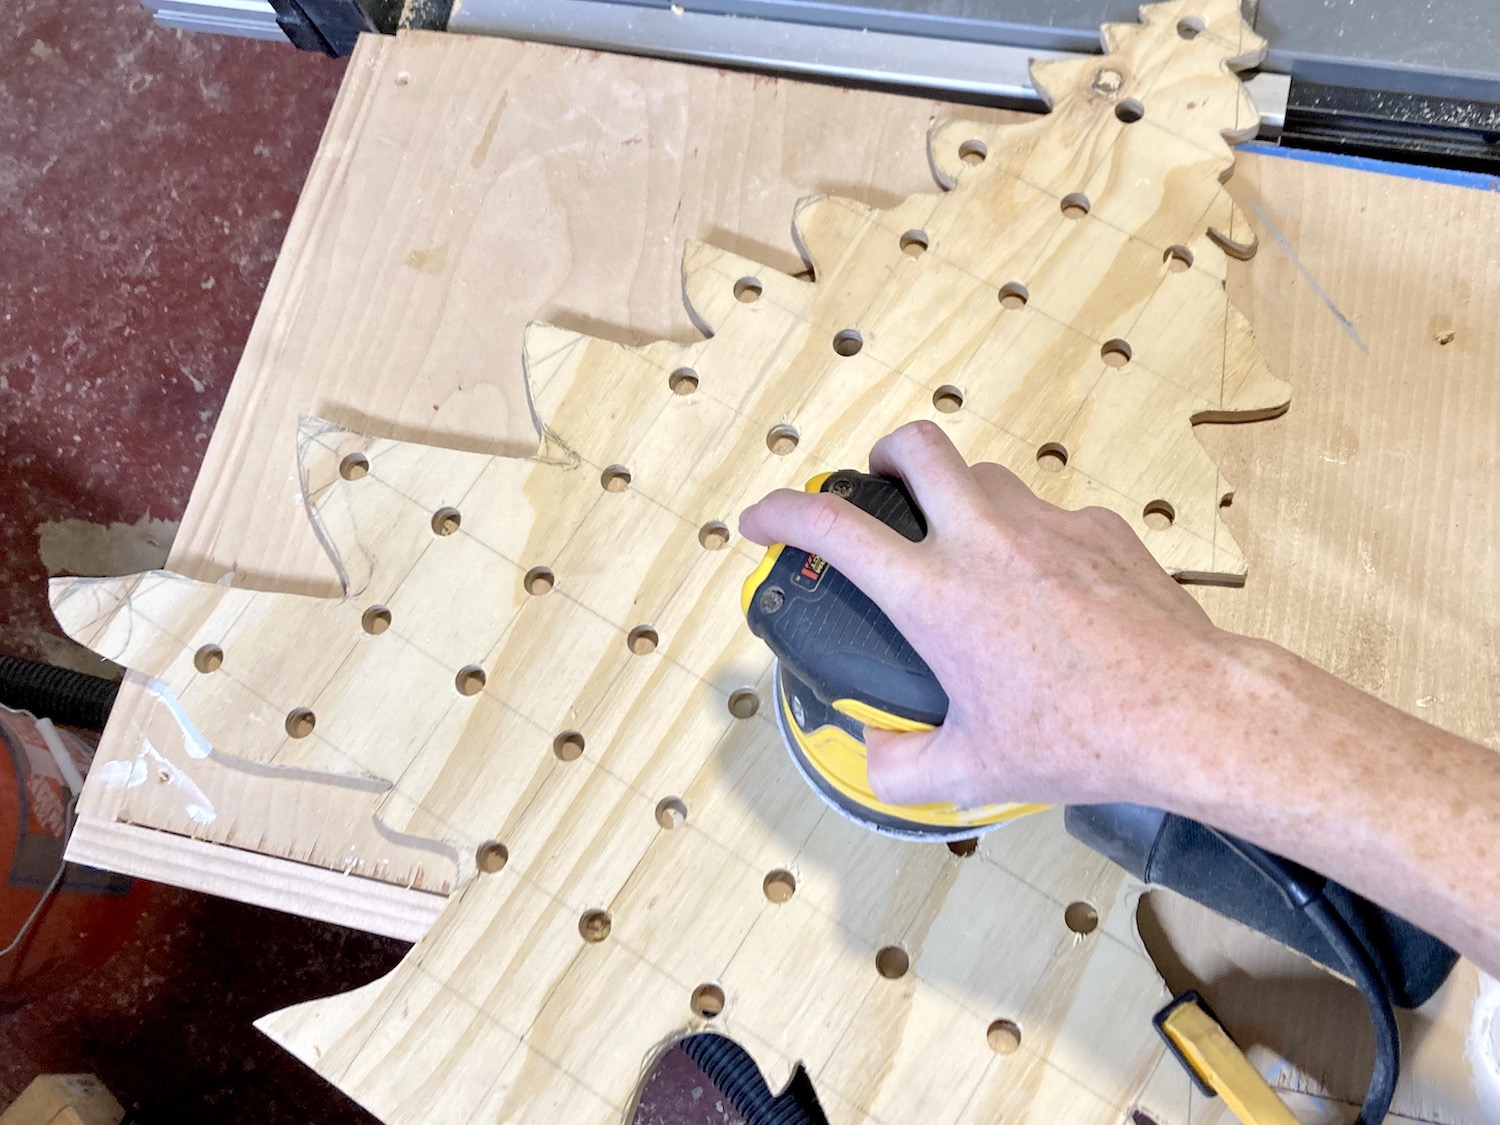
Then, using a sharp 1/2โ€ forstner bit, place the center of the bit into the pilot hole, drilling slowly at first, then speeding up through the plywood and out the back. When all the holes are drilled, lightly sand both sides of the plywood with 180-220 grit sandpaper to clean up and remove the pencil lines. Then lightly sand the edges and the bottom to remove splinters or sharp edges.

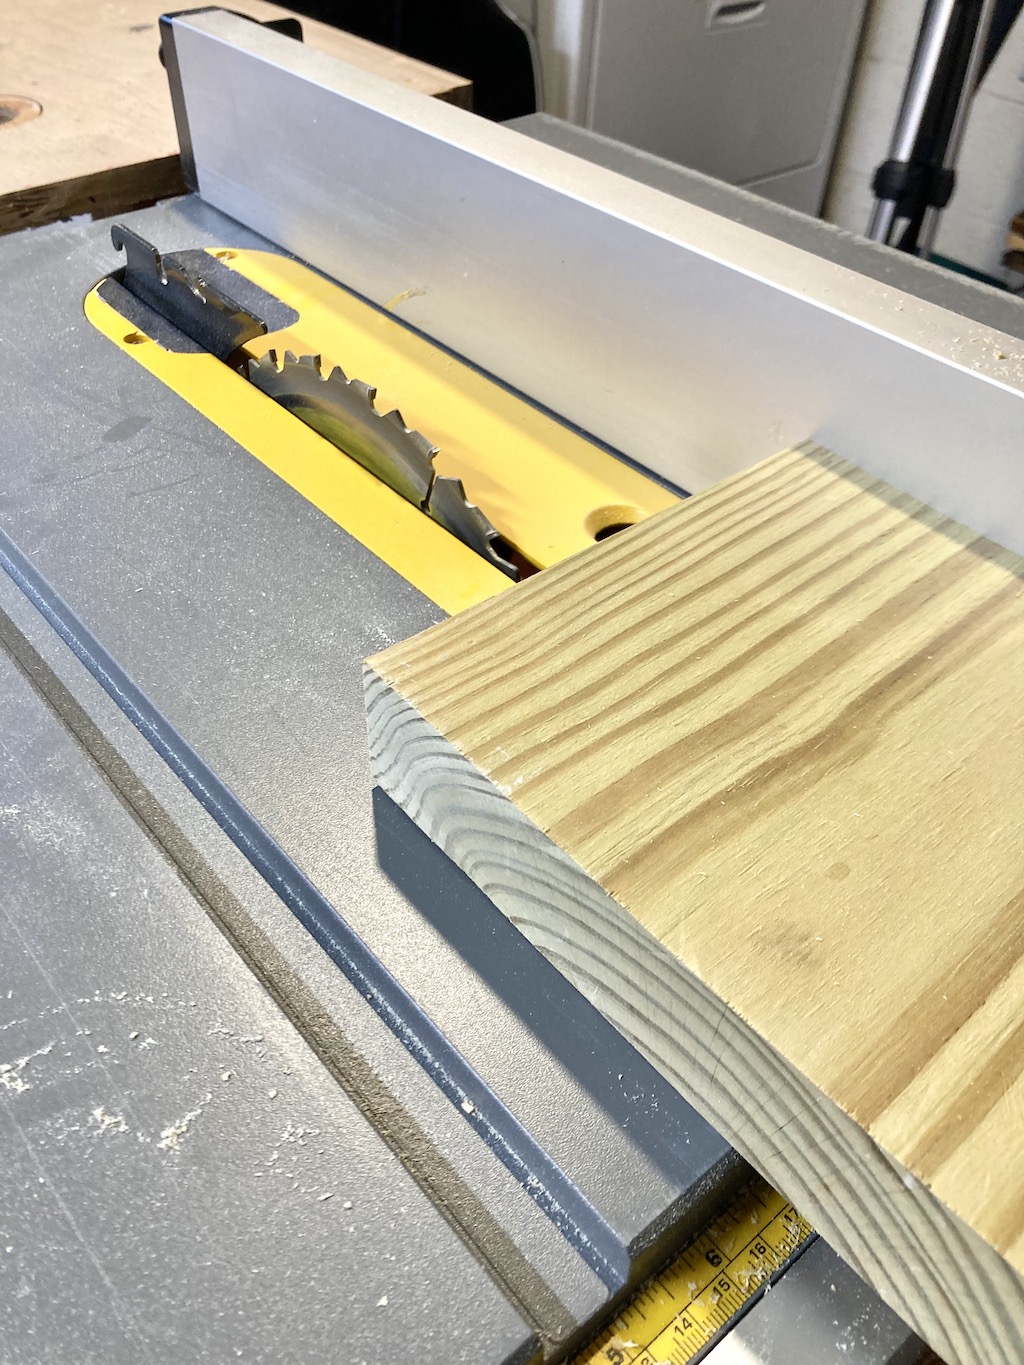
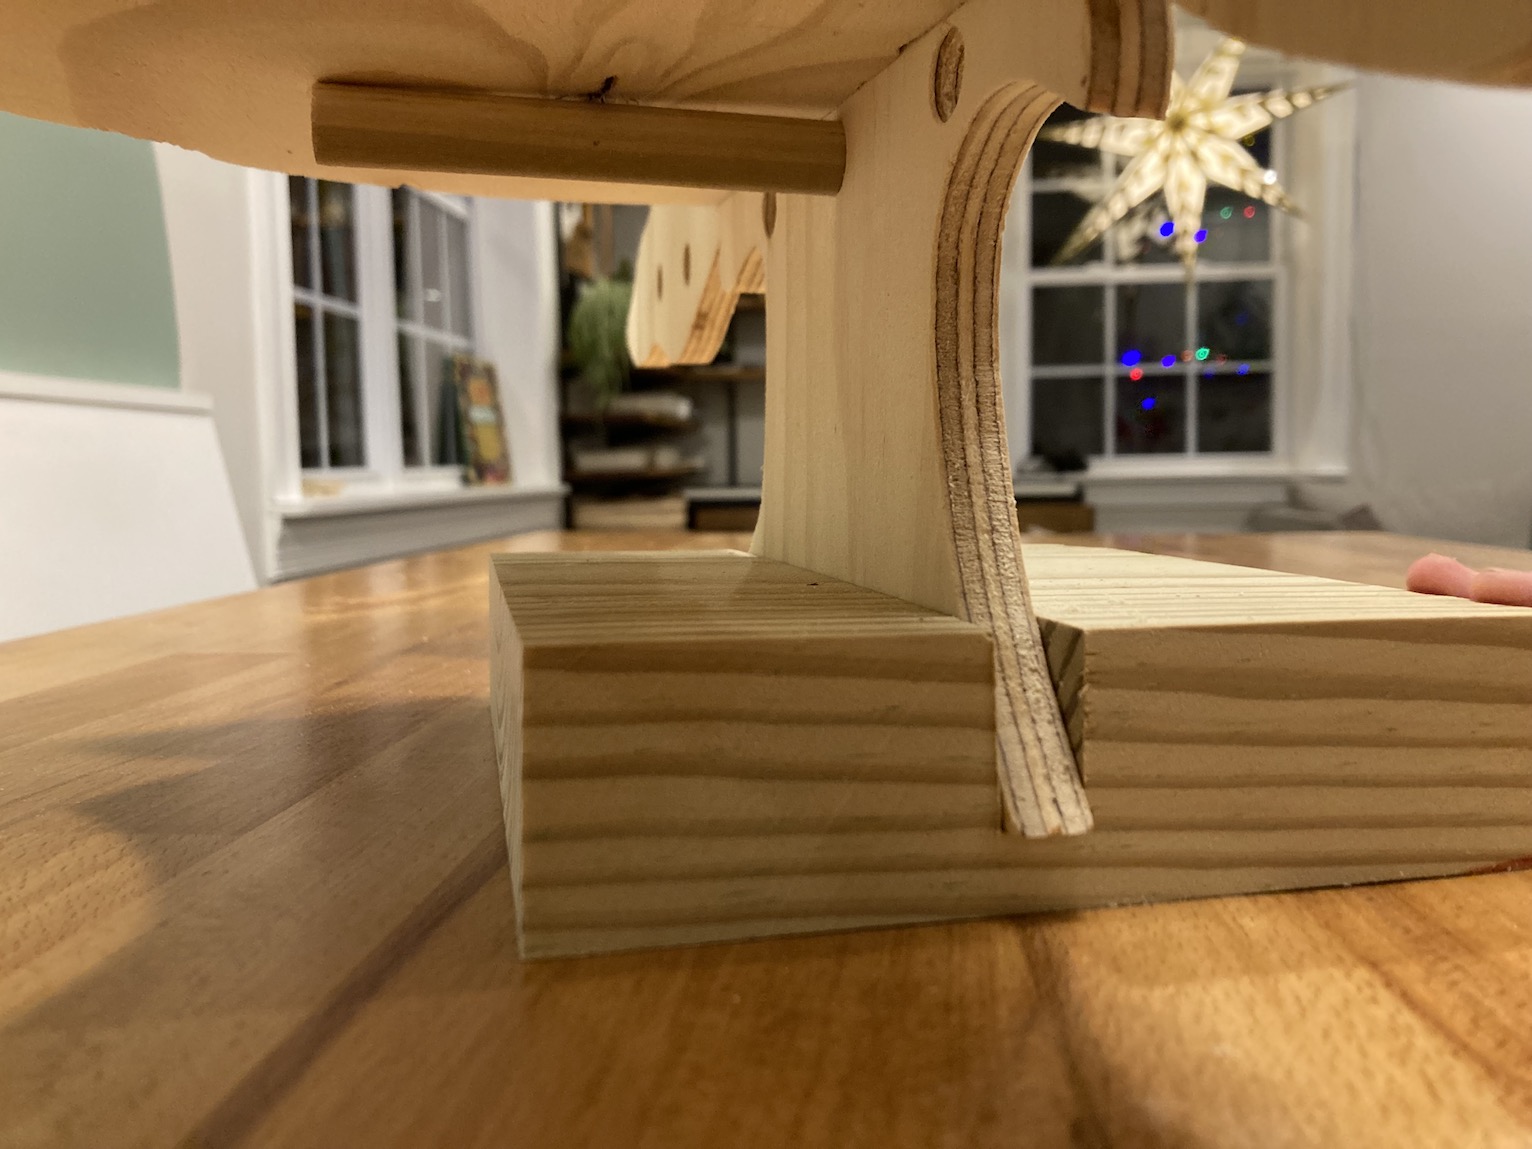
Step 6:ย To make a stand for your pegboard, cut a 2×6 the length of the bottom of your tree or stump and make a deep groove (also called a dado) through the middle of the 2×6 that is the same thickness of the plywood. You can do this with a router and a 1/2โ€ strait bit (be sure to clamp your wood for a hand held router. Alternatively, you can use a table saw.

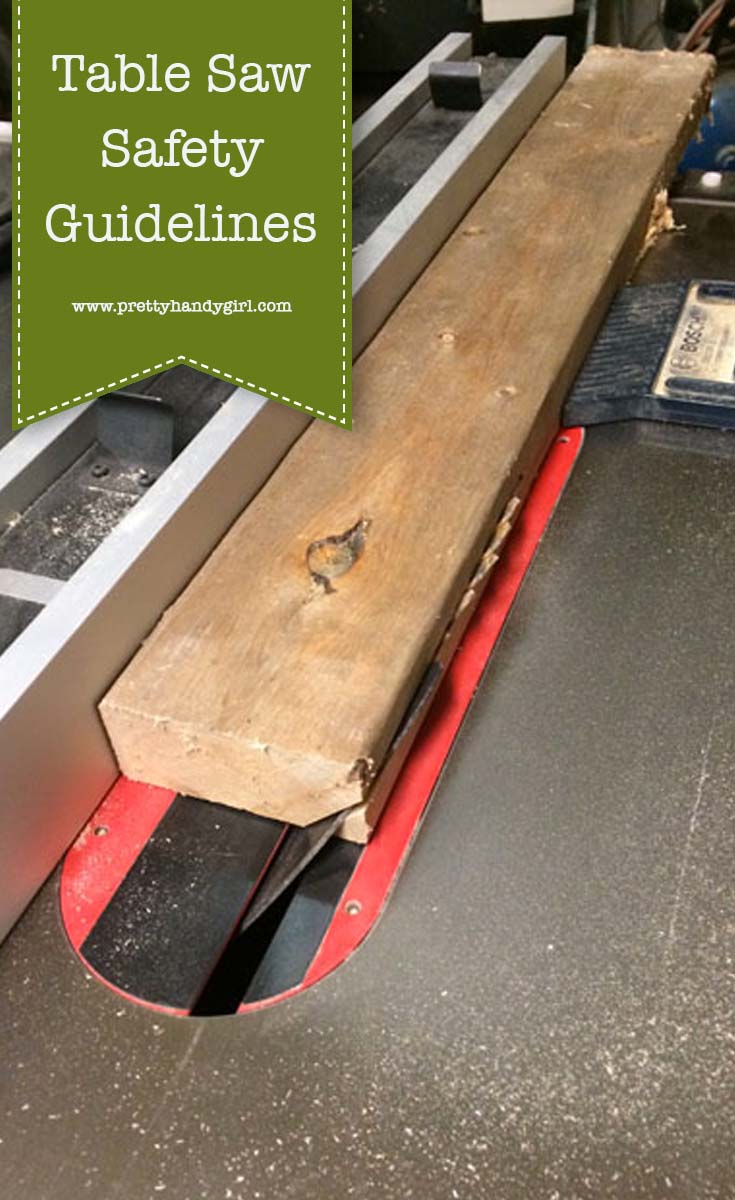
To use a table saw, set the blade depth to about one inch so that when you pass the 2×6 flat over the blade, it cuts a channel instead of cutting all the way through the wood. Set the saw fence to the middle of the 2×6 (this doesnโ€™t have to be exact) and make your first pass over the blade. Turn the saw off, move the fence over slightly less than the width of the blade (typically 1/8โ€), then run your board in for another pass. Continue this process, checking the width of the groove after each pass with a scrap piece of the tree cutout, until the channel is the same thickness as the plywood. It is important that the tree fits snugly into the base, otherwise the tree will tip to one side or the other.

If you went big with the size of your tree, like REALLY BIG, you will need to modify the base to make it sturdier. For example, if your tree is in the 2-to-3-foot range, a 2×6 will work. Tree peg boards that are larger than 2-3 feet wide will need a larger base or create additional feet on the front and back.

Step 7:ย Now itโ€™s time to make your shelves and cut your pegs! Collect your leftover plywood scraps and determine which pieces would make good shelves. A good shelf must be longer than the distance between at least two peg holes and have a flat side that will sit flush against the tree. I picked the longest sections with interesting, branch like curves. If you didnโ€™t manage to get anything that fits this description, you can use your jigsaw to create a shape in any piece with at least one flat side. Or, if you prefer, you can cut standard 90 degree shelves.

Cut your pegs according to the depth of your shelves. The pegs should extend to the edge of the shelf for more stability. Cut a few long pegs to hang wine glasses and short pegs to hang coffee mugs, ornaments, or to string lights.

Optional step: Paint. Hereโ€™s the thing about paint and peg boards. Painted surfaces, especially with sheen, will stick together. There is also a good chance that a painted peg will fit not fit into painted hole because paint adds thickness to both surfaces, making the pegs slightly bigger and the holes slightly smaller. The easiest solution is to leave the tree and pegs completely unfinished. But if thatโ€™s not an option for you, your kids, or your wine glass, here are a few suggestions:

  • Pick a paint with a matte finish so there is less stick.
  • Donโ€™t paint the pegs OR the inside of the holes. Unpainted pegs and hole edges would look fun!
  • Thin out the (matte) paint and do a paint wash.
  • Sand the pegs and the holes. This is a risky option because if you sand too much, the pegs wonโ€™t be tight in the holes and if you donโ€™t sand enough, they wonโ€™t fit.
  • Use a sponge to make a textured accent rather than a solid coat of paint.

And there you have it! A fun festive project with endless options. Remember to check out Wise Little Ears for more information on protecting your little builderโ€™s ears.

Build scrappy and be safe!
~See More of Laraโ€™s Tutorials~

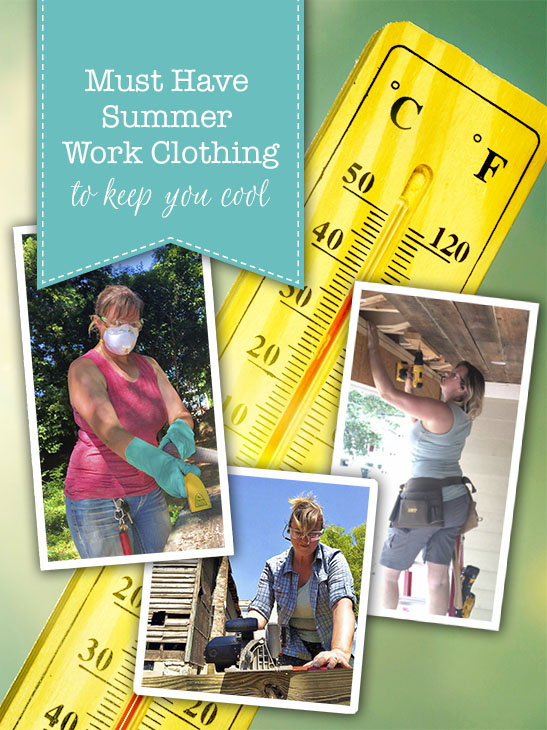
Here are my top picks for Must Have Summer Work Clothing to Keep You Cool whether youโ€™re gardening, volunteering for a service project, or working on a building project.

summer-work-clothing-keep-you-cool
Must Have Summer Work Clothing to Keep You Cool

Itโ€™s been a hot and humid summer here in North Carolina. This is nothing new, except this is the first year Iโ€™ve been working construction outside all summer. My work outfits have been put to the test and Iโ€™m anxious to share my favorites for staying cool with you.

As most of you know, the Nordstrom anniversary sale is going on and everyone seems to be clamoring to grab deals on some fashionable items. As much as Iโ€™d like to buy cute outfits, itโ€™s not practical for me to spend money on clothing that will get ruined while working on building back Etta. Instead, Iโ€™ve ditched my cute tops and skirts to compile a list of the most cooling clothing and durable gear to get through the hottest of summer heatwaves.

Here at Pretty Handy Girl, we take work and safety gear very seriously, as youโ€™ll remember from my Ms. Safe T DIY Fashion accessories,ย I donโ€™t write about fashion often, but I do think itโ€™s important to have safe and durable work clothing that will keep you comfortable all day.

(This is a sponsored post for Duluth Trading Company. This post also contains a few affiliate links for non-Duluth Trading Company clothing.ย ย I earn a small percentage from a purchase using these links. Thereย is no additional cost to you. You canย readย more about affiliate links here.)

One of my favorite places to purchase work gear isย Duluth Trading Company โ€”whichย  is why I reached out to them to be one of the Saving Etta sponsors. Iโ€™ve been buying their clothes for years and appreciate their rugged durability. The designers at Duluth Trading put a lot of thought into creating pieces that move with your body. (And I can tell you, there are lots of body contortions happening when you build a house.) If your clothing canโ€™t flex and move with you while handling the power tools, youโ€™re going to rip them or come home chafed.

No Breeze, Itโ€™s Cool

Two summers ago, Duluth Trading Company sent me my firstย Armachillo Long Sleeve Plaid Shirtย to try. They claimed it would keep me cooler than a standard cotton t-shirt. After a week working on my shed during a heat wave, I ordered two more shirts and wore them all summer while working. (Itโ€™s worth noting, that Duluth Trading Company changed the design of this shirt to eliminate the mesh openings in the back (but kept the underarm gussets for better arm motion.) Honestly, I didnโ€™t like the appearance of the mesh back flaps, but luckily it seems the shirt is still cool without them.)

Armachillo Long Sleeve Plaid Shirt (Coral Plaid)

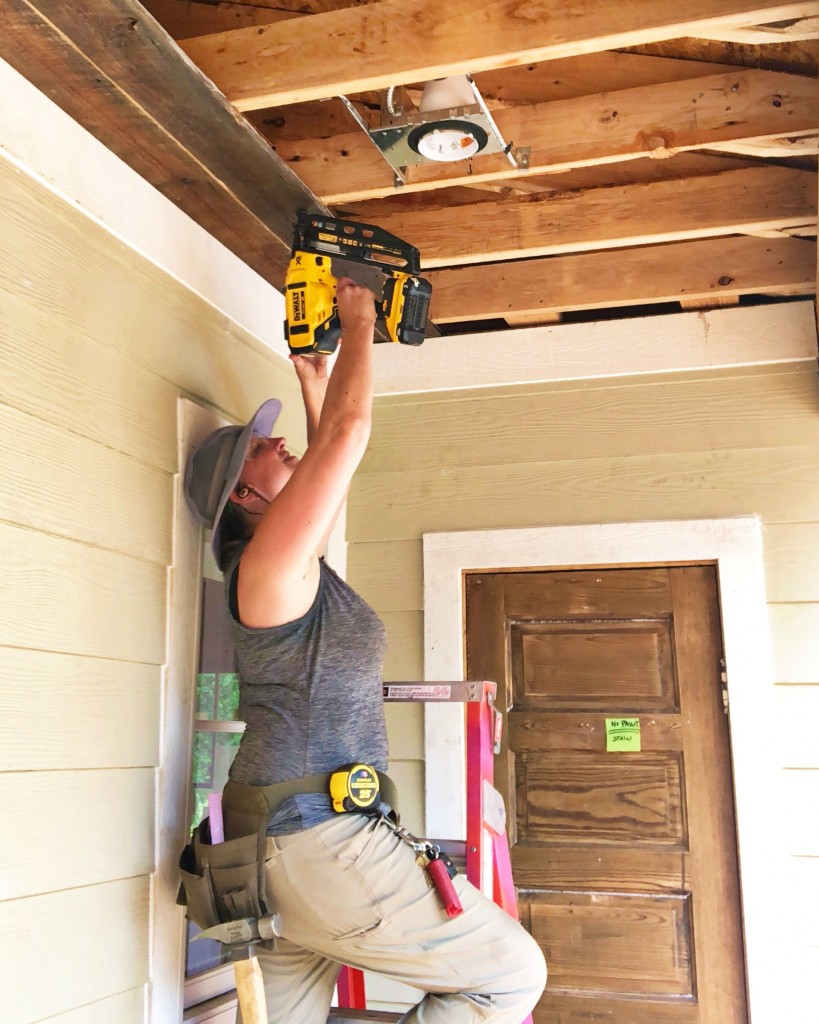
The weather in North Carolina can be unpredictable. We had a stretch of weather in late Spring where it was cool in the morning and beautiful all afternoon. On those days I paired anย Armachillo Long Sleeve Plaid Shirtย with a tank top. The long sleeves gives me extra sun protection on cloudless days.

Armachillo Long Sleeve Plaid Shirt (Royal Blue Plaid),ย Armachillo Cooling Racerback Tank Top (Aqua)

One hot summer day I had to work on site and then attend the Home for Good Project for media coverage. With only my truck or a port-a-potty available for an outfit change, I decided to wear this blue oasis plaid shirt for both work and the appearance. Luckily I managed to stay cool and clean enough to pull off the media appearance. As a bonus I received two compliments on how pretty my โ€œblouseโ€ was. This shirt is now retired from work because I love it too much to let it get stained or soiled.

Armachillo Long Sleeve Plaid Shirt (Blue Oasis Plaid), Maven Slim Work Jeans by Dovetail Workwear

One more note about the Armachillo plaid shirts; I keep one in my backpack in case I have to crawl under the house, wrestle insulation, or protect my arms from thorns while doing yard work. The shirt folds up into a small space and can hang out at the bottom of my backpack without adding any weight or bulk.

Armachillo Cooling Racerback Tank Top (Ink),ย Armachillo Long Sleeve Plaid Shirt (Discontinued Color)

Hats Off to My Framer

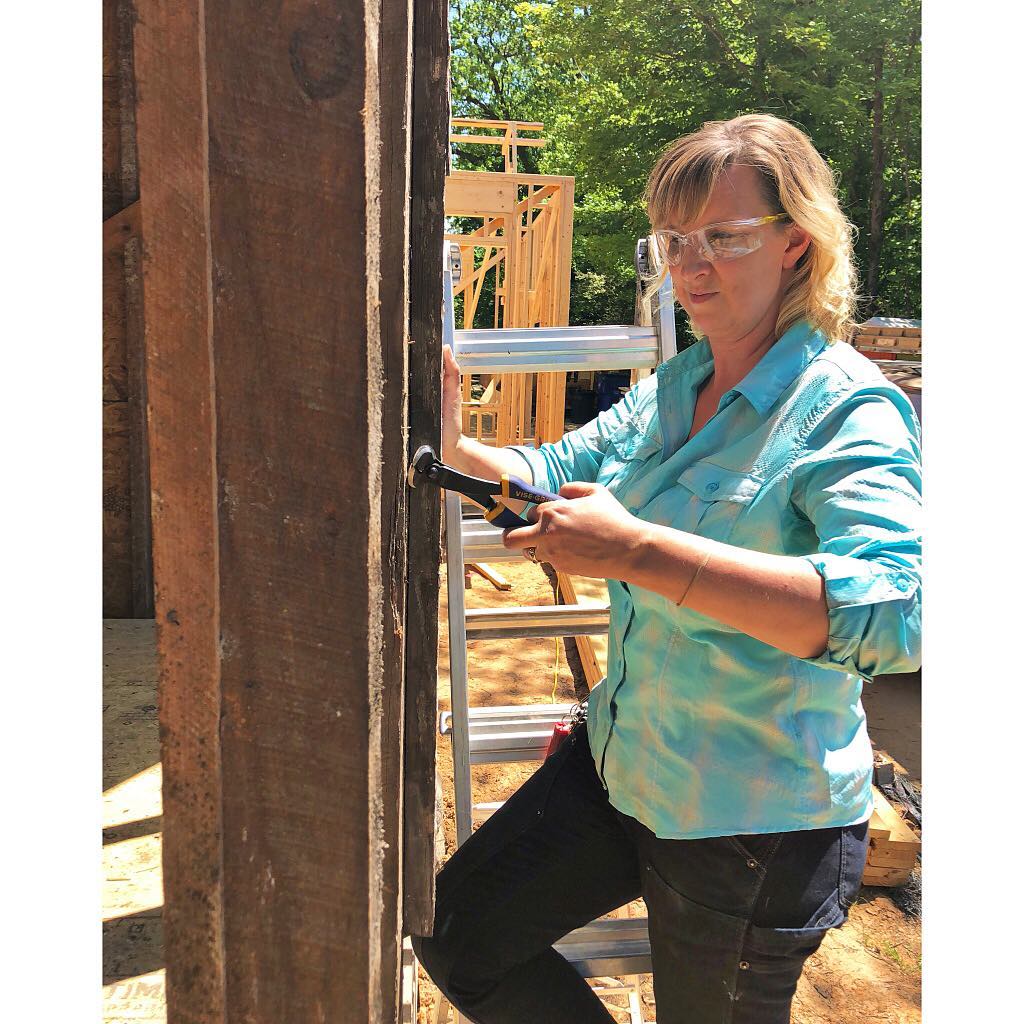
The first day I met my framer, he pulled out a wide brim straw hat from his truck and wore it the entire day. He swore it was the best way to stay cool by keeping the sun off his neck and shoulders. That was also the day I made the mistake of wearing a black t-shirt and not owning a wide brim hat. I nearly passed out from the heat. The next day I scoured the Duluth Trading website for womenโ€™s hats and found this breathable wide brim hat. The first day I wore it on site, my framer winked his eye and said, โ€œI see you listened to my advice on a good hat.โ€

Armachillo Cooling Racerback Tank Top (Ink), Crushable Sun Hat (Cadet Blue), and Dry on the Fly Convertible Pants (Smoky Tan)

Revealing Just Enough Skin

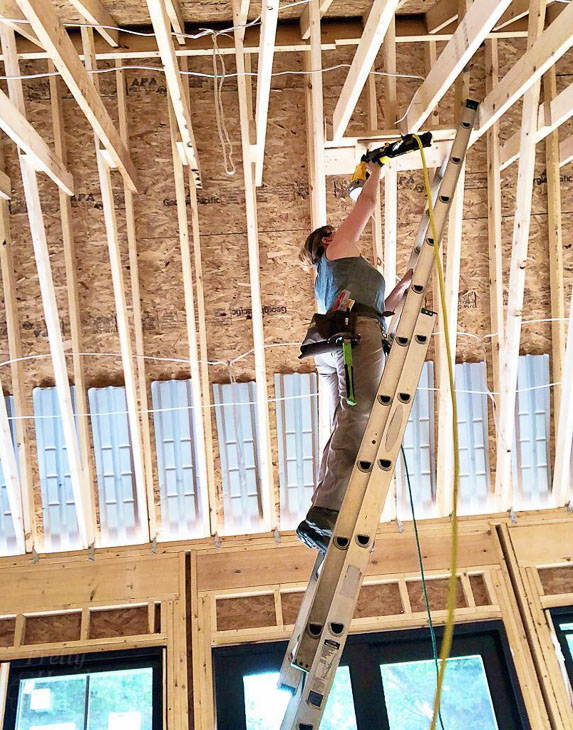
My least favorite part of this job is climbing ladders all day. By 3pm, the heat and activity has started to turn my brain to mush. Itโ€™s enough to make a person want to strip down and go naked. Luckily, I discovered the Armachillo clothing by Duluth Trading Company. The Armachillo line has a unique โ€œMade-in-the-Jadeโ„ข technologyโ€. Every fiber is infused with microscopic jade that dissipates heat on contact and is sewn into the clothing. Which is whyย this Armachillo racerback tank top is my favorite work shirt. The tank top lets the breeze hit my arms, but is modest enough to hide any side boob or cleavage. The waist band has enough hold to keep the tank top from riding up, and it also provides a looser fit around my middle section (which is more forgiving for a โ€œcurvaceousโ€ figure.)

I bet youโ€™ve never felt the true effects of โ€œheat risesโ€ unless youโ€™ve installed blocking for a light fixture at the top of a fourteen foot ceiling.ย  It was already close to 93F outside, the air in the rafters must have been over 100F. I was extremely glad I chose to wear my racerback tank top that day.

Armachillo Cooling Racerback Tank Top (Deep Jade),ย Dry on the Fly Convertible Pants (Smoky Tan)

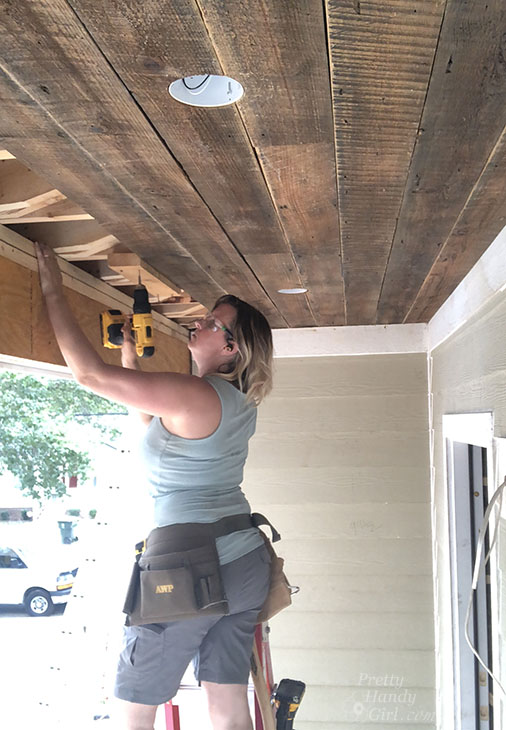
I donโ€™t usually wear shorts on the job site. Iโ€™m more likely to scrape or cut up my knees or shins and I hate my legs (even without bruises). But, any day that threatens to reach 95F or higher, I wear shorts. Luckily I found my favorite lightweight work pants in a short style. Air flow on sweaty skin is key to staying cool on a hot and humid day.ย Installing the 118 year old reclaimed siding material on the porch ceiling was a labor of love. It took me all week to scrape the paint, seal them, hang, and caulk the seams. I managed to stay cool, but unfortunately I scraped up my shin in front of the entire crew of framers working next door. Luckily I kept my cool (Get it? Kept cool. LOL.)

Womenโ€™s Dry on the Fly Shorts (Gray), Armachillo Cooling Racerback Tank Top (Aqua)

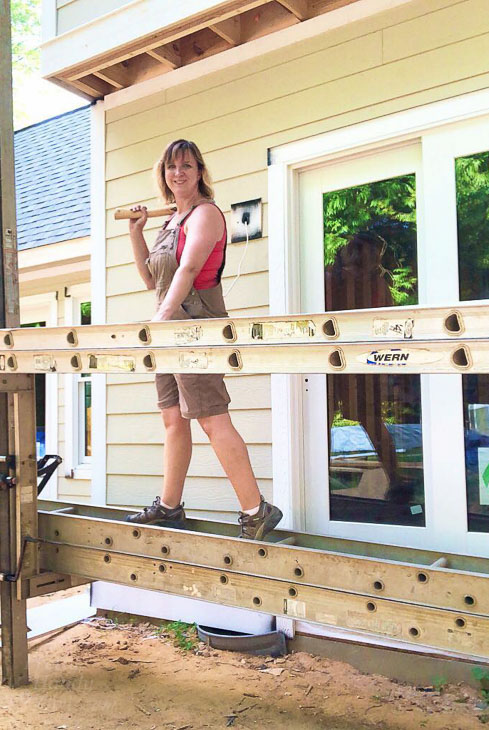
These cute overall shorts were a godsent while working on ladders. All the pockets and the hammer loop allowed me to stuff my pockets with nails and hang my hammer instead of wearing a bulky tool belt. Speaking of staying cool, Keen sent me a pair of their Atlanta cool steel-toed breathable work shoes to try. This pair has been on my feet every day on site. They are several years old but are holding up wonderfully. Besides keeping my feet from getting too sweaty, the soles offer great grip when climbing up roof slopes.

Heirloom Gardening Overall Shorts,ย  No Yank Tank Cami (Dark Coral),ย Stay-Put Lightweight Ankle Socks, Keen Atlanta Cool Steel-Toed Shoes

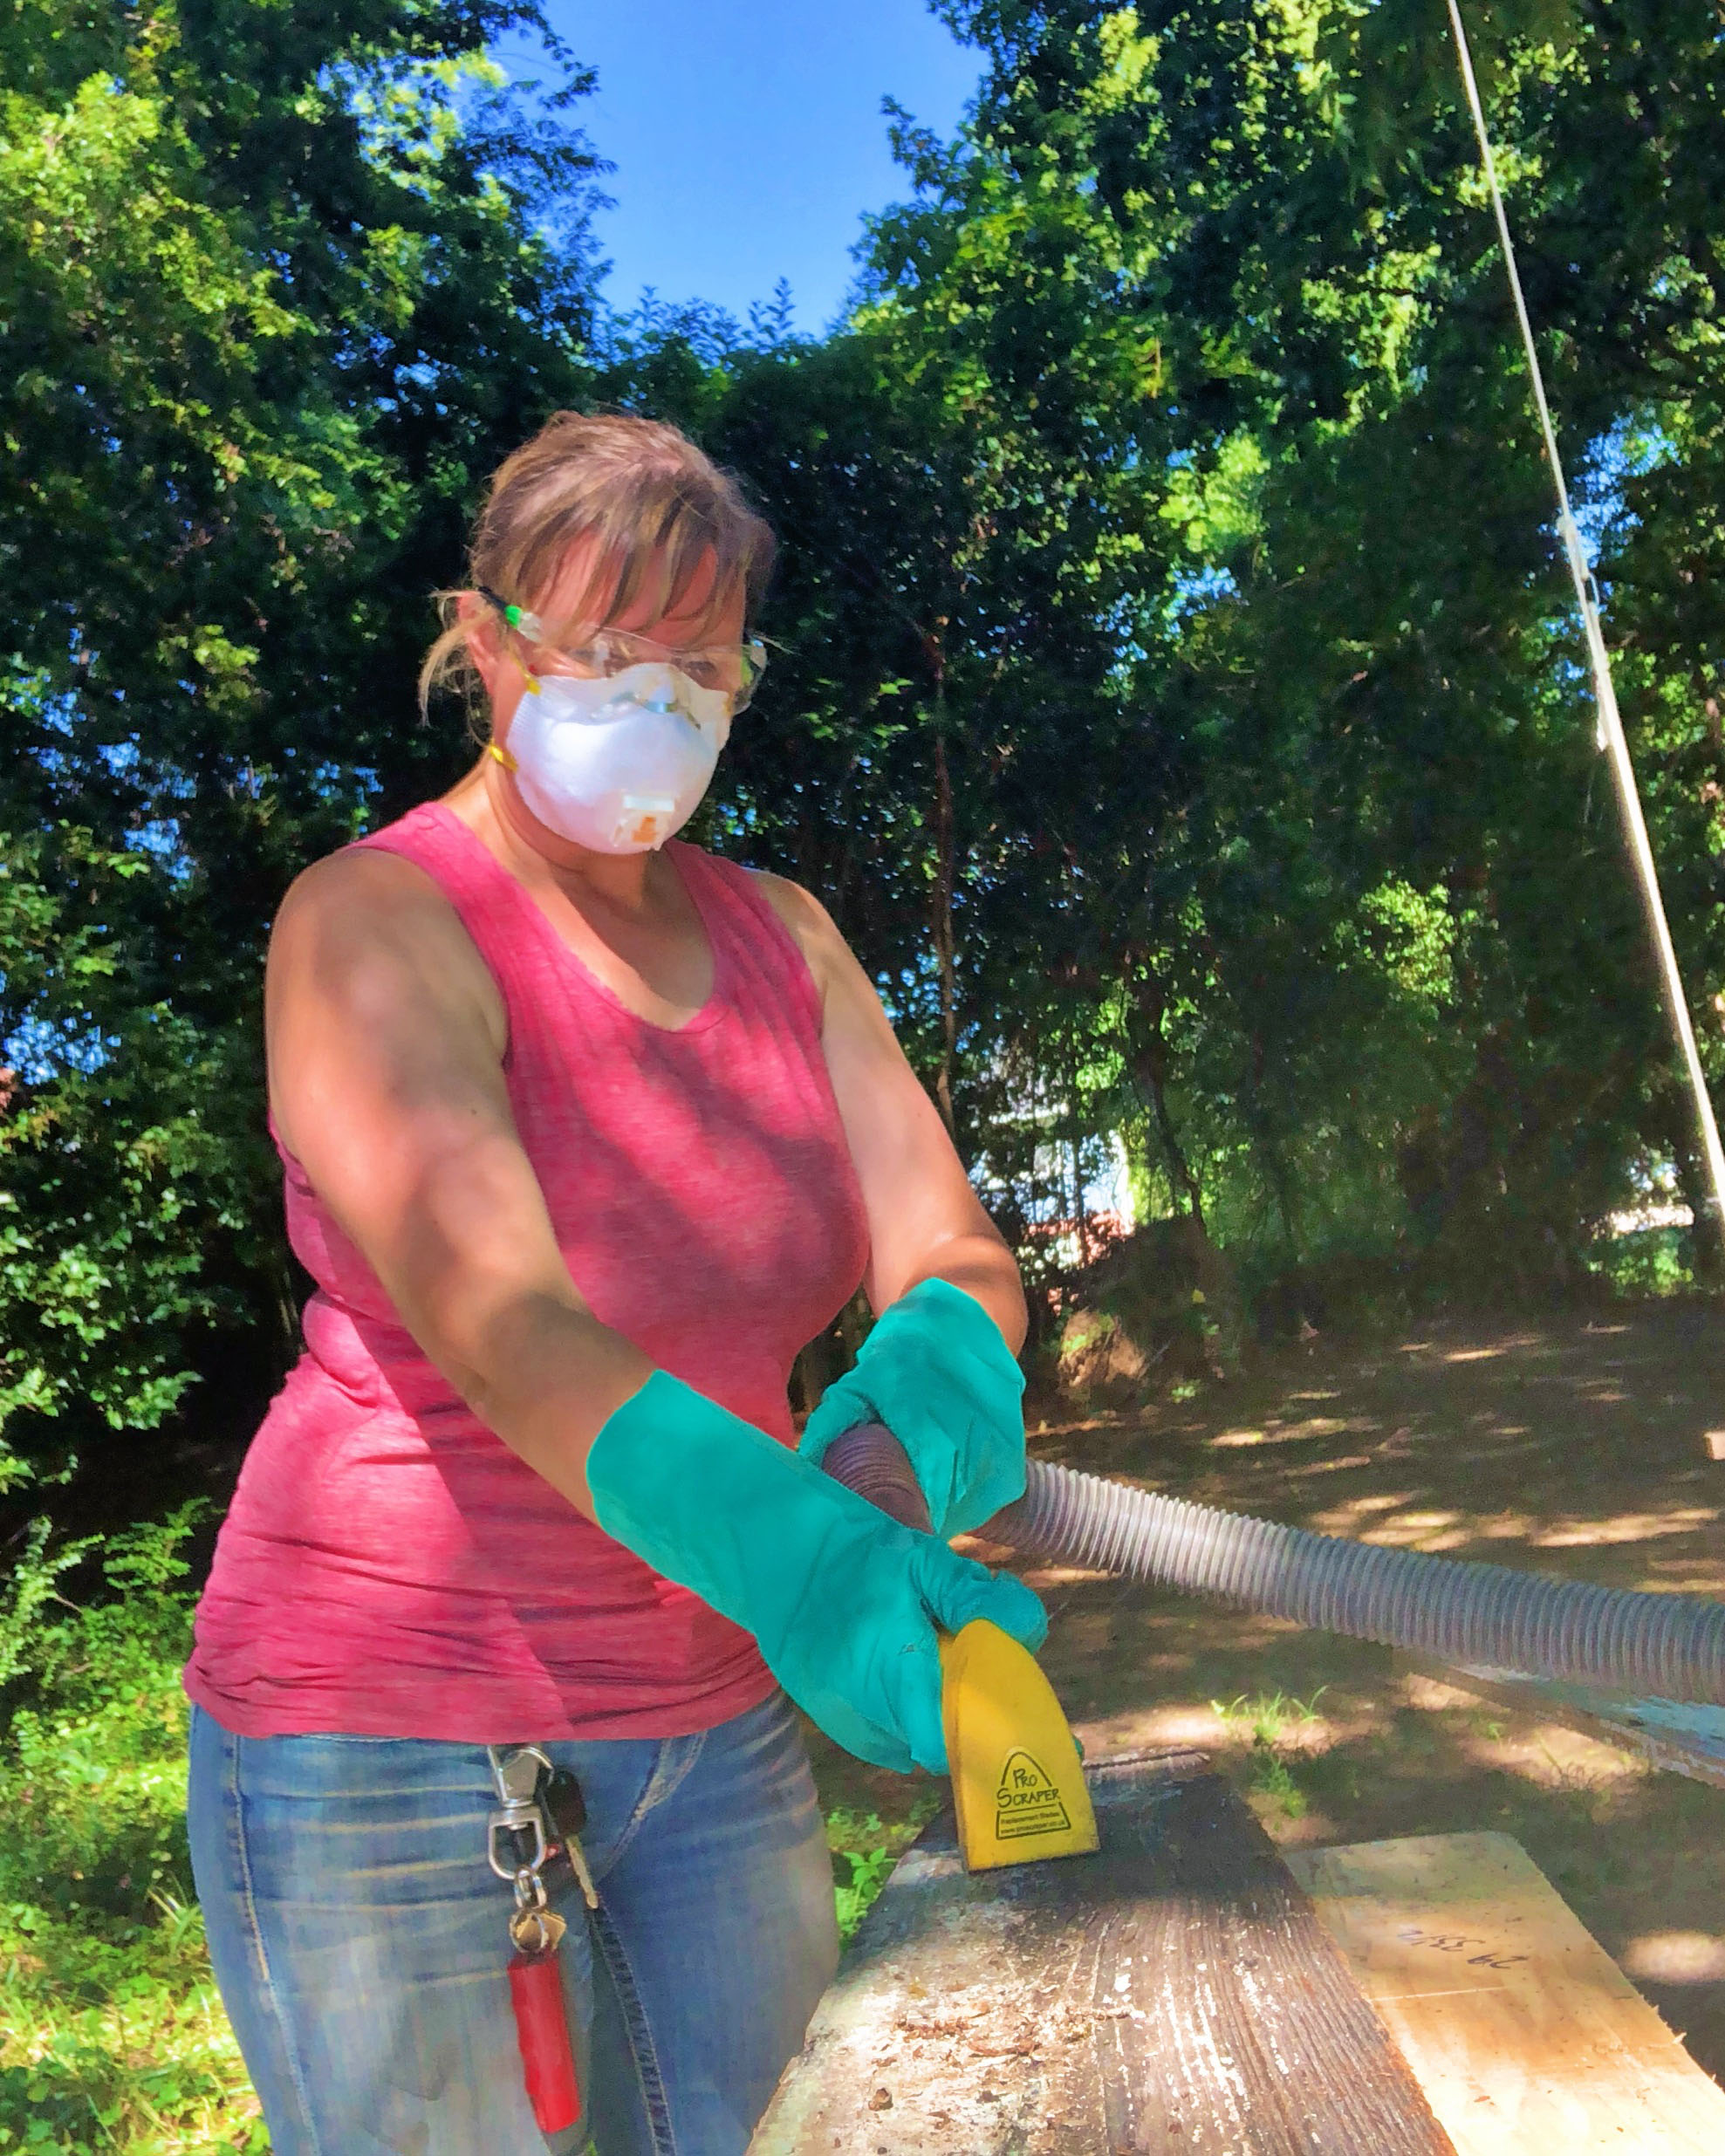
One of the least glamorous jobs of being a general contractor is picking up after the subcontractors. The day before insulation was installed, I crawled under the house to remove any construction debris left behind. Gloves are a necessity in any crawlspace. They protect your hands from rocks and construction debris and let you swipe away cob webs.

Another necessity is a good bra. It was apparent that my regular underwire bras were going to get destroyed from all the sweat and demolition dirt. Plus, they chafed my sides as I bent and stretched all day long. I started wearing jog bras, but most of them didnโ€™t provide much support. I found theย Hellrassiere Medium Support Work Braย and thought it was a mirage. The bra is comfortable and offers much better support than a stretchy jog bra. (One note: They run large, so be sure to order one size smaller.)

Womenโ€™s All Season Work Gloves,ย Armachillo Cooling Racerback Tank Top (Peony), Hellrassiere Medium Support Work Bra (black)

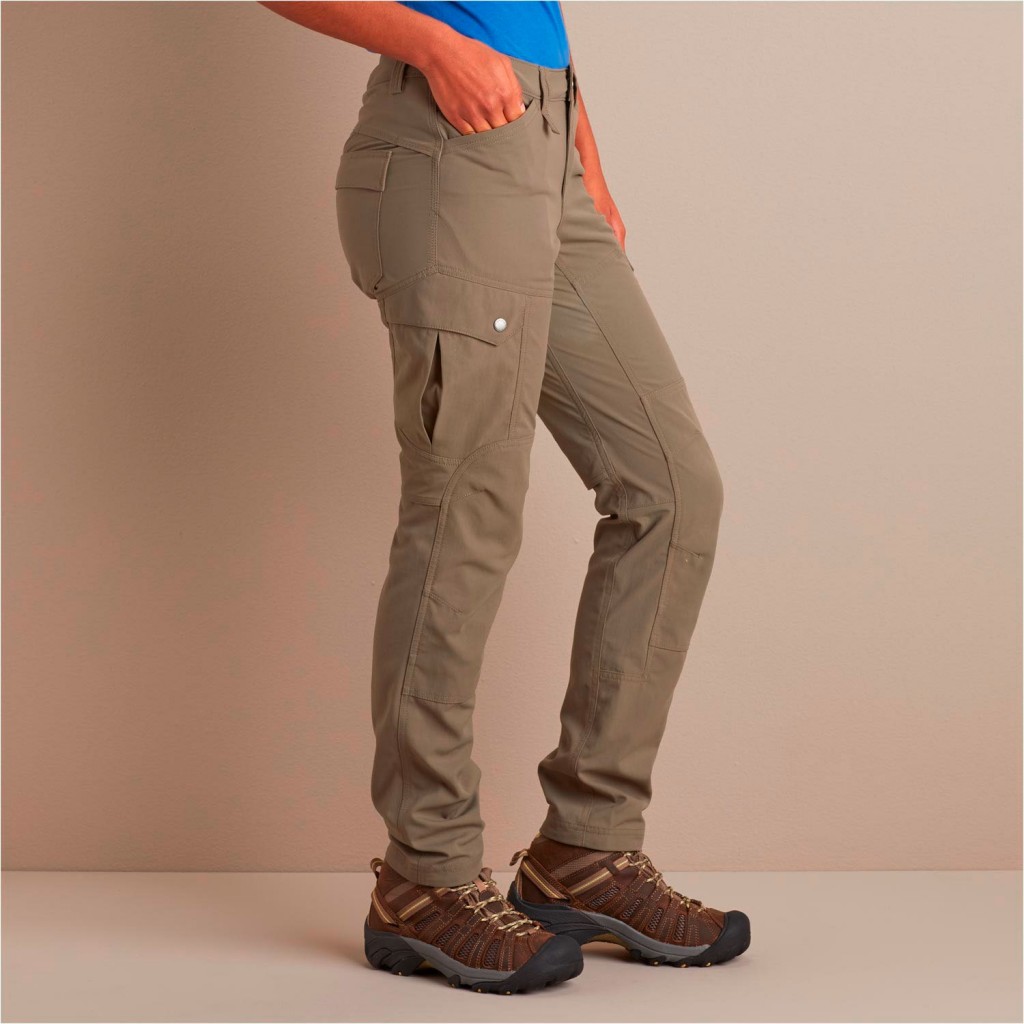
Somehow my favorite lightweight work pants evaded a picture. The Flextra Tough Slim Leg Work Pantsย are flattering but also have hidden mesh in the yoke and knees to keep the air flowing on hot days. You can also slip knee pads into the front pockets to protect your knees on those days youโ€™re crawling around a lot.

I hope my list gave you some helpful recommendations should you find yourself outside working in the garden, on a service project, hiking, camping, or on a construction site. If youโ€™re also a Duluth Trading Company fan, Iโ€™d love to know your favorite Duluth apparel!

Disclosure:ย This is a sponsored post for Duluth Trading Company. I was not told what to write or say about Duluth Trading Company. I am very particular about the brands that I partner with. If I donโ€™t love them, I donโ€™t promote them. I will also always disclose when you are reading a sponsored post.

SMOKE DETECTORS | What you don't know could kill you

Okay, now that I have your attention, did you know thatย approximately every three hours, a home fire death occurs somewhere in our nation. And 66 %ย of those occur in homes without working smoke alarms or detectors?* The most common reason those detectors werenโ€™t working? Worn out or removed battery.

Photo from CreativeCommons.org โ€“ courtesy ofย WickedChimp

Iโ€™m sure you have heard that you need toย replace your detector batteries every time you change your clocks (Spring and Fall or every 6 months.)ย Are you good about doing thatย ? If not, I hope you will now. At the very least decide on a date to change your smoke detector batteries annually.

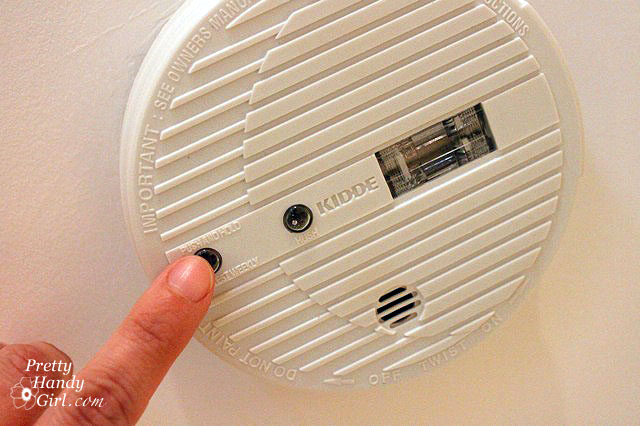
What about when you are vacationing? Do you test the smoke detectors in your rental house? Testing the detectors takes all of a few minutes to press the โ€œTestโ€ button on each detector and wait for the alarmย to sound.

Donโ€™t rely on the vacation homeowner to check the alarms. There is always a chance thatย renters could have removed a low battery from a detector. Several years ago there was a horrible fire a few blocks away from the beach house we usually rent. Seven young students died in the fire. It was never determined whether the smoke detectors were working or not, but one of the survivors didnโ€™t remember hearing any go off. Donโ€™t let yourself become a statistic.

What type of smoke detector should you buy? Read more

Pantry with Coffee Bar and Hidden Wine Storage | Pretty Handy Girl

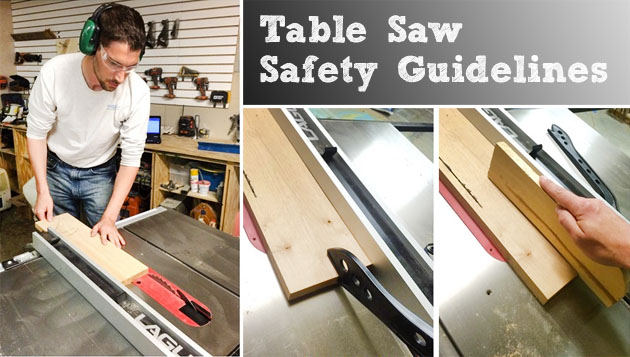
Table Saw Safety Guidelines | Pretty Handy Girl

Friends, itโ€™s Nick from over at The Sawdust Maker! A site devoted to helping others take their woodworking skills to the next level. While I am in the middle a joint series on my website, I wanted to take a minute to talk to you about table saw safety.

The table saw is the most used tool in my shop. It also happens to be the most intimidating tool for most beginners to use. So lets get a grasp on these basic safety guidelines to follow.

Before we dive into this, I want to urge you to find your table saw manual and read it. Wait, what? Yes peopleโ€ฆ actually read these things. It will cover the basic safety rules as well as any safety features specific to your saw.

Now, before you turn your saw on, do the following:

  • Make sure youโ€™re not wearing loose fitting clothes. This doesnโ€™t mean you need to wiggle into your skinny jeansโ€ฆ just make sure nothing is accessible for the blade or work material to catch.
  • If you are wearing long sleeves, roll them up past your elbowโ€™s.
  • Keep shirt pockets free of items.
  • Remove any jewelry.
  • Wear non-skid, well fitting shoesโ€ฆ last thing you want is to slip or trip into the blade!
  • If your hair is long, pull it up into a ponytail.
  • Wear ear and eye protection.
  • Donโ€™t operate while tired or under the influence. Keep those creative juices for your design process!
  • Unplug your machine and do the following:
    • Visually check your saw for damaged components:
      • Check the power cord
      • Check the Blade
        • Look for Gum or Pith on the blade, clean it if it is dirty.
        • Check the carbide and make sure it isnโ€™t chipped or missing teeth.
        • Keep it sharp. It is a lot cheaper than replacing them and will help keep those burn marks down!
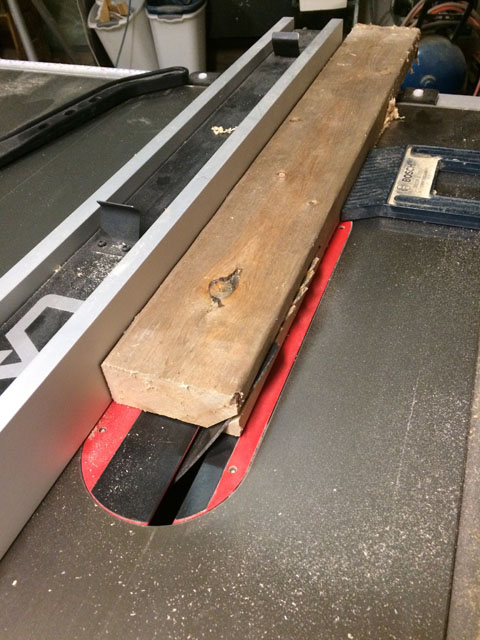
      • Check to make sure that the guards, splitter, riving knife are in place and free of damage.
    • Check the alignment of the fence, ensuring it is parallel with the blade. A quick reference is to line it up with the t-slot and visual check to see if it is aligned.
    • Ensure the blade is tight.
    • Check the belts for excessive wear.
    • Check the alignment of the splitter/riving knife.
    • Is there enough room around you for the board you are wanting to cut? There is nothing more annoying than getting part way through a cut and realizing that you donโ€™t have enough room to finish the cut!

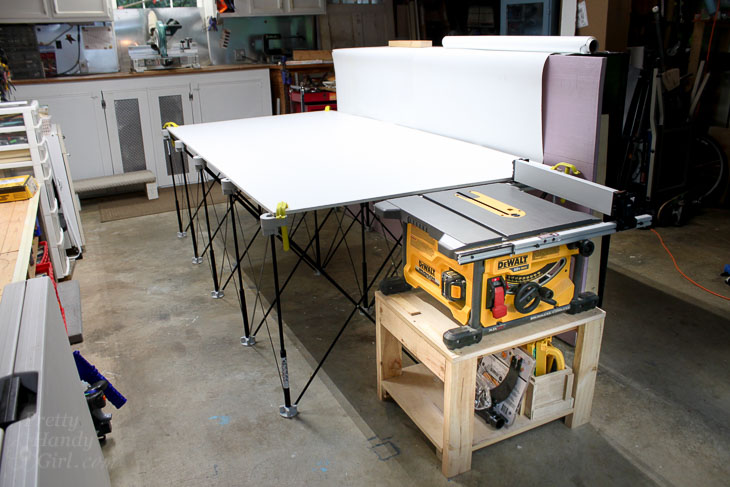
DIY Table Saw Stand and Collapsible Off Feed Table

Now we are almost ready to cut a board! Here are some things to keep in mind when stepping up to the whirling beastly hunk of iron.

  • Keep the splitter and riving knife in place at all times to help prevent dangerous kickback.
  • Use a table saw blade guard whenever possible, this will help keep your fingers out and dangerous wood chips/knots in.
  • Lower the blade below the table surface when the saw is not in use.
  • The table saw blade height should be set so that the carbide teeth of the blade extend a little beyond the height of the work piece. Between 1/4 โ€“ 3/8โ€.
  • Donโ€™t reach over or behind the table saw blade.
  • Never position your hands or fingers in the path of the table saw blade.
  • Keep a 4-6โ€ margin of safety all the way around your table saw blade. This is a DO NOT ENTER zone!!!!
  • Never back a board out of a cut.
  • Cutting a bevel? Place the rip fence on the side opposite of the bevel cut. (see below)

Table Saw Safety Guidelines | Pretty Handy Girl

  • Know what you are cutting into to avoid nails, loose knots, etc.
  • Always have additional out feed support in place at the back of the saw table.
  • Donโ€™t release the work piece until it is all the way past the back of the table saw blade.
  • Donโ€™t cut stacked material.
  • Keep your work area clean. It would be a shame if those scraps sitting in front of your saw caused you to face plant into your saw.
  • Unplug the saw when you are changing the blade.
  • Do not stand behind the blade or the work piece. Trust me, if a board is going to kickback, it will come out of there like a bullet. Last thing you want to do is stand in its flight path!
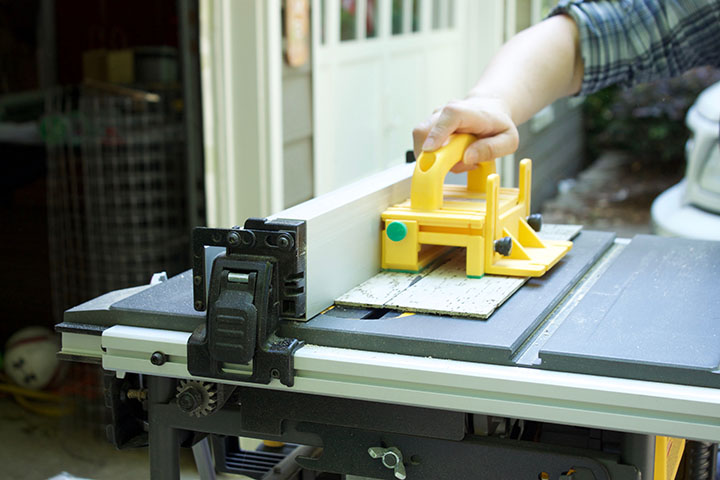
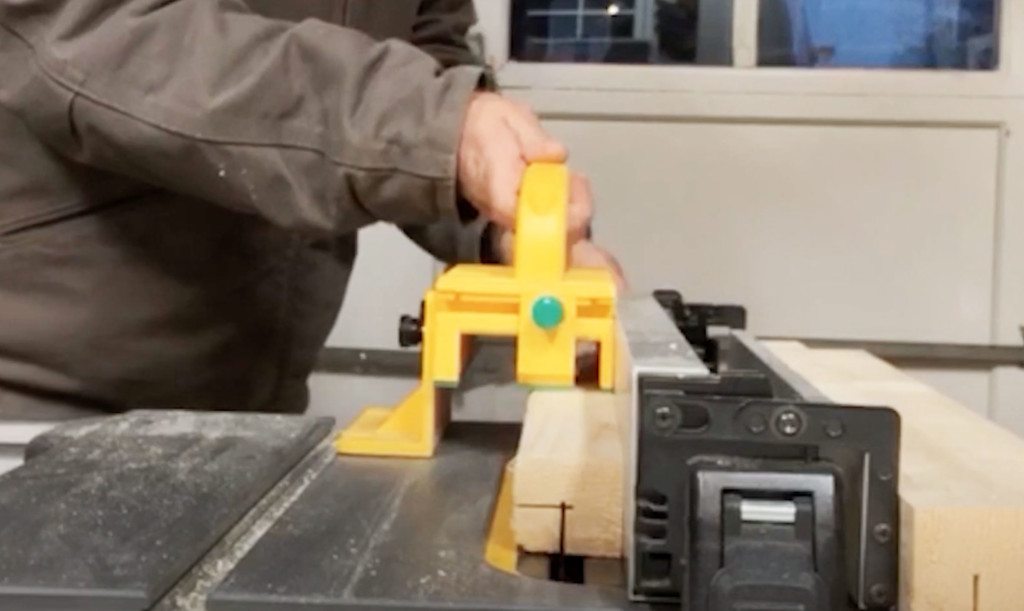
  • Use a push board, stick (GRR-Ripper) when making rip cuts narrower than 6 in.

Ways to Prevent Kickback

  • Donโ€™t use the miter gauge and the rip fence together. This is a guaranteed invitation for the board to bind and kickback.
  • Use the miter gauge or a sled for all crosscutting and the rip fence for ripping.
  • Never rip wood that is twisted, warped or doesnโ€™t have at least one straight edge.
  • Donโ€™t saw a piece freehand.
  • Use a sliding table for cutting large sheet goods or cut down to a manageable size with a track saw, panel saw. There are several ways to accomplish this. You canย clamp a board down to the sheet good and use that as a straight edge for your circular saw.
  • Use feather boards when ripping.
  • Use zero clearance inserts not only will this help keep your cuts crisp, it will also help keep small pieces of wood from meeting your pretty face. Again trust me, getting hit in the face with a loose knot is not fun.
  • Use the proper blade for the job, Most of us use a combination blade. which is good for both ripping and cutting boards. Donโ€™t know your blades? Check out my post here. I did an in depth tutorial on selecting blades.
  • Donโ€™t overfeed your blade. If you are bogging down your saw, you are probably pushing your workpiece through your saw too fast. This is another way to have a board kick back.

Pantry with Coffee Bar and Hidden Wine Storage | Pretty Handy Girl

I found that a lot of individuals are nervous to operate a table saw for the first time. I get itโ€ฆ there is something about hearing the motor start, seeing the blade spin and feeling the wind off the blade. If you feel this way, find someone knowledgeable to supervise and practice!

I know this is a lot of information all at once. But if you respect your investment, keep it tuned up, keep your body parts away from the blade and get out of the way from those flying partsโ€ฆ all thatโ€™s left is to go out have FUN!!!! and build something today.

Thanks, It has been an honor to borrow Brittanyโ€™s platform today!

PHGFancySign

Pin for later!

Read these Table Saw Safety and Guidelines to help keep you and your fingers safe! | Power tool safety | Pretty Handy Girl #prettyhandygirl #powertoolsafety #tablesawsafety
You may remember when we created our Summer calendar and bucket list. The boys really responded well to being able to see what was coming up on the calendar. And I enjoyed not having to pull up my Google Calendar on the computer whenever I was put on the spot for a play date. So, continuing to use a calendar in the kitchen was a no brainer. But, creating new calendars on poster board each month โ€” although fun โ€” seemed a bit tedious.

In a sheer stroke of genius suggested by Pretty Handsome Guyย I decided to paint a chalkboard calendar on our fridge: Read more