I’m back to show you the updates I made to my kitchen. Remember the plans I shared with you? These fabric backed cabinets made the kitchen new.
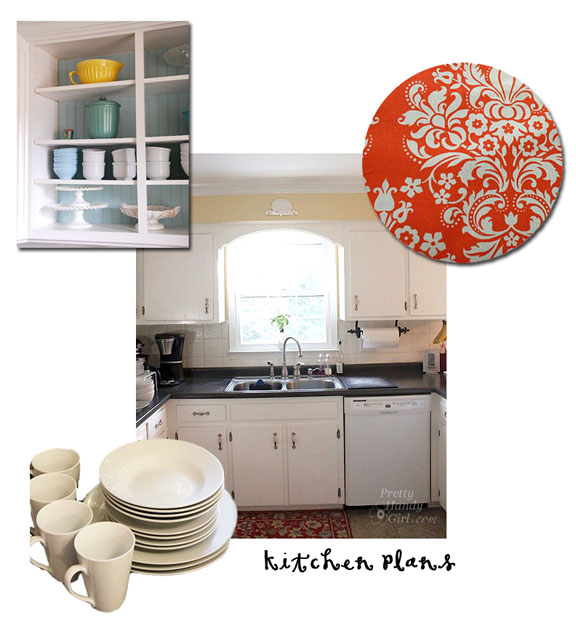
Well, they have been implemented and I LOVE the results! Best of all, the materials I bought cost me under $25 and that included the white dish set. But, the cherry on top is that I can easily reverse the changes if we move (or get sick of the look.)
And now, I present to you:
Fabric Backed Open Cabinets for the Kitchen
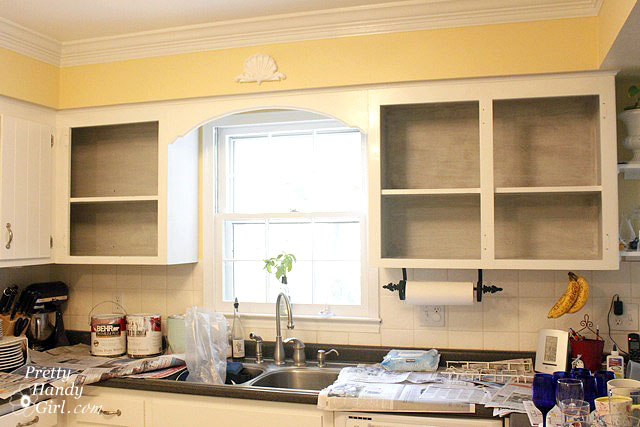
When we first met these sad cabinets, they were dark, dreary and had an eclectic collection of mugs:
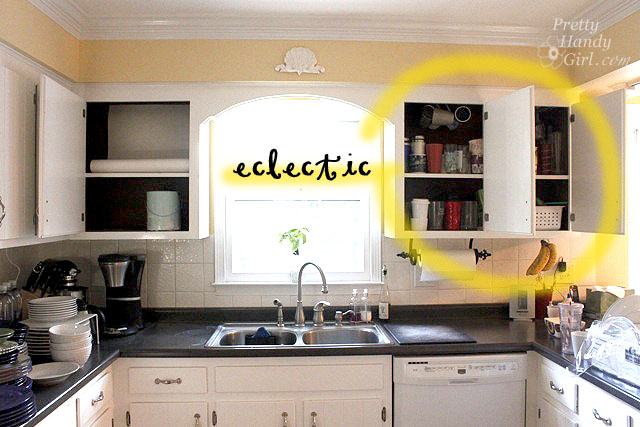
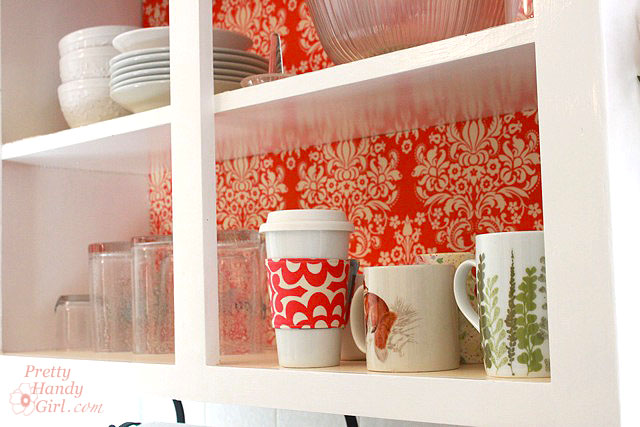
Within only a few hours (minus drying times), I had a stylish new look that is bright and cheery!
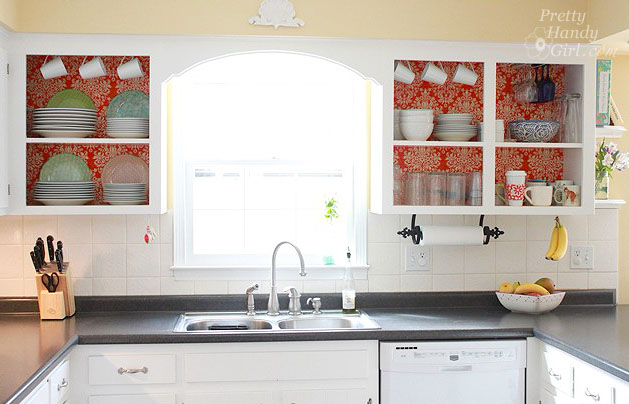
Follow along for the tutorial and the 50 cent tour (please deposit your pocket change on the way out.) Just kidding. I’ll let you in for free.
Materials:
(I’ve included affiliate links for your convenience. I earn a small percentage from a purchase using these links. There is no additional cost to you. You can read more about affiliate links here.)
Optional:
Difficulty: Easy
Step 1: Empty your cabinets.
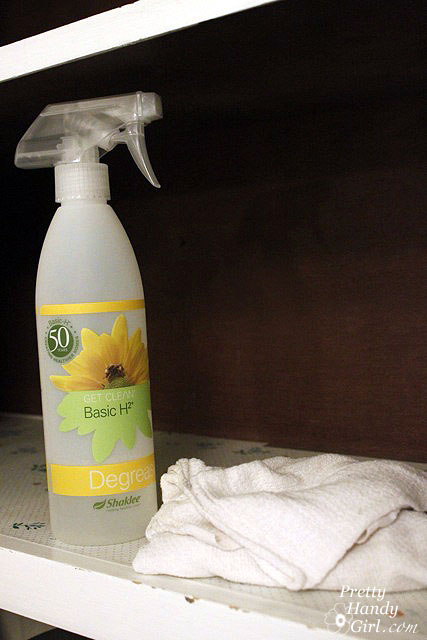
Clean the insides with an all purpose kitchen cleaner.
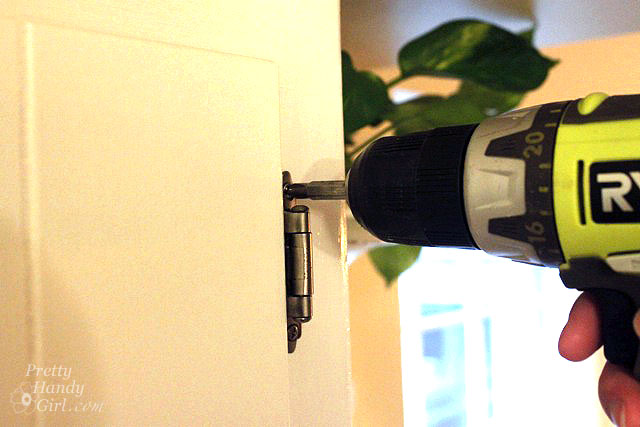
Step 2. Starting from the bottom, remove the screws from the cabinet door hinges. The last screw should be the very top hinge (to keep the weight of the door from wrenching the screw out of the wood.)
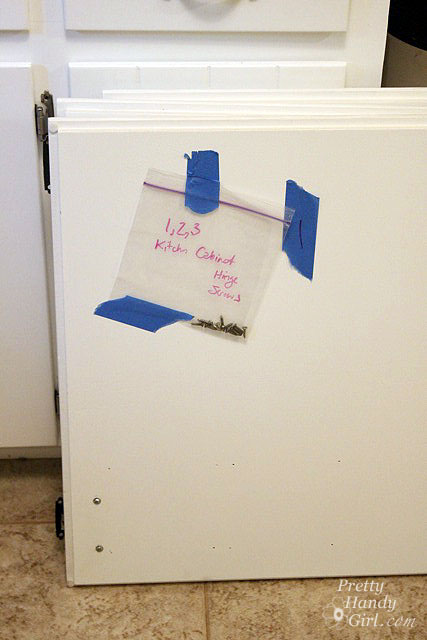
Put screws into a ziplock bag and label your cabinet doors in order so that you can return them to the appropriate cabinet opening at a later date.
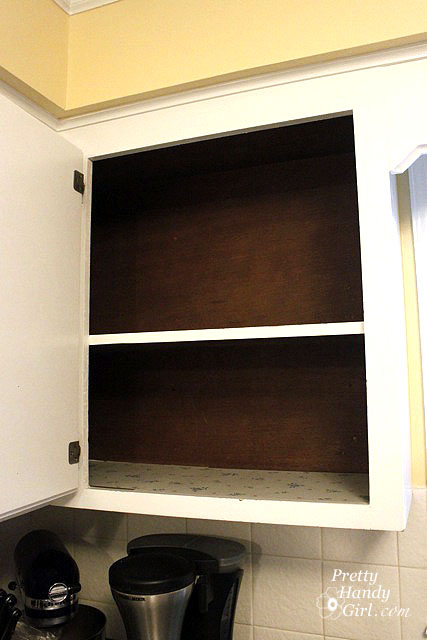
Now you should have a clean slate like this:
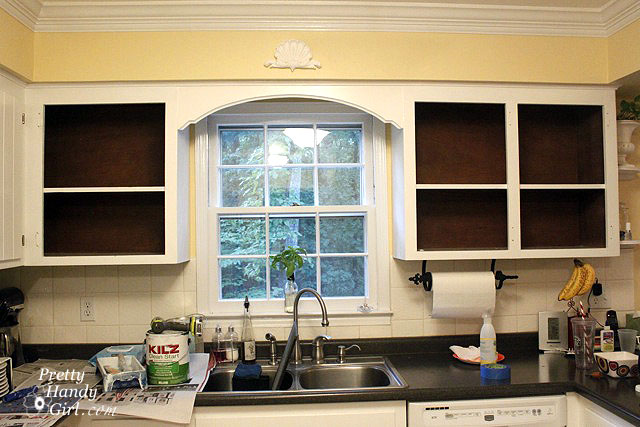
Step 3. If your cabinets are dark inside, you may or may not decide to paint the insides. (Be sure to check with your landlord if you are renting.) I chose to paint mine because the interiors were so dark. If you want to skip this step, fast forward to the next step.
Prime the insides by rolling on primer over the flat surfaces. Use a brush to get into the corners and crevices.
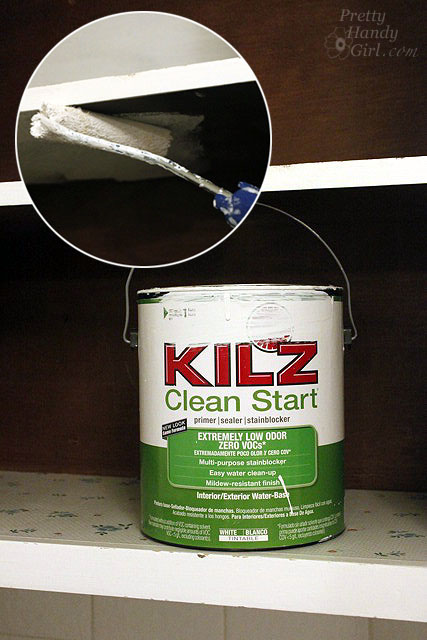
Once the primer has dried, get out the wood putty and putty knife.
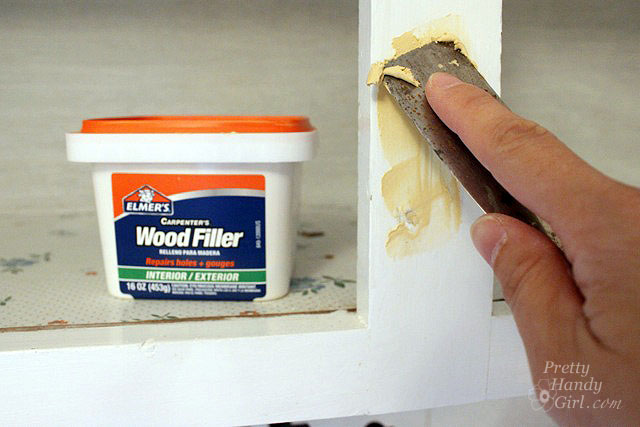
Step 4. Using the putty knife, spread a small amount of putty over the holes where the hinges were. Push the putty into the holes, then scrape the excess off. Allow the putty to dry completely.
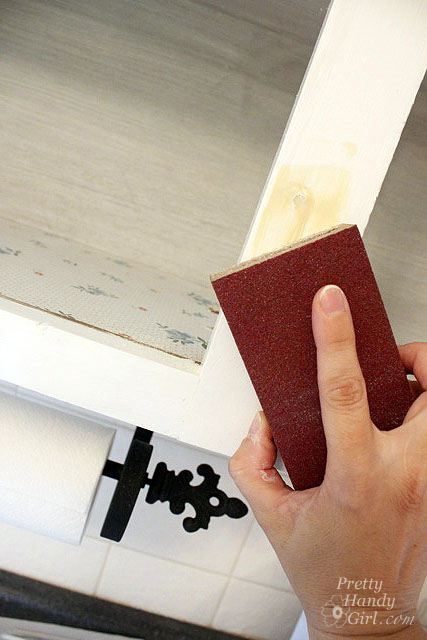
Step 5. Sand the puttied holes until smooth.
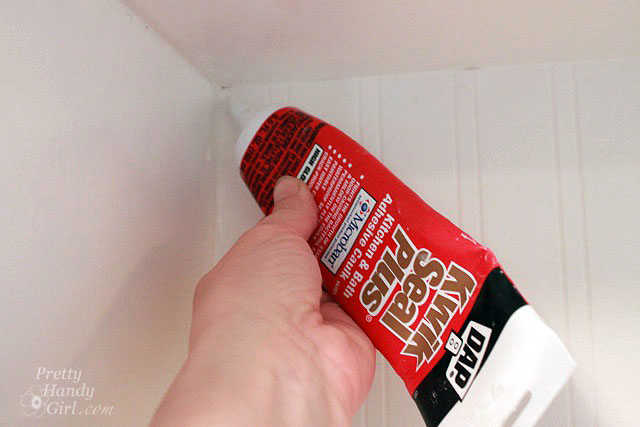
Step 6. Touch up the putty holes with paint or stain. Add caulk to any cracks or seams at the back of your cabinet. Allow the caulk to dry thoroughly.
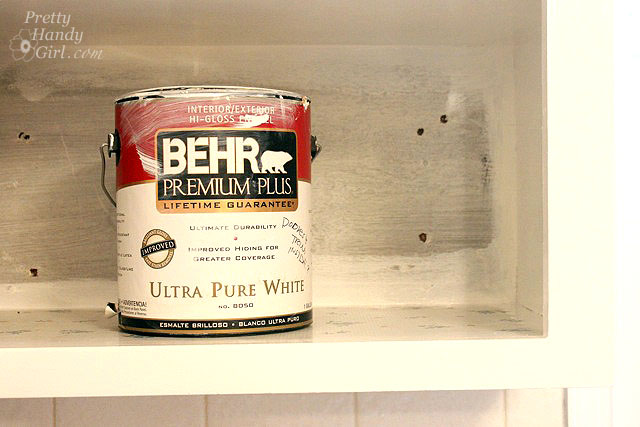
If you are painting the inside of the cabinets, roll on paint with the small roller and use the brush to smooth out the paint and get into the grooves.
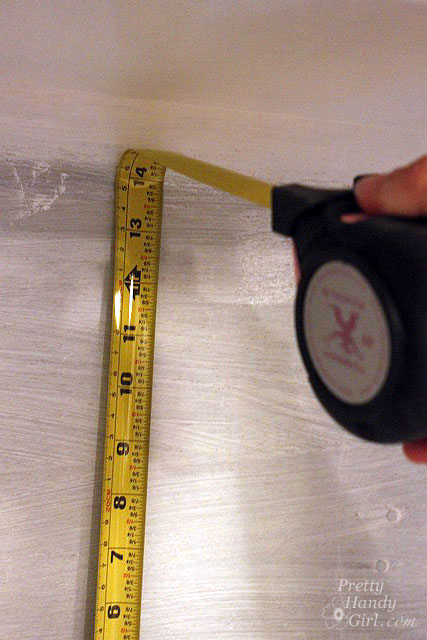
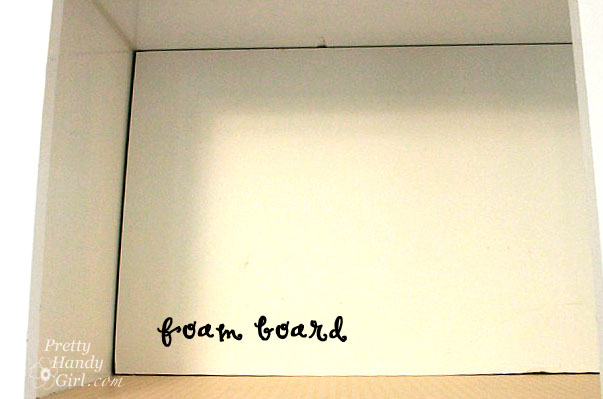
Step 7. Measure the dimensions of the back of your cabinets. Make sure your measurements are precise (measure twice, cut once is a good adage.)
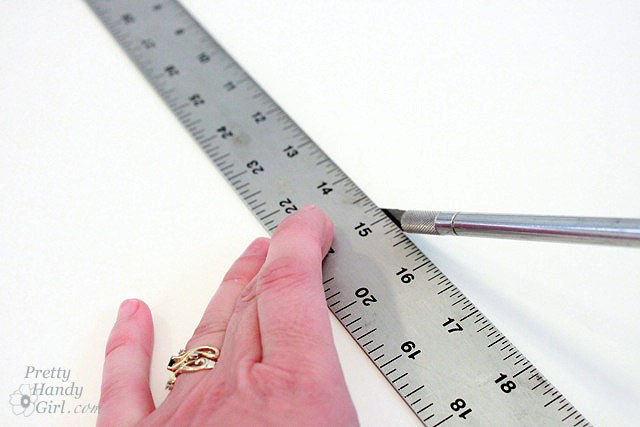
Cut a piece of foam board using the measurements you just took.
Test fit the foam board into the back of the cabinet. If your cabinet’s face frame is smaller than the cabinet back, you will probably have to bend the foam board to get it in.
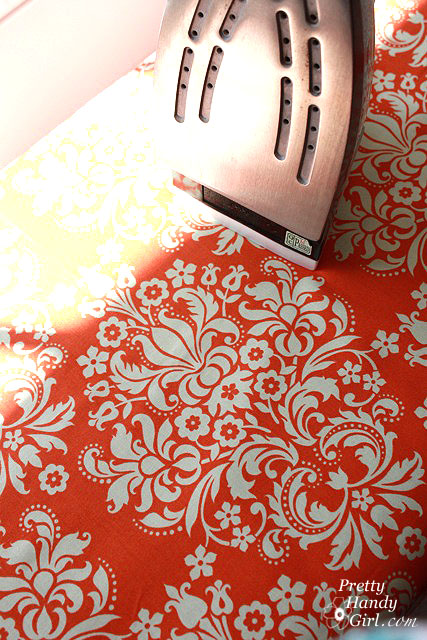
Step 8. Iron your fabric. Make sure to iron all the wrinkles out.
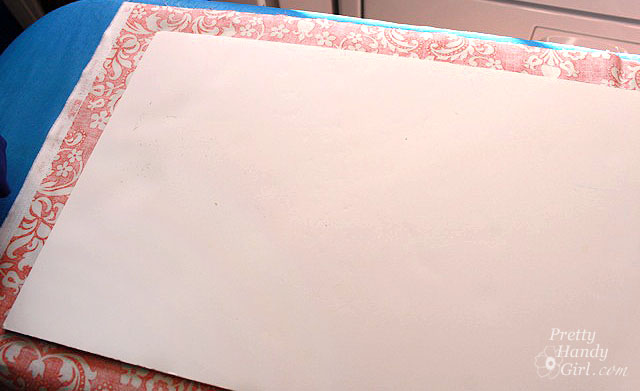
Cut the fabric 3 inches wider than the foam board. Lay the foam board on top of the fabric (wrong side facing up.)
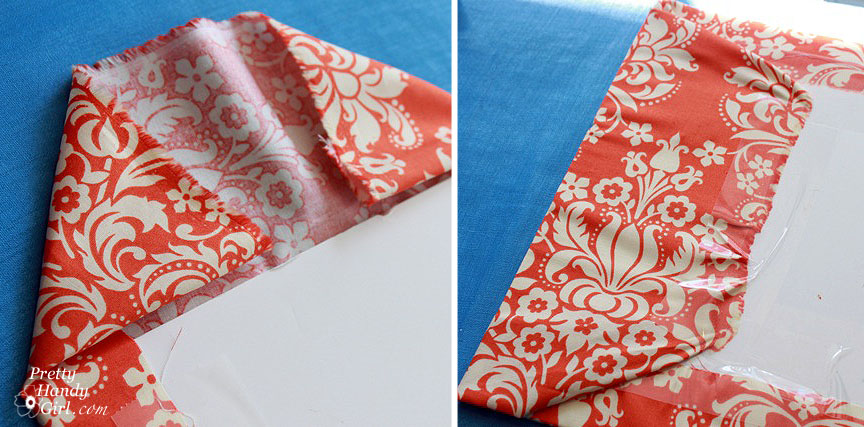
Step 9. Tape the edges of the fabric onto the back of the foam board. Be sure to pull the fabric taut.
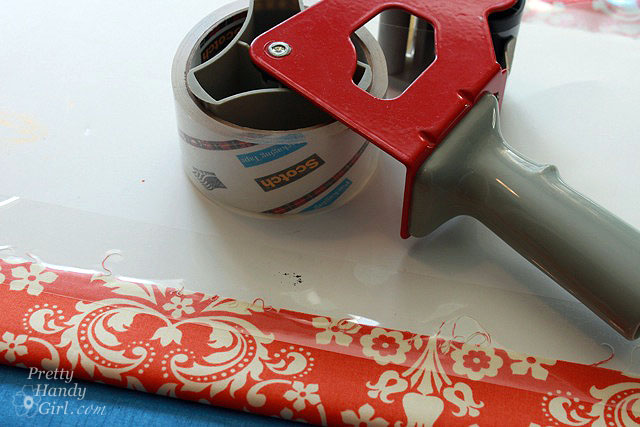
Fold the edges of the fabric as you would on a gift. Tape the ends to the back of the foam board.
Step 10. Insert the foam board into the cabinet.
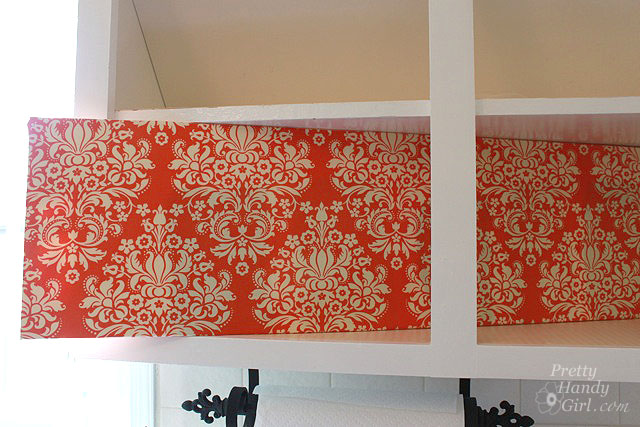
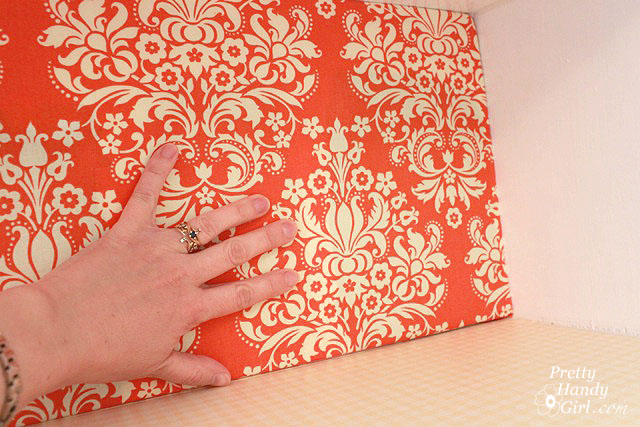
Push the foam board firmly against the back of the cabinet. The tension of the fabric and the board against the edges of the cabinet should hold it in place, no need to tape or glue anything!
It is a good idea to try to line up your pattern if you have multiple shelves. (Do as I say, not as I do.)
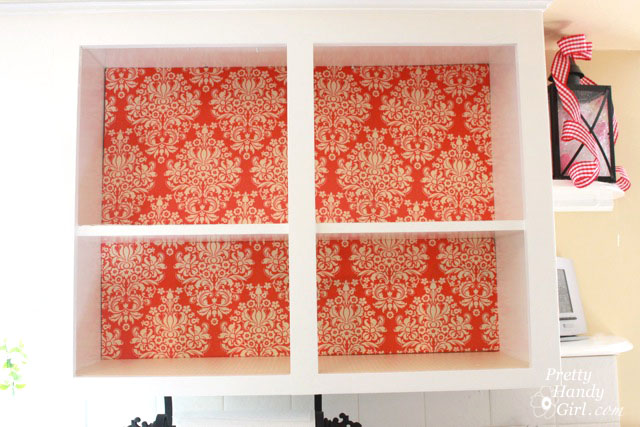
Start putting your coordinated dishes back into the cabinet. Think about displaying them as you might see in a store to complement these fabric backed cabinets.
For visual interest and extra storage, I hung some mugs from the top of the cabinet.
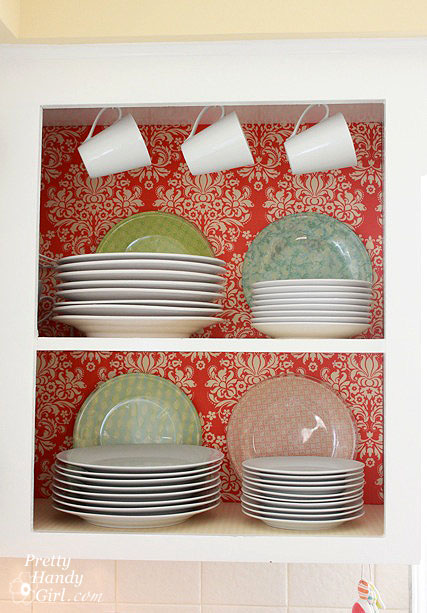
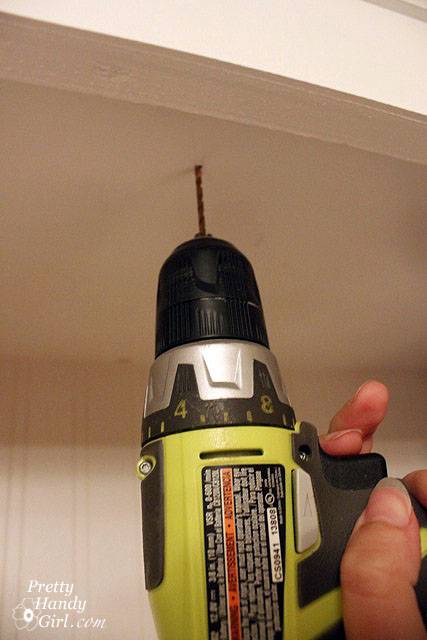
It was as simple as pre-drilling some holes and screwing in white cup hooks. (I did measure the same distance back from the face frame and spaced the hooks evenly. But, I’m a perfectionist like that.)
I am in love with my new kitchen! And all it took was less than $25 in supplies and a few hours.
What do you think?

The best part about this project is that I can easily remove the foam boards…
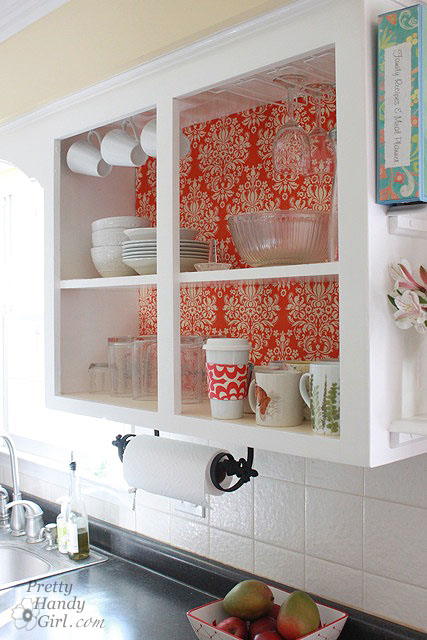
…or tape new fabric onto the back when I want to update the look!
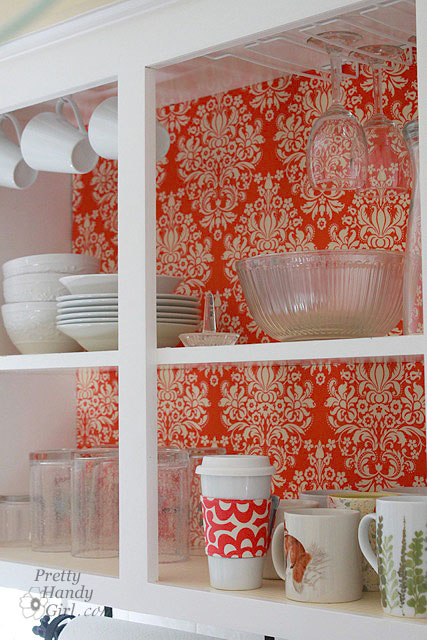
Can you imagine a cheaper, easier or more glamorous update to your kitchen?

Are you an apartment dweller that is restricted from making permanent changes to your home? Or does your budget limit the renovations you’d really like to make? Why not make a few frugal changes that reflect your own style. These fabric backed cabinets are a win for any kitchen!
Apartment Guide has changes you can make that won’t break the bank:
Want to find even more design tips for your home? Apartment Guide has budget friendly ideas and DIY how-tos for people in any sized home on https://www.movingtoday.com and https://www.apartmentguide.com/blog/

Disclosure Statement:
Apartment Guide and owner Consumer Source, Inc. partnered with bloggers such as me to participate in their monthly blogger program. As part of that program, I received compensation. They did not tell me what project to create or what to purchase. Nor did they influence my opinions! We believe that consumers and bloggers are free to form their own opinions and share them in their own words. Consumer Source’s policies align with WOMMA Ethics Code, FTC guidelines and social media engagement recommendations.
