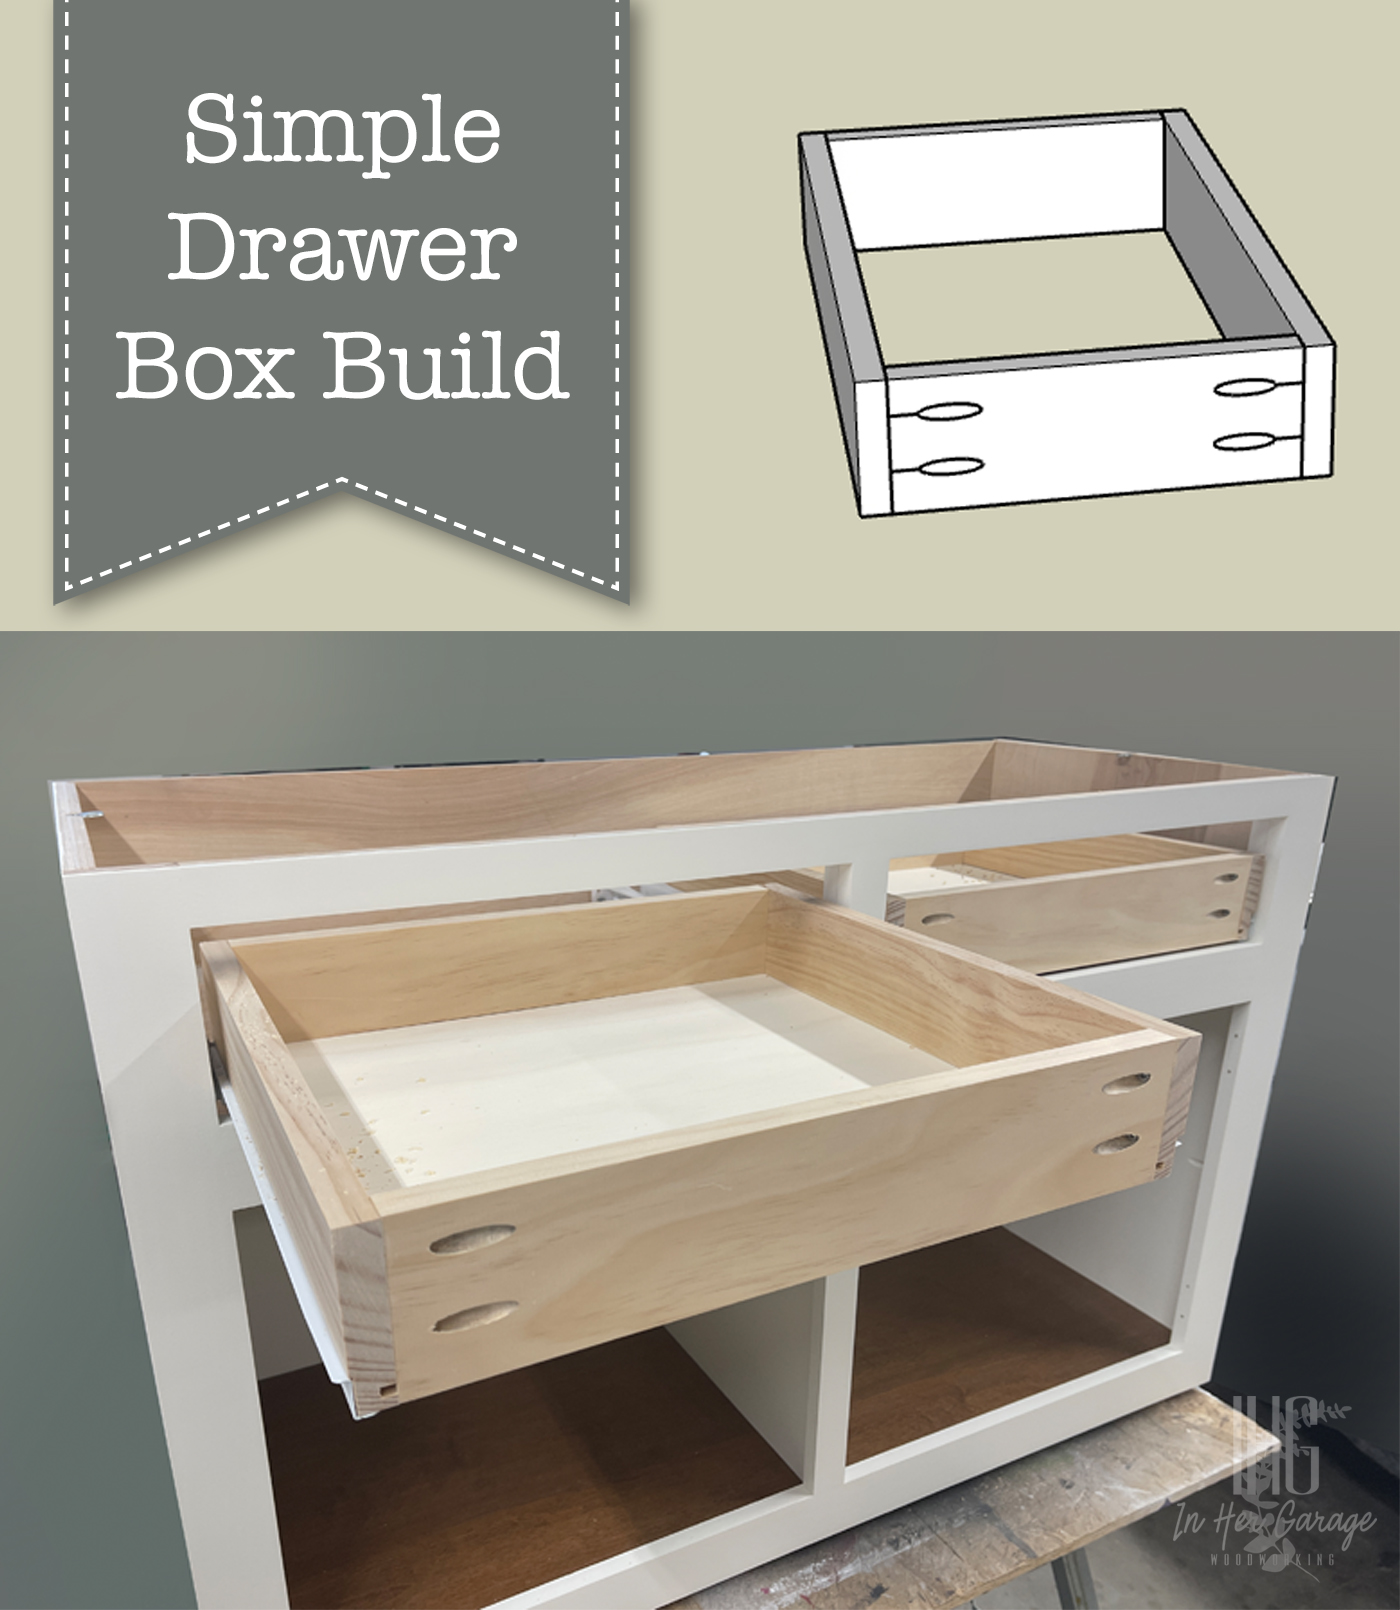
Learn the simplest and most accurate way to build drawer boxes with this easy tutorial.

Drawer Box Build

Welcome back, this is Kristen from In Her Garage Woodworking here with another build plan for you.ย ย When I first began my DIY woodworking journey over 5 years ago I was most intimidated by building drawers. I avoided them because I thought there were too many measurements and too much room for error. But, with a simple plan and a lot of practice, I now make drawers consistently and accurately.ย  These are the exact plans I use to this day to make drawer boxes for all of my commissioned furniture pieces because when youโ€™re able to make something quickly and easily that is solid and looks great, why would you ever change it?

Materials

(Iโ€™ve includedย affiliate links for your convenience. I earn a small percentage from a purchase using these links. Thereย is no additional cost to you. You canย readย more about affiliate links here.)

Tools

Instructions:

Your drawer can be any depth you wish, but before building the drawers, rip your 3/4โ€ณ material to the drawer height you desire (if you are using plywood or if your 3/4โ€ณ material is wider than your finished drawer.

Step #1: Cut drawer box sides

Using your miter or circular saw, cut two identical 3/4โ€ boards to the same length of the drawer slides youโ€™ll be using.

Step #2: Cut drawer box front and back

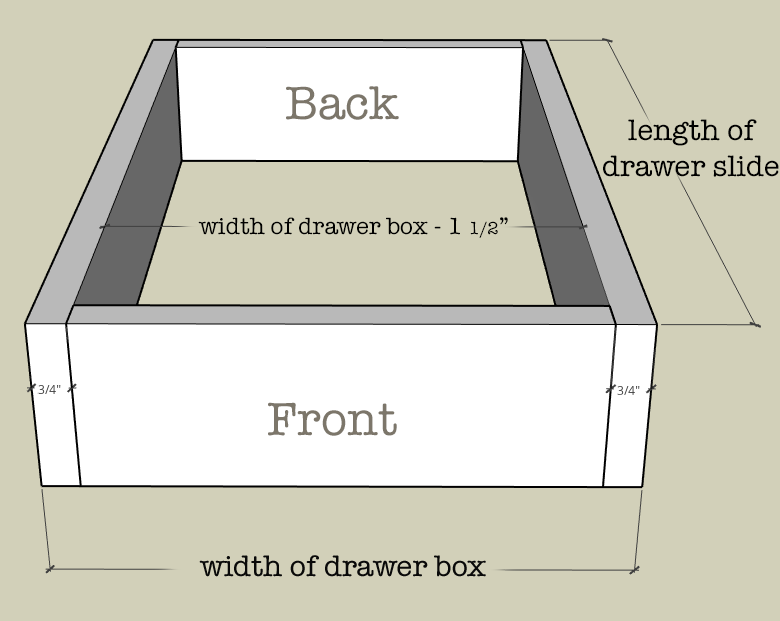
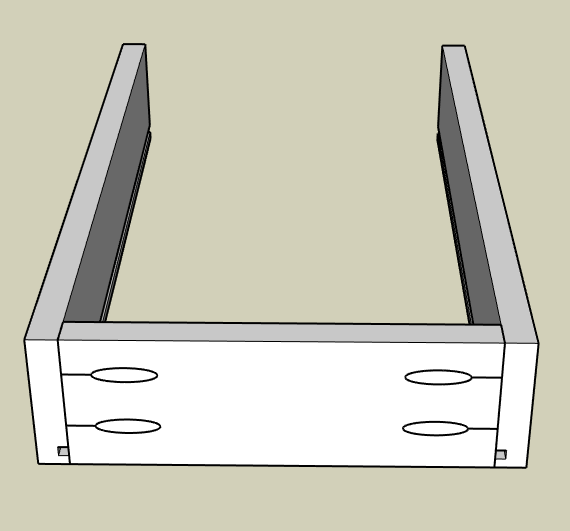
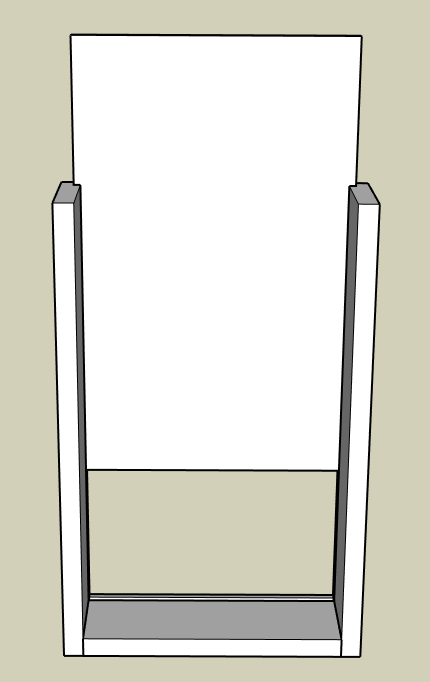
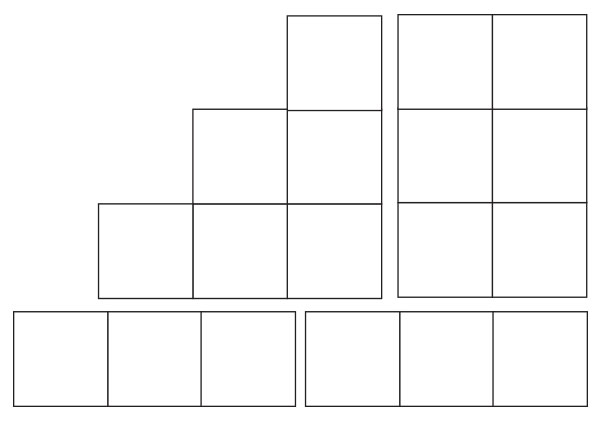
Cut two pieces of the 3/4 inch material for the front and back of the drawer box.ย  If youโ€™re using ยพโ€ material to build the drawer box then the length of the front and back can be calculated as follows (see equation and picture below):

Width of drawer box โ€“ 1ยฝโ€ = width of front and back drawer box boards

Drawer Box Diagram

Step #3: Add groove for drawer bottom (optional)

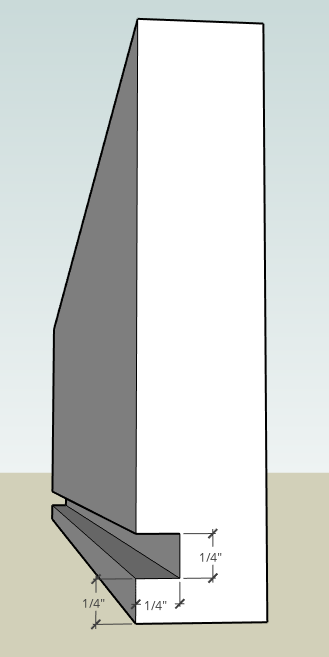
Taking all four 3/4โ€ณ boards to the table saw cut a groove 1/4โ€ from the bottom of all sides that is 1/4โ€ deep. Run the 3/4 board through one time, then adjust the fence (or your saw) to cut another groove next to the first. (A standard saw blade is 1/8โ€ wide so you will need to make two passes in each board to achieve a 1/4โ€ณ groove for the 1/4โ€ณ drawer bottom material.

Dry-fit the plywood to check for fit.


Step #4: Create pocket-holes

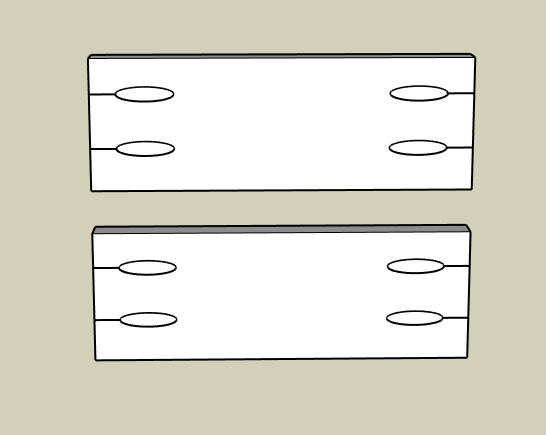
Using your Kreg jig make 2 pocket-holes at either end of the front and back boards on the opposite side as the plywood bottom groove if you chose to do this step. Be sure to avoid the groove.

Step #5: Assembly

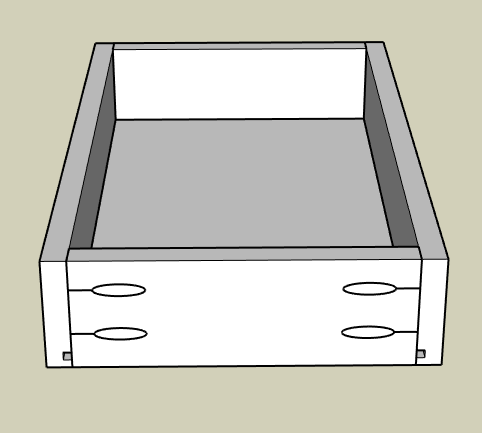
If you DID NOT cut a groove to accept the plywood bottom, then you can assemble the drawer box using wood glue and 1 ยผโ€ pocket screws.

Then, you will cut your bottom 1/4โ€ณ panel to the length and width of the drawer box and simply glue and nail it to the bottom of the drawer box

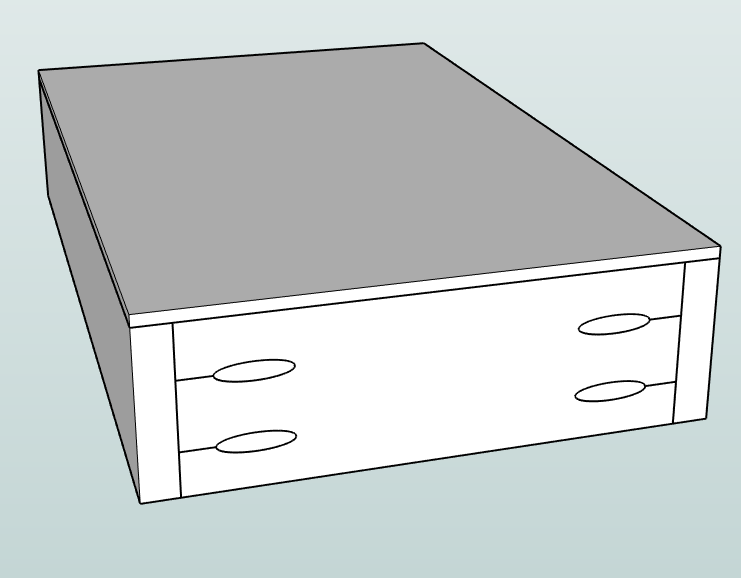
If you DID create a groove for the bottom panel assemble the front and both sides using wood glue and 1 ยผโ€ pocket screws.

Next, cut the ยผโ€ plywood to fit into the bottom of the drawer box groove dry fitting the back panel to check for fit.

Once you have the correct size for the plywood bottom then slide it into the groove and attached the back piece of the drawer box using wood glue and 1 ยผโ€ pocket screws. ย There is no need to apply glue into the panel groove.ย  The plywood bottom will โ€œfloatโ€ in place.

No need to worry about filling the pocket-holes because you will be applying a drawer face directly over them.

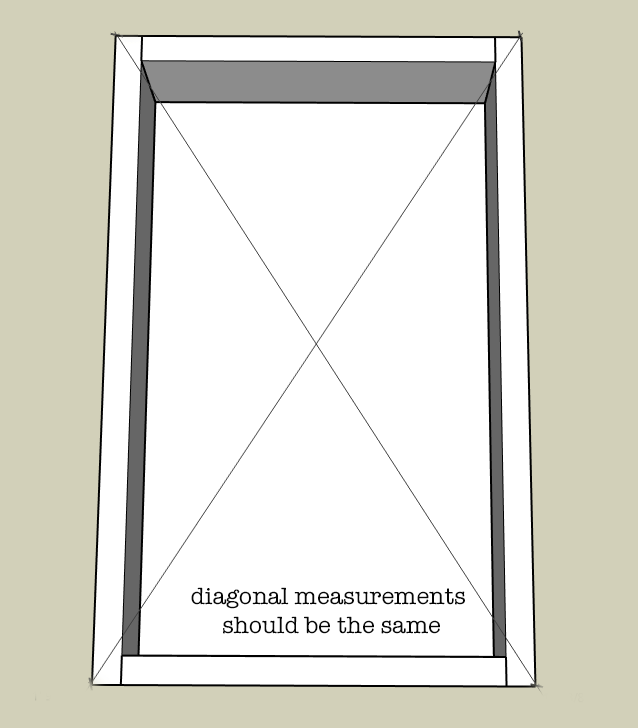
Be sure to check for square by measuring both diagonals of the drawer box.ย  If one measurement is longer simply squeeze the longer diagonal until both are the same.

Allow drawer box to dry.

That is the basic drawer box build that I use and it is strong and easy to put together. I hope this tutorial gives you the confidence to tackle that project youโ€™ve been putting off.ย  Next, I will teach you my favorite method for installing drawers and how I troubleshoot drawer boxes that just arenโ€™t quite the right fit!

Finishing Tips:

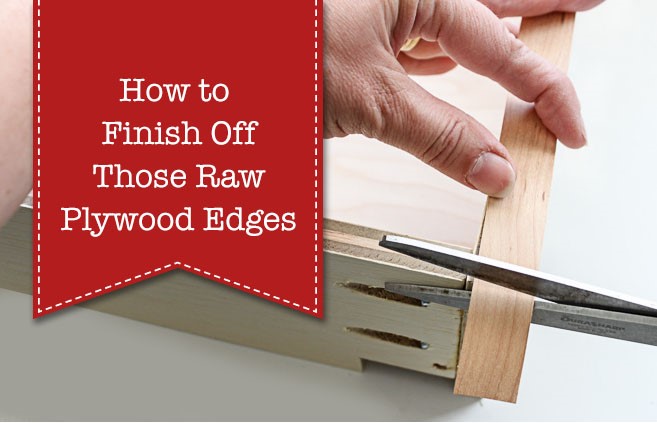
If you are making your drawer boxes out of plywood then check out Brittanyโ€™s Edge Banding Tutorialย and learn how to cover that unsightly plywood edge.

Wondering how, or if, you should apply a protective finish to the drawer box? If I am working with solid wood for the drawer sides then I will give the material a quick finish sanding and thatโ€™s it. But, for plywood, I typically do one of two things, depending upon what I have on hand at that time.

  • Option 1: Apply 1 or 2 coats of sanding sealer to raise the grain of plywood and sand smooth. Sanding sealer is clear, easy to apply, and dries quickly. If I have the time and patience I may also apply a quick spray of clear, semi-gloss, water-based topcoat to give it a little shine but it isnโ€™t necessary.
  • Option 2: Apply 2 to 3 coats of spray shellac to seal the plywood.ย  Spray shellac dries quickly and wonโ€™t leave any chemical smell behind. But be aware that it will give the plywood a slight amber tone which typically isnโ€™t big deal.ย  Remember to lightly sand between coats.

Hi! Iโ€™m Kristen, from In Her Garage,ย and I am a self-taught woodworker and DIY fanatic from Minnesota where I live with my husband and our two daughters. Between being a wife, mom and, registered nurse, I try to make as much time for DIY as possible. My love for building came after our family built our current home in 2015. After we moved in, we needed furniture and instead of spending massive amounts of money to order the pieces we wanted I decided that I would build them myself. I started with a buffet table plan from the fabulous Ana-white and quickly set out to remodel my entire home office.

Since then I have started a side business building furniture for the people in my community. I love hearing my clients talk about the pieces they wish they had whether it be aย rustic buffet table, aย one drawer side table, or aย toy box,ย and then making it a reality for them. While starting my small business it made perfect sense that I would document my building journey so I simultaneously launched theย In Her Garage blog and I love sharing my plans, tips, and tricks.

Making something beautiful with your own two hands through a little preparation and determination is an amazing feeling and I hope to bring inspiration and know-how to those looking to tackle a big or small project.

I am so glad that you found me here and please feel free to connect with me onย Pinterest,ย Instagram, and Facebook to see what I am working on right now. And check out the brand new In Her Garage Etsy shop for other plans or to have a furniture item made especially for you!

Hate wire shelves? Turn that boring closet into a show stopper with beautiful custom shelving. Here's how:

DIY Custom Closet Shelving

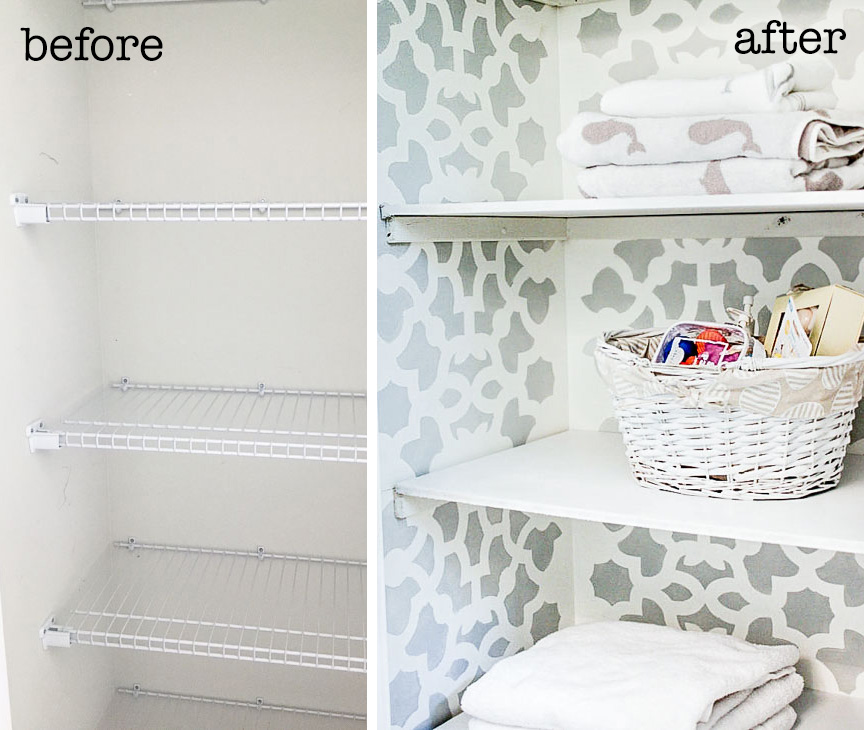
I donโ€™t like wire shelving in closets!ย Whoโ€™s with me on this one? I am slowly replacing all the wire shelving at my daughterโ€™s new home. As you may know, custom closets are super expensive. While researching โ€œsmall closet solutionsโ€, Iย found a way to transform a plain builder grade wire shelf closet into a custom stenciled closet!
Hi! Iโ€™m Maria from Simple Nature Decor here today to show you how to take a builder grade closet and turn it into your own custom dream closet!

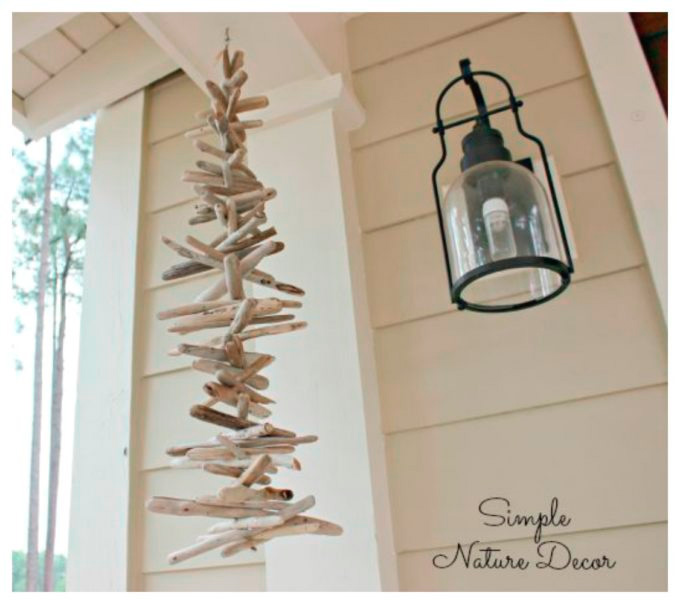
Usually I like to create with things I find in nature around my coastal Carolina home. My hanging drift wood chime was created from the driftwood I find on the local beaches. Because the weather is great most of the year, I work on many of my projects outdoors in the fresh air. I love painting furniture outdoors.

But, today Iโ€™m turning my talents inside to show you how to give your closet shelves a custom makeover for very little money. Ready? Great, hereโ€™s how toย DIY Custom Closet Shelving.

Materials:

(Iโ€™ve includedย affiliate links for your convenience. I earn a small percentage from a purchase using these links. Thereย is no additional cost to you. You canย readย more about affiliate links here.)

Instructions:

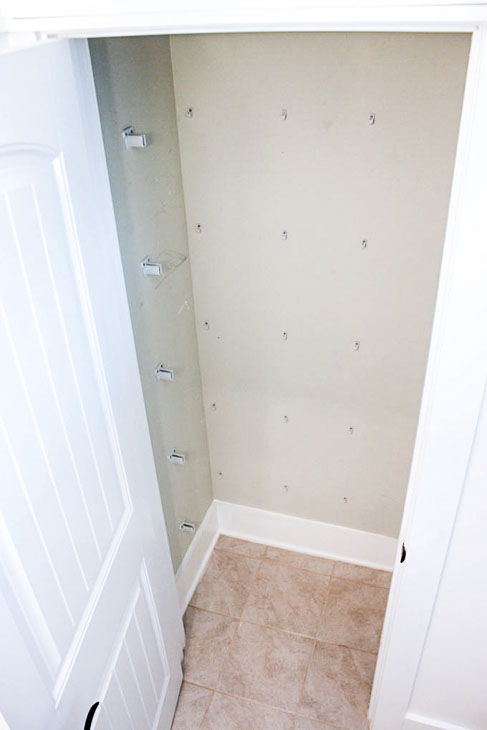
Remove those wire shelves.

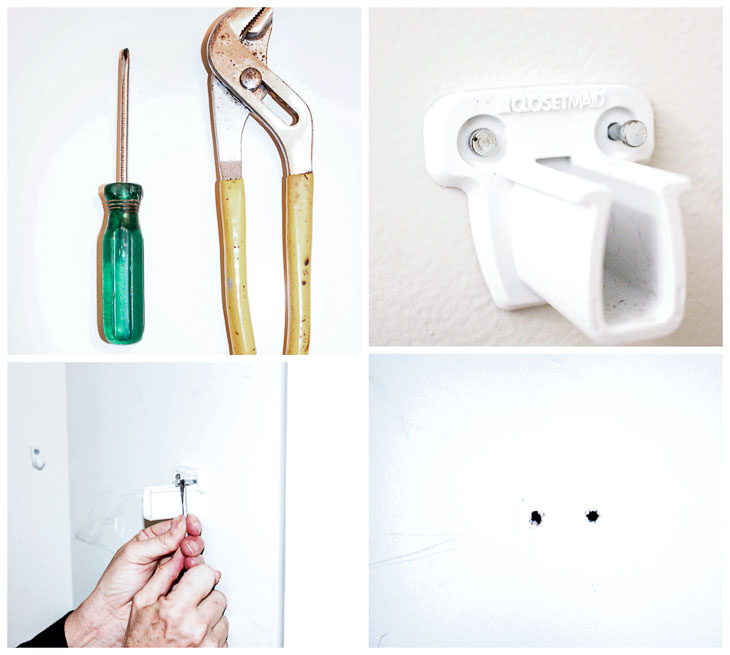
Step 1: Using a small flat head screwdriver, pull out the bracket nails. Then use the pliers to pull them completely out of the wall. All the holes will need to be plastered.


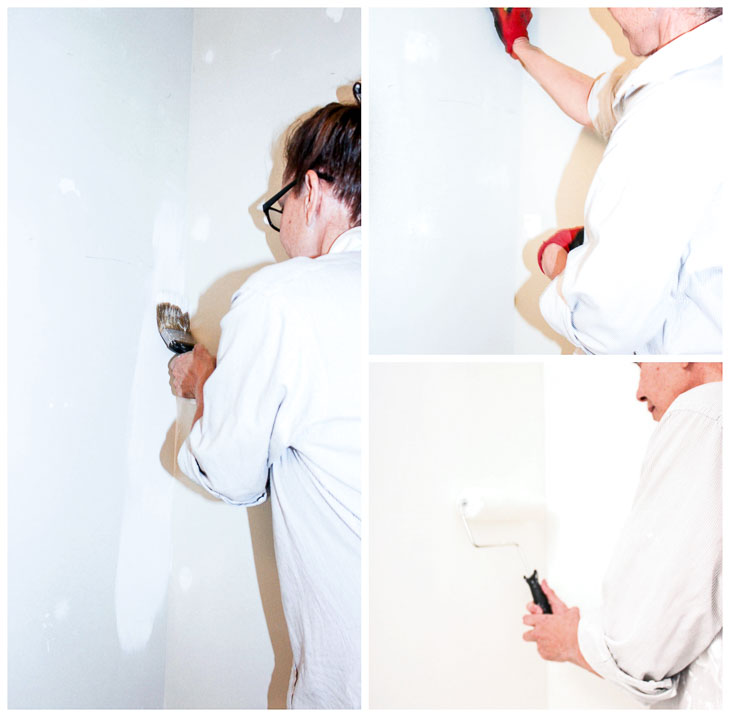
Step 2: Use joint compound (spackle) to fill the nail holes. You may have to use two coats. Spread one coat. Let it dry completely. Sand and repeat to get a smooth finish. Paint your closet walls.

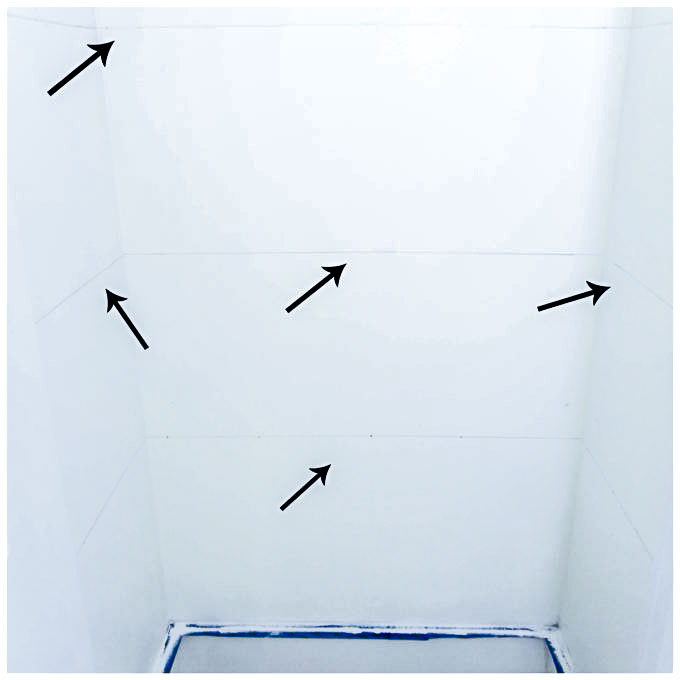
Step 3: Determine your shelf heights. (Tip: Use the same spacing as your wire shelving or measure the heights of items like baskets or products that will be stored on each shelf.)ย  Use a ruler and pencil to mark shelf heights on the walls. Use a level to draw the lines on all three walls.

Before adding the shelf supports, stencil the entire interior of the closet. Measure and line up your stencil in the center of the back wall. Use painterโ€™s tape to hang the stencil. (We used this Moroccan style stencil.)

Use a small foam roller to paint over the stencil. Make sure to blot off excess paint by running your roller over a paper towel after loading it with paint. Otherwise, it will have too much paint and can bleed through the stencil. Remove the stencil and line it up with an adjacent section. Stenciling an entire closet will take patience, but the results will be a true work of art!

Step 5: Use (4) 1โ€ณ x 2โ€ณ x 8โ€ฒ wood strips and 3 sheets of MDF wood. You can request to have the MDF wood cut to your closet measurement. (Tip: Take your width measurement and subtract 1/2โ€ณ. Measure the depth of your closet and subtract an inch. This will compensate for any irregularities in your wall or door frame.)

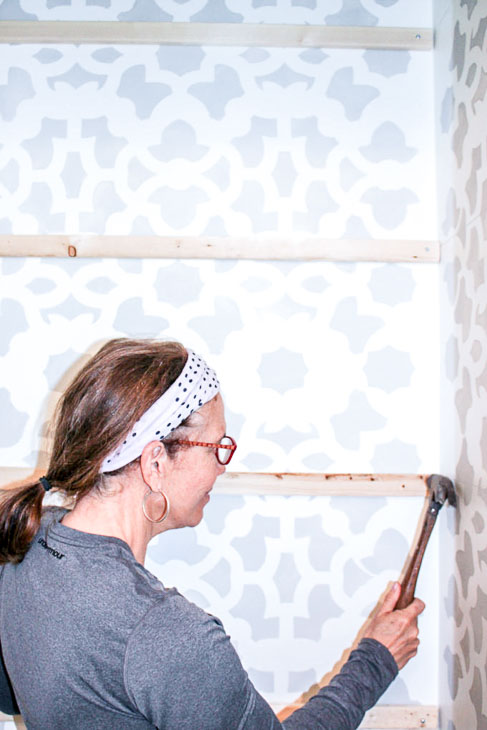
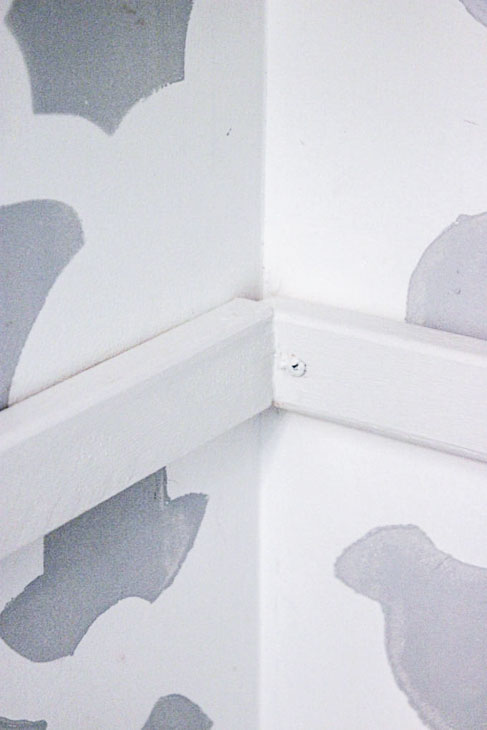
Cut the 1โ€ณ x 2โ€ณs to fit on each side of your closet. Hold the strips at the shelf location marks you made before stenciling. Secure the strips using nails or screws into the stud locations. (Having trouble finding the studs? Use one of these 5 Methods to Find a Stud without a Studfinder!) Repeat for each shelf. This will create the ledge to support each shelf.

Step 6: Paint your wood strips white to match the closet walls.

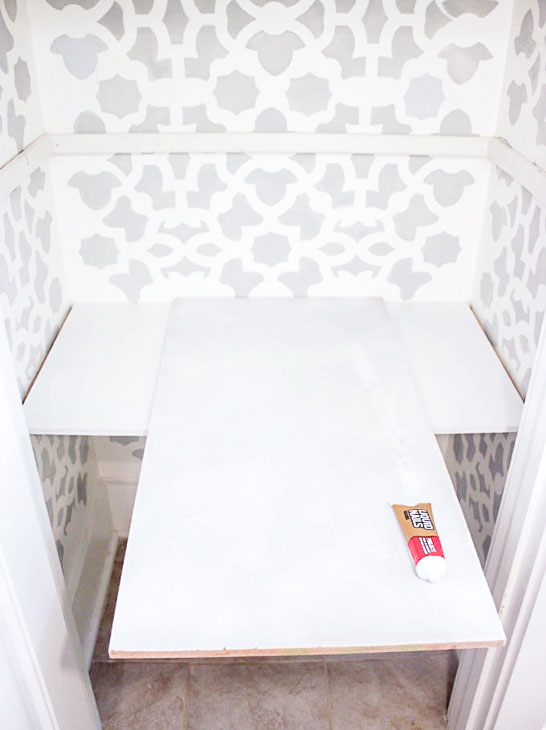
Step 7: Run a bead of construction adhesive along the top of the shelf support strips. Lay the shelves on top of the supports.

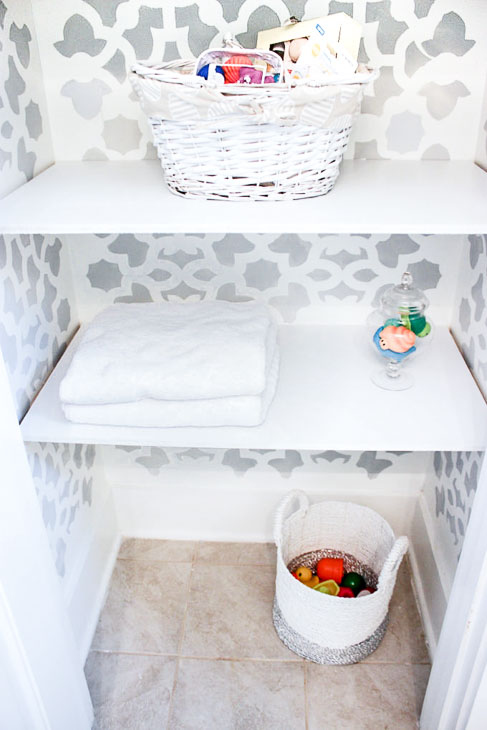
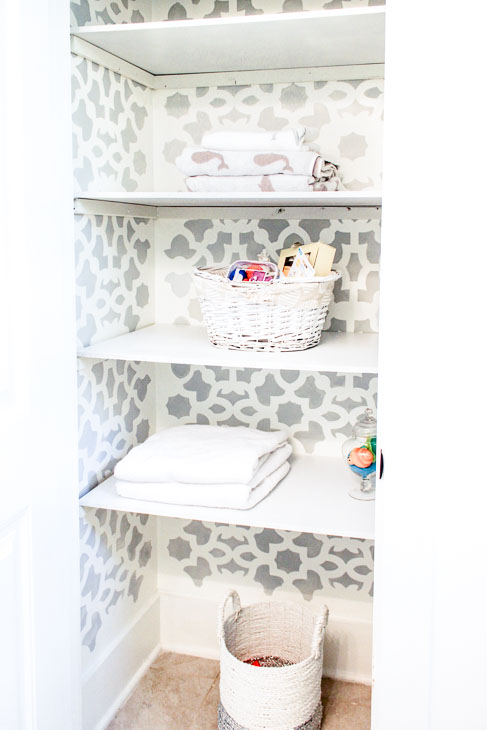
Load up your new custom shelving with items.

What a transformation! Do you like the new look?

Thanks for letting me share with you how to give your closet and storage shelving an upgrade!

Disclosure: Maria was provided with the stencil fromย Cutting Edge Stencilsย at no cost to her. All words and ideas are her own. She was not told what to write.ย 

Hi Iโ€™m Maria and Iโ€™ve been a lover of nature for my entire life! Five years ago I created a blog called Simple Nature Decor. Itโ€™s about bringing whatโ€™s beautiful in nature into your home. I create nature-inspired decor ideas for the home. My home in coastal Carolina is filled with amazing elements that have inspired me to create some of my favorite DIYs.ย Come visit me at Simple Nature Decor!

If you liked this tutorial. Youโ€™ll love reading how to turn a closet into a reading nook:

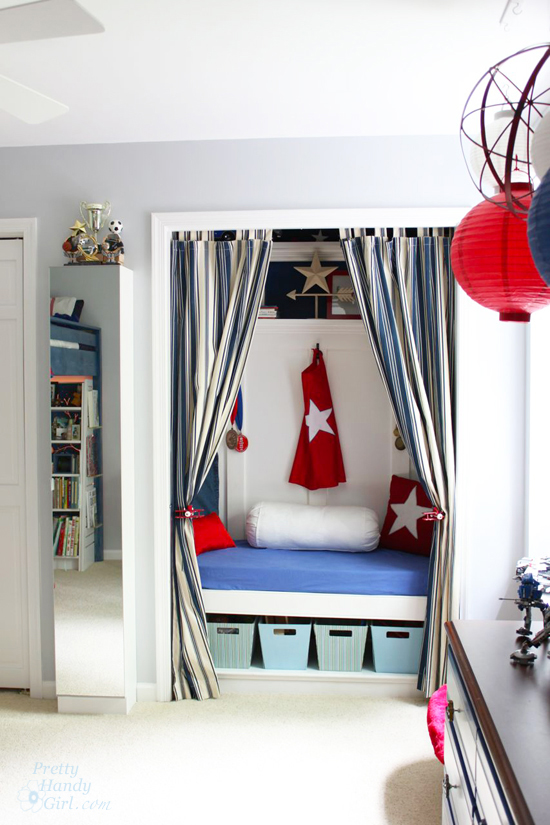
Boy's Red, White & Blue Themed Room | Pretty Handy Girl

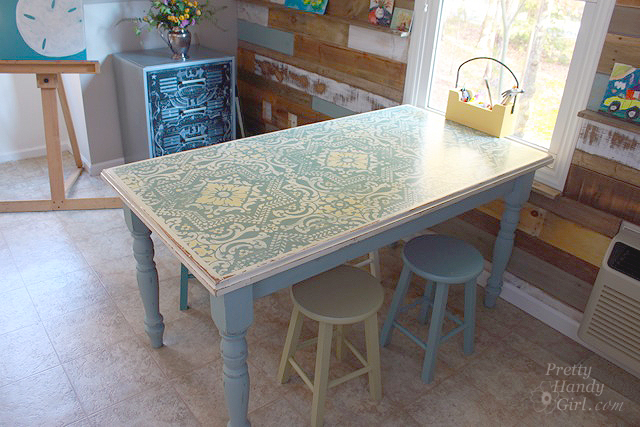
Or you might like to learn how to use a stencil on more than just walls, like on this dumpster-destined table:

Children's Closet Library with Secret Pass Through | Pretty Handy Girl

Childrens' Closet Library with Secret Pass Through | Pretty Handy Girl

Turning the bonus room closet into a Childrenโ€™s Closet Library is one of those projects that took longer than expected. Not because the work was harder, but because I took a break from the project for many months while other things took precedence. Iโ€™m thrilled to have this project complete and am ready to move on to something new.

Converting a closet in our bonus room into a childrenโ€™s library started when my oldest son commented that he wanted me to add onto our house and build a library like the one in A Series of Unfortunate Events.

Obviously I had no desire to add onto our home. But, I began to form a plan about where I could add a library in our home. It becameย clear when I opened the toy closet in the bonus room and found myself getting angry that it was (once again) a mess. As I began clearing a path on the floor of the closet, it occurred to me that 90% of the toys in the closet were for young children and my boys had outgrownย them.ย Time to clear out the closet and repurpose it for my book worms.

Childrens' Closet Library with Secret Pass Through | Pretty Handy Girl

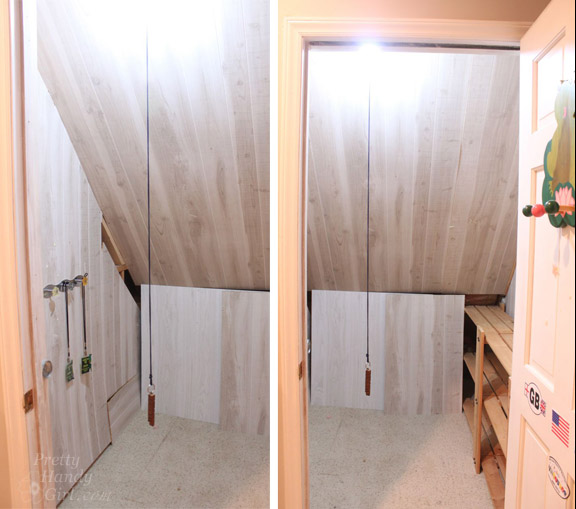
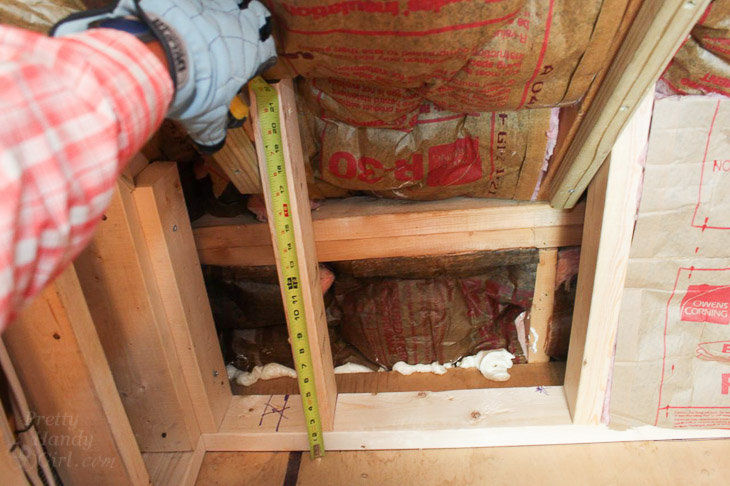
After removing the faux wood panels, I uncovered a mess of wiring and rewired a new light fixture into the closet. Some idiot had never put the wiring inside the wall, instead the guilty party wrapped the wires around the studs (NOT TO CODE!) Instead of re-routing all the wiring, I furred out a new wall to encase the wiring.

Childrens' Closet Library with Secret Pass Through | Pretty Handy Girl

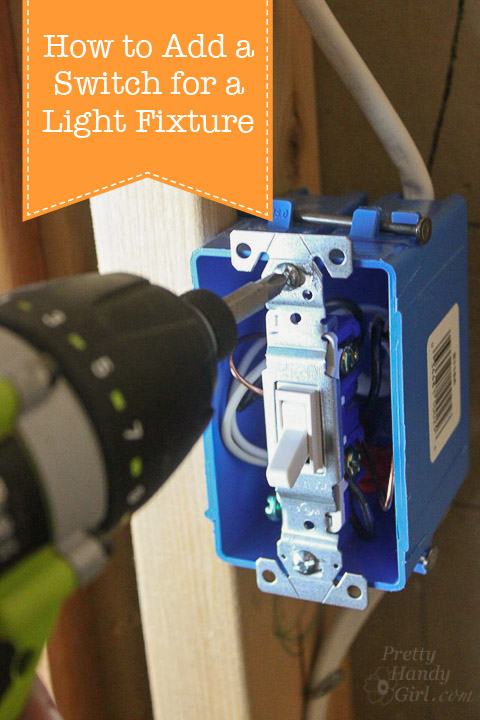
While the walls were open, I decided to install a new light fixture and a switch (instead of the annoying bare bulb fixture with a pull chain.)

How to Add a Switch to a Light Fixture | Pretty Handy Girl

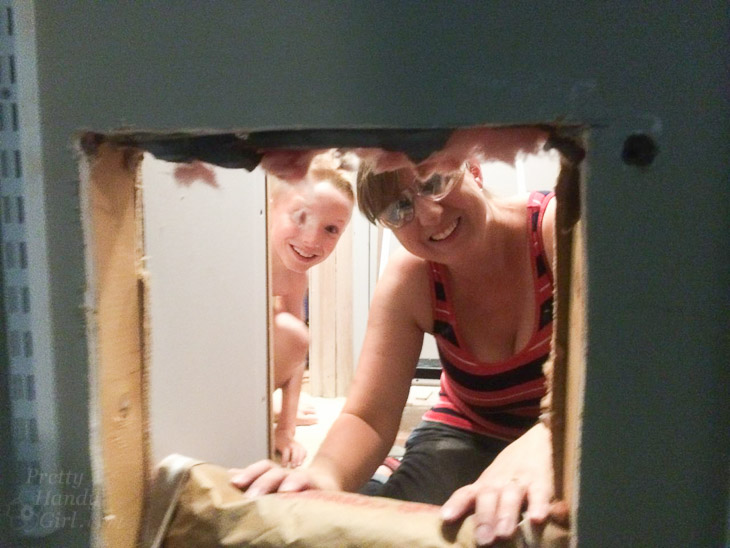
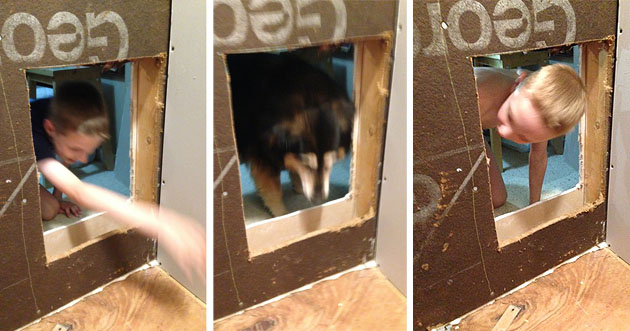
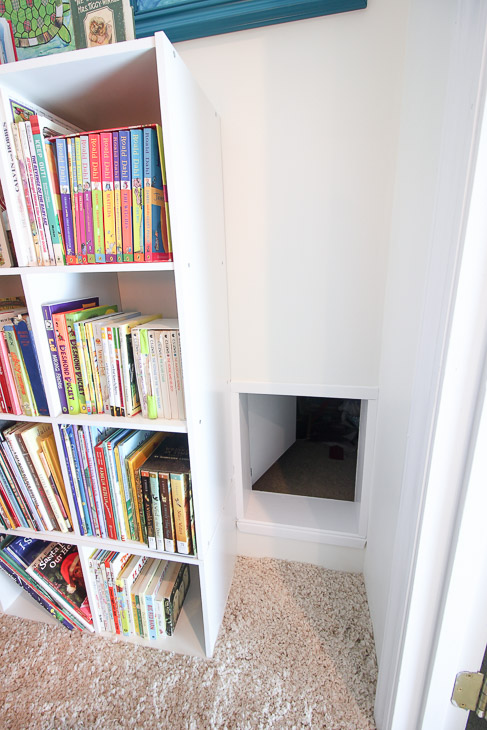
After adding some much needed insulation, the fun began! I cut a hole into the wall between my sonโ€™s bedroom closet and the bonus room closet. I think we felt a little bit like the astronauts the first time they docked to the International Space Station and saw the Russian astronauts though the hatch.

Childrens' Closet Library with Secret Pass Through | Pretty Handy Girl

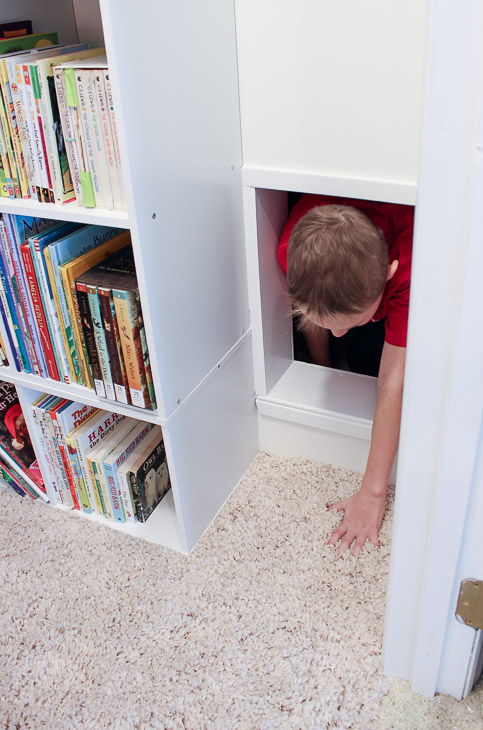
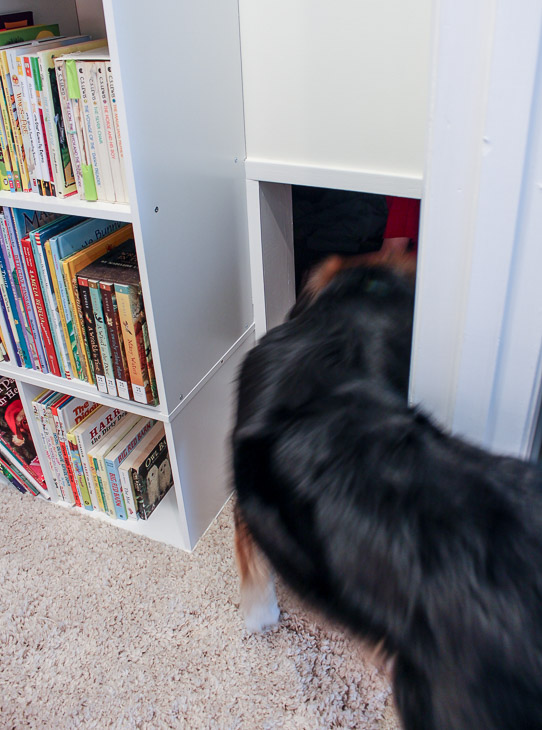
Before adding drywall, everyone had to test the pass through (humans and canines alike.)

Childrens' Closet Library with Secret Pass Through | Pretty Handy Girl

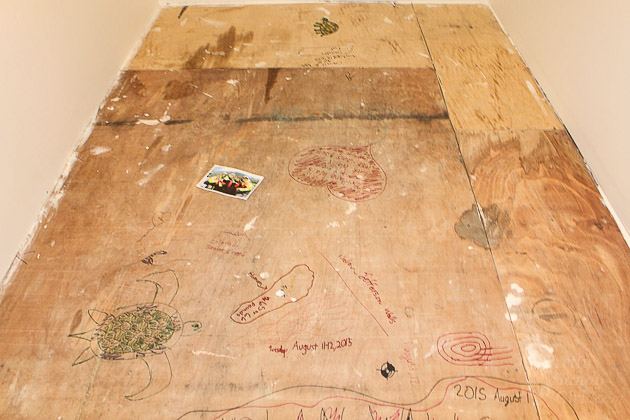
After I installed the drywall and painted, the boys and I drew some messages on the subfloor. We love leaving little notes and time capsules in our construction projects.

Childrens' Closet Library with Secret Pass Through | Pretty Handy Girl

The flooring was definitely aย popularย addition to this closet. I wish you could feel it.

Faking Wall-to-Wall Carpet with an Area Rug | Pretty Handy Girl

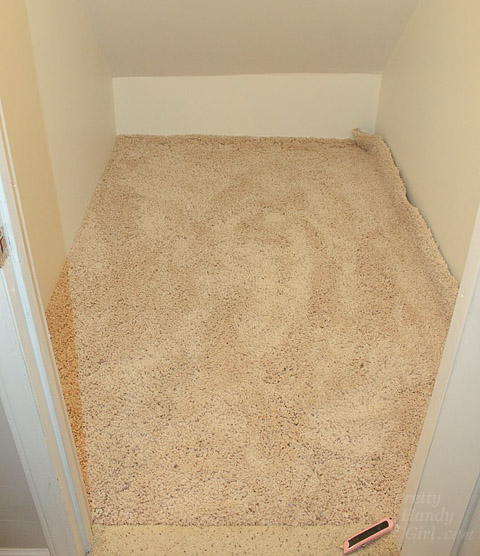
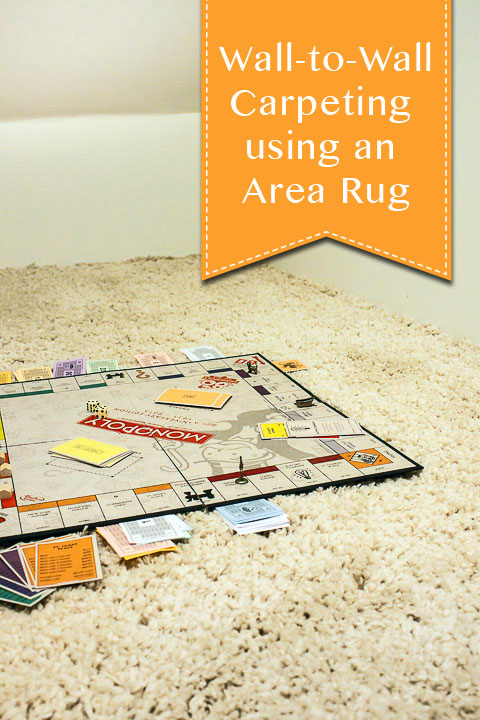
I purchasedย a fluffy shag chenille rug at Loweโ€™s that was used to create wall-to-wall carpeting in the closet.

Faking Wall-to-Wall Carpet with an Area Rug | Pretty Handy Girl

The final steps on the closet library was to addย furniture and artwork.

Childrens' Closet Library with Secret Pass Through | Pretty Handy Girl

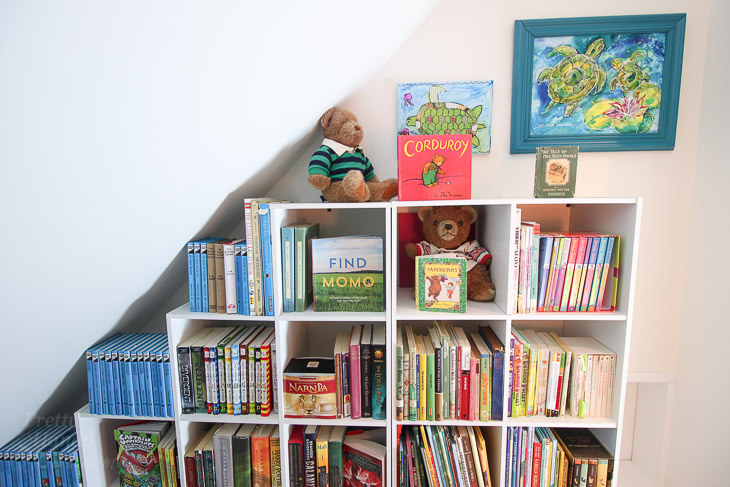
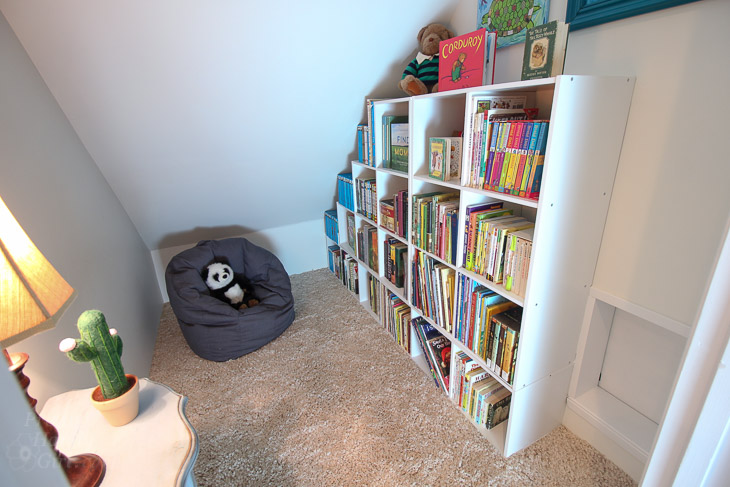
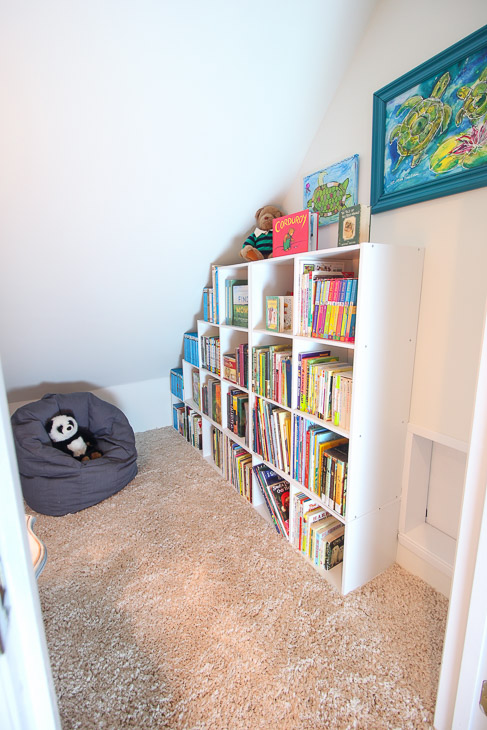
To create bookshelves, I used several IKEA Room Essentials cube storage units. Each unit isย anchored to studs on the wall to prevent tipping.

Children's Closet Library with Secret Pass Through | Pretty Handy Girl

Two โ€“ 3 Cube Towersย on the bottom, One โ€“ 6 Cube Shelves, and One โ€“ 3-2-1ย Cubeย Organizerย Shelf.

(Iโ€™ve includedย affiliate links for your convenience. I earn a small percentage from a purchase using these links. Thereย is no additional cost to you. You canย readย more about affiliate links here.)

Childrens' Closet Library with Secret Pass Through | Pretty Handy Girl

After the shelves were filled. I trimmed the secret pass through and added hinges and a door on my sonโ€™s bedroom side.

Childrens' Closet Library with Secret Pass Through | Pretty Handy Girl

This allows him to lock the door for privacy. A simple window lock worked perfectly for this purpose. Thenย the boys quality tested my work on the pass through.

Childrens' Closet Library with Secret Pass Through | Pretty Handy Girl

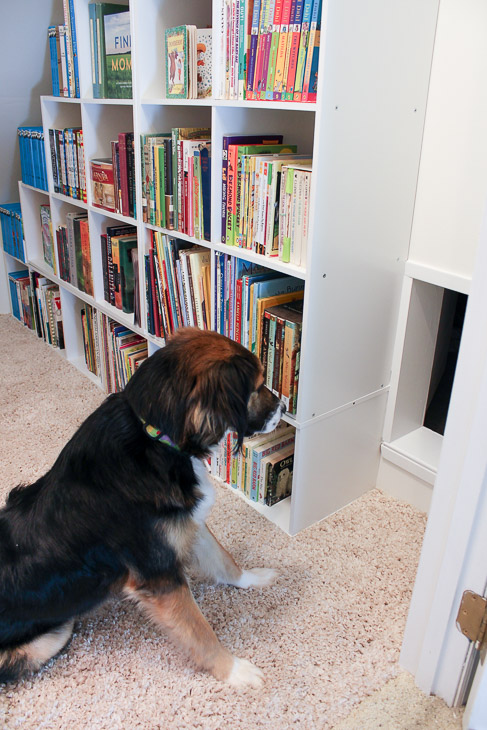
Bandit found the pass through very intriguing.

Childrens' Closet Library with Secret Pass Through | Pretty Handy Girl

Eventually he gave his stamp of approval.

Childrens' Closet Library with Secret Pass Through | Pretty Handy Girl

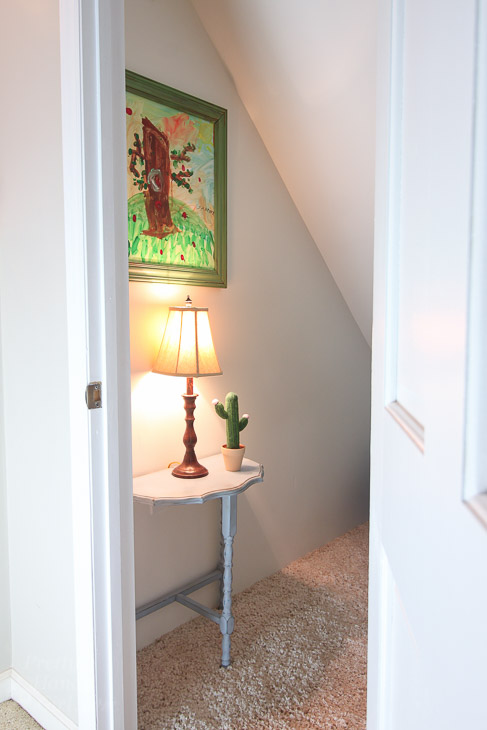
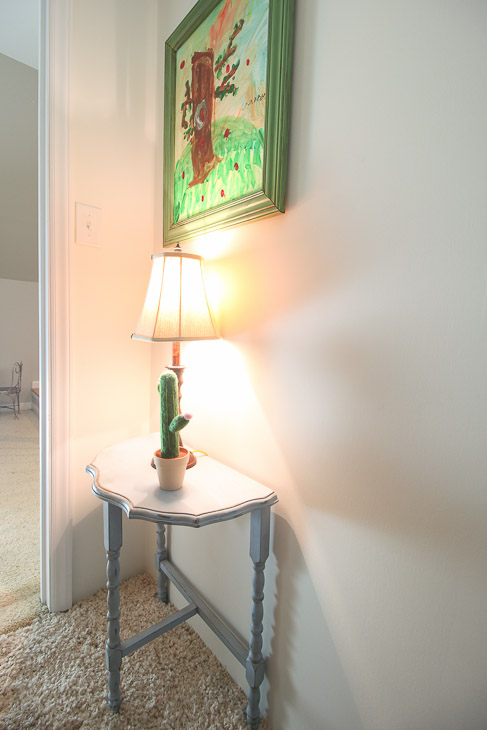
Even though the closet has overhead lighting, I added a small side table and lamp for a cozy feel.

Childrens' Closet Library with Secret Pass Through | Pretty Handy Girl

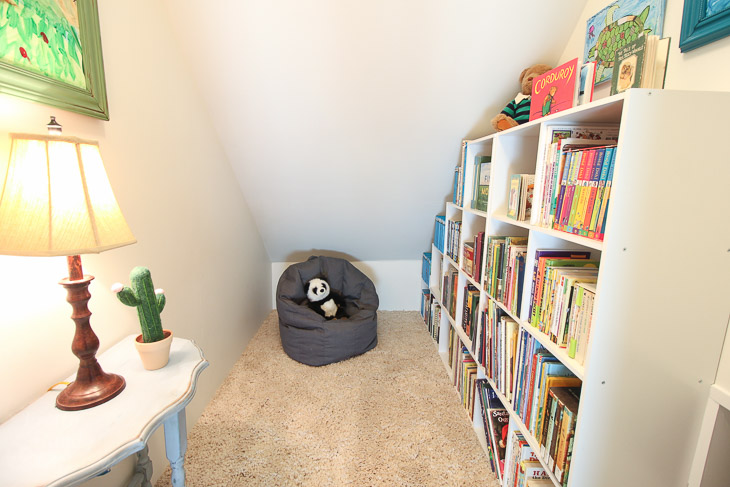
This is the best view of the childrenโ€™s library closet. (Itโ€™s incredibly hard to photograph a closet!)

Childrens' Closet Library with Secret Pass Through | Pretty Handy Girl

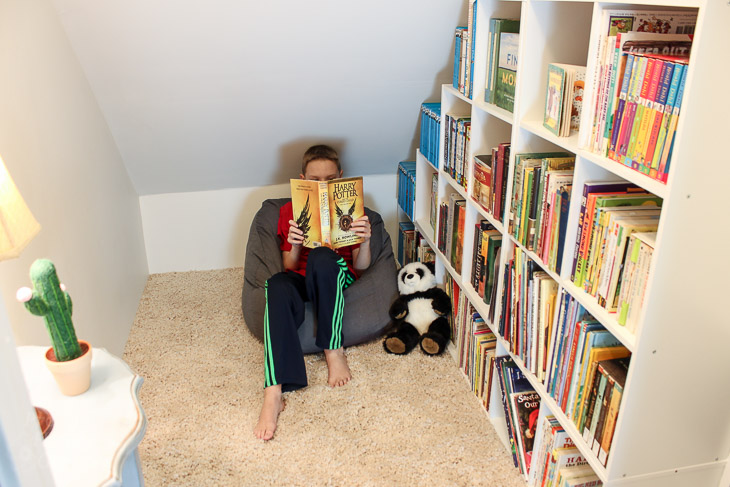
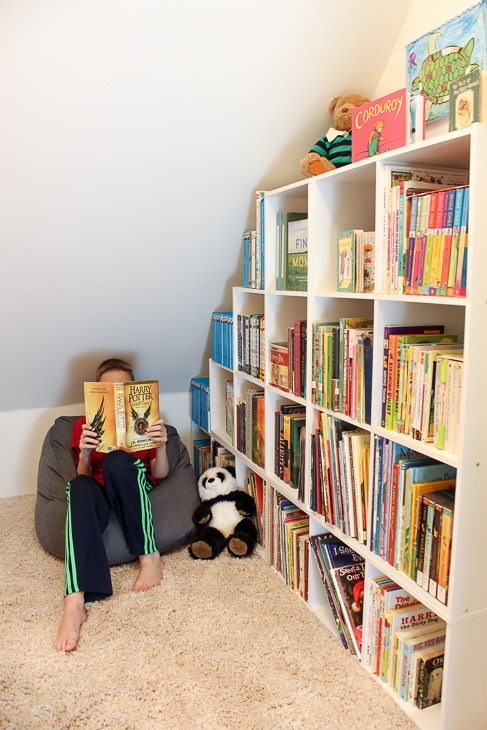
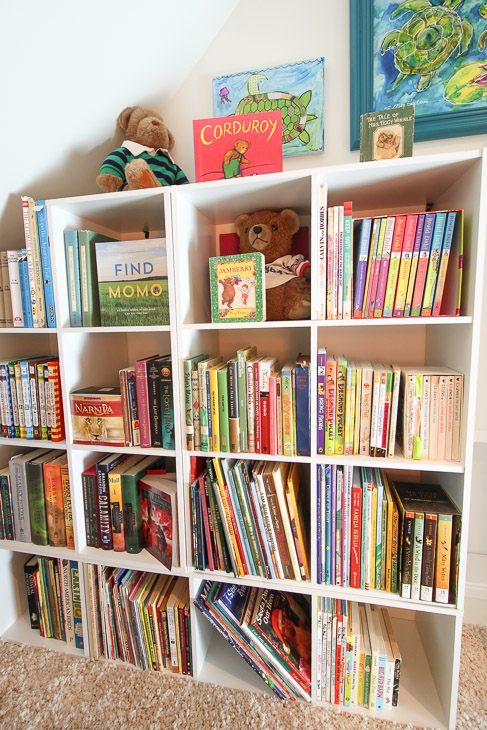
The cube storage shelves are the perfect height to accommodate most of their books.

Childrens' Closet Library with Secret Pass Through | Pretty Handy Girl

My 12 year old son filled andย styled the shelves (honest!) He even added some teddy bears like the elementary school library has. So cute!

Childrens' Closet Library with Secret Pass Through | Pretty Handy Girl

My boys have spent so much time burrowing in this library closet. I frequently find them in there reading, especially when Iโ€™m calling them to do chores.

Children's Closet Library with Secret Pass Through | Pretty Handy Girl

Hereโ€™s a final peek into the childrenโ€™s library closet:

Childrens' Closet Library with Secret Pass Through | Pretty Handy Girl

Childrens' Closet Library with Secret Pass Through | Pretty Handy Girl

Do you have a small closet or nook in your home that can be used as a childrenโ€™s library? Itโ€™s amazing how an ordinary closet can turn into something extraordinary.

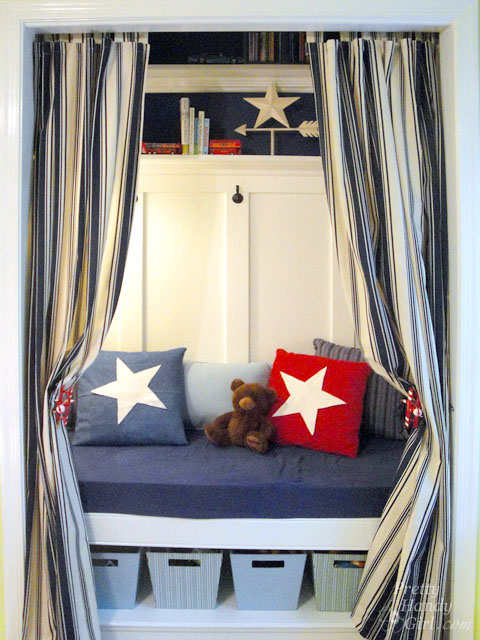
If you liked this renovation, youโ€™ll definitely love my sonโ€™s closet turned reading nook.

Closet Reading Nook | Pretty Handy Girl

Faking Wall-to-Wall Carpet with an Area Rug | Pretty Handy Girl

The closet renovation is coming along nicely, even thoughย Iโ€™ve only been able to work on it in fits and starts. After I added a new light switch for the closet, I added any missing insulation. Then Iย filledย any and all gaps with Great Stuff. This closet had always been very cold in the winter or super hot in the summer. I decided to climate control the closet as best as I could while the walls were open. Then I closed up the walls with sheet rock and painted the small closet. You would not believe how well sheet rock (aka drywall or wall board) insulates! When I added the last piece, it made a huge difference in the climate control in the room.ย Who knew?!

Every room we renovate, we like to leave little messages in the wall or on the floor. The boys and I had fun drawing before adding the carpeting.

Faking Wall-to-Wall Carpet with an Area Rug | Pretty Handy Girl

The closet dimensions are just under 5โ€ฒ x 8โ€ฒ which is perfect for an area rug. I wanted the closet to be as comfy and inviting as possible for the boys, so I settled on a super soft chenille shag rug.

I also purchased enough carpet padding from Loweโ€™s to line the closet floor. In the interest ofย climate control, I bought the thickest padding and opted for theย Stainmaster brand to resist spills from seeping through to the subfloor.

Ready to get startedย Faking Wall-to-Wall Carpet with an Area Rug?

Materials:

Faking Wall-to-Wall Carpet with an Area Rug | Pretty Handy Girl

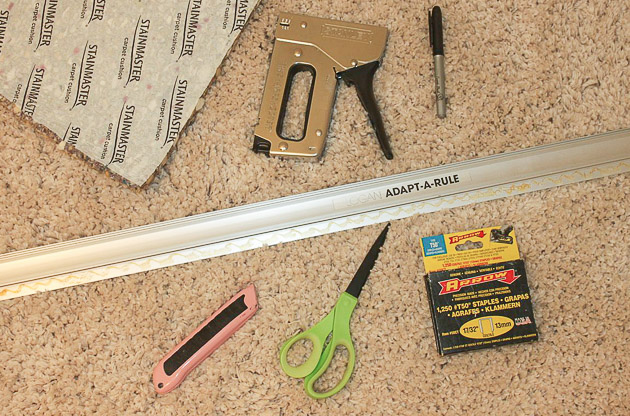
  • Utility knife
  • Scissors
  • Metal ruler or straight edge
  • Sharpie
  • Staple gun and staples (1/2โ€ณ โ€“ 5/8โ€ณ)
  • Area rug large enough for your space
  • Carpet padding

Instructions:

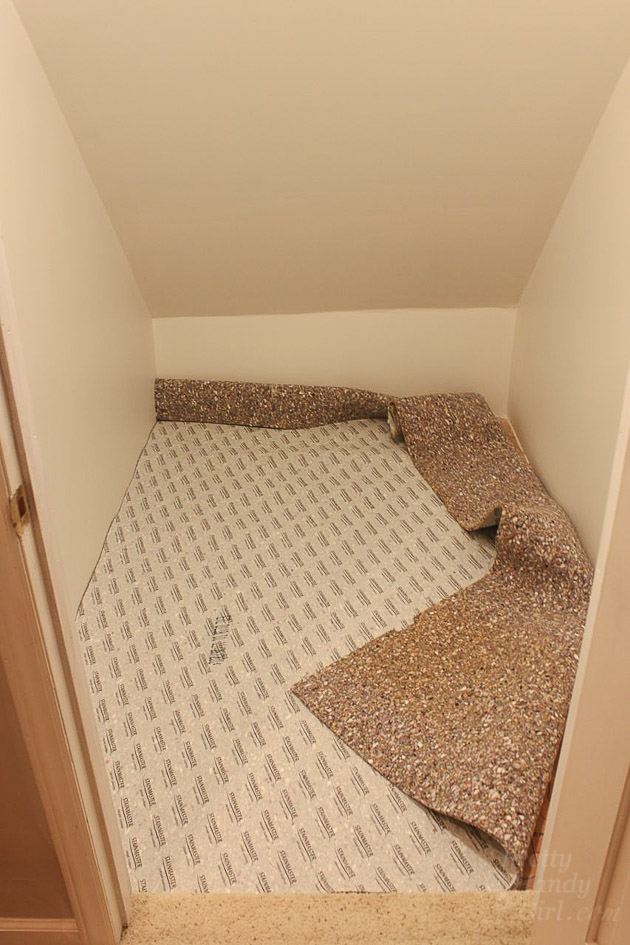
Lay the carpet padding on the floor. Line up two edges and fold the other edges up against the wall.

Faking Wall-to-Wall Carpet with an Area Rug | Pretty Handy Girl

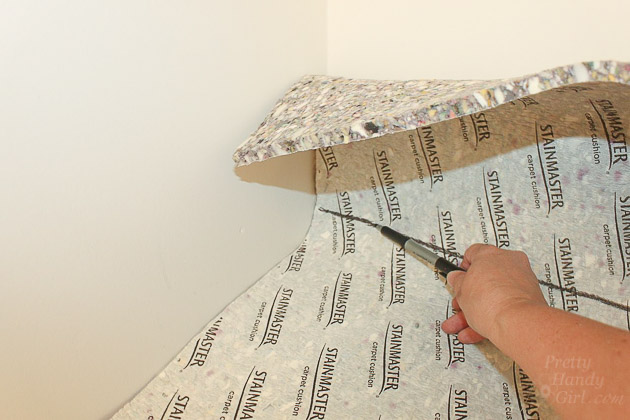
Use a pen to draw along the corner where the wall meets the floor.

Faking Wall-to-Wall Carpet with an Area Rug | Pretty Handy Girl

Cut the carpet pad to size. Read more

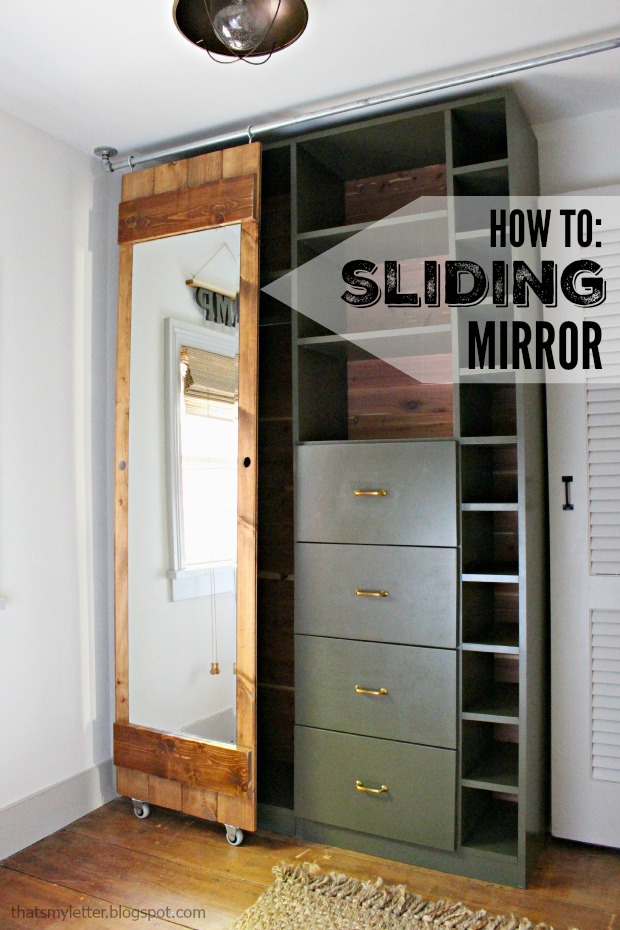
sliding mirror title

How to build a sliding mirror door:

Hello Pretty Handy Readers! ย Jaime here from Thatโ€™s My Letter and today I am sharing a sliding mirror project that is the finishing touch on my newly made over walk-in closet. ย I will show you how to build a sliding mirror door using wood, wheels and pipe fittings.

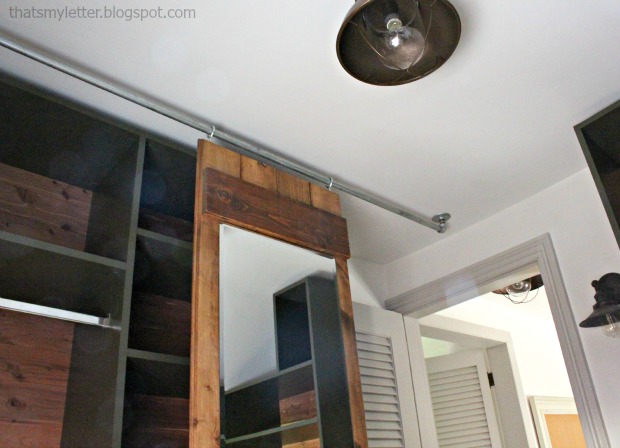
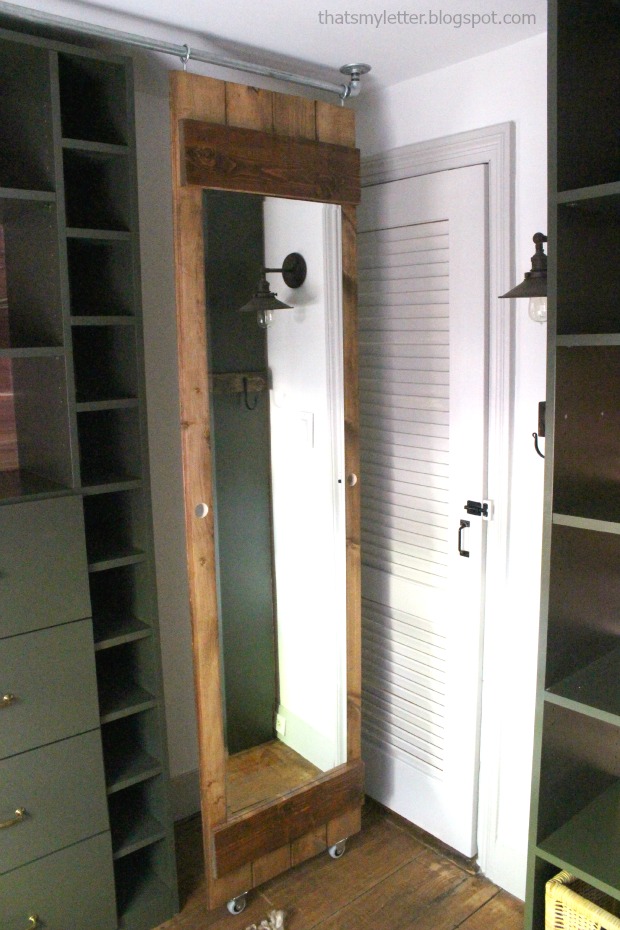
This sliding mirror is my solution to a small walk-in closet with no wall space and no back of the door option for a mirror. ย The mirror slides across the room on stationary wheels and a galvanized steel pipe track.

sliding mirror 3

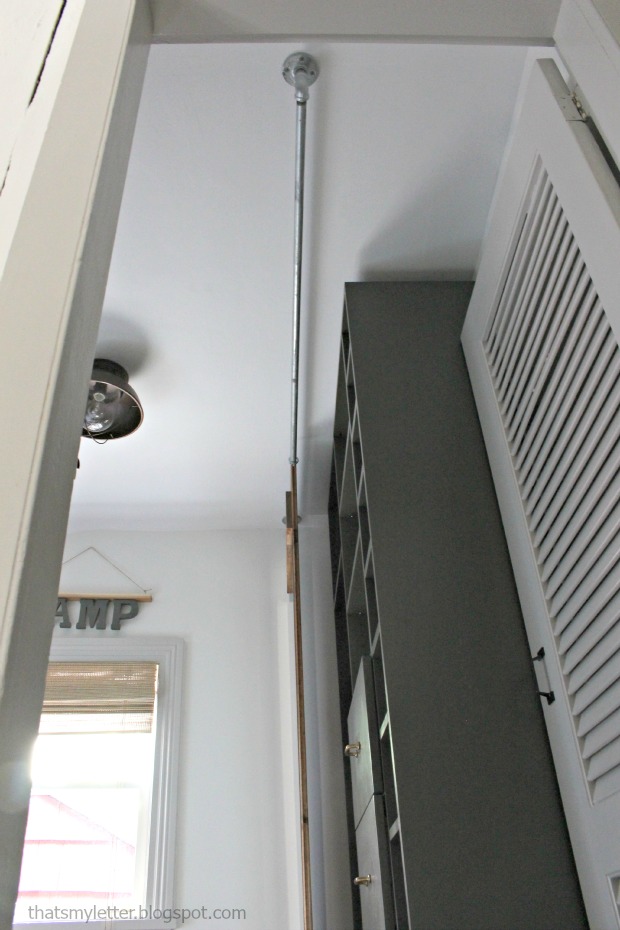
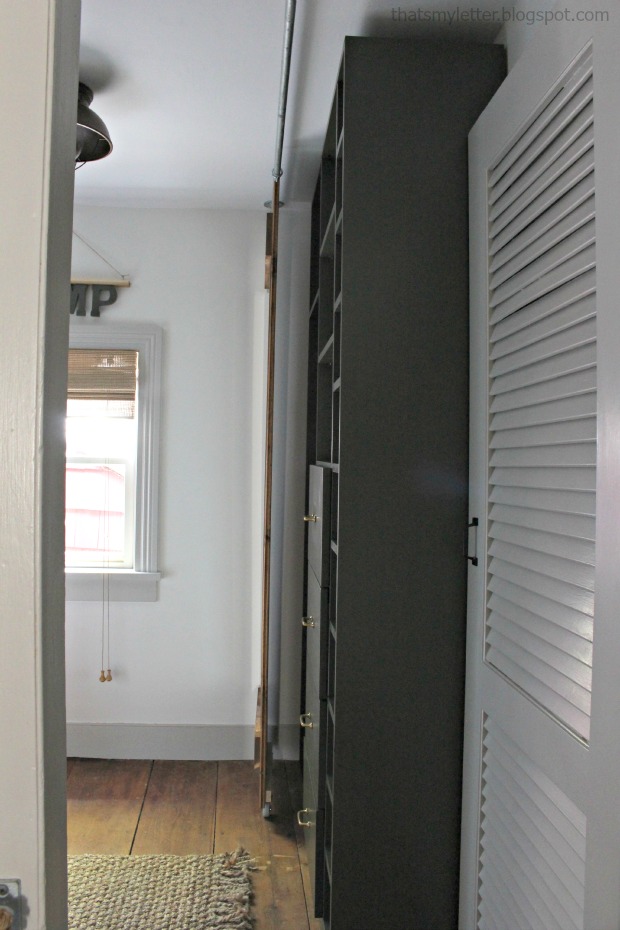
My pipe extends beyond the built-ins (mainly because thatโ€™s the pipe I had on hand) but this also allows for full access to the built-in compartments.

sliding mirror 5

In the photo below you can see theย pipe extends beyond the built-ins at the ceiling:

sliding mirror hardware installed

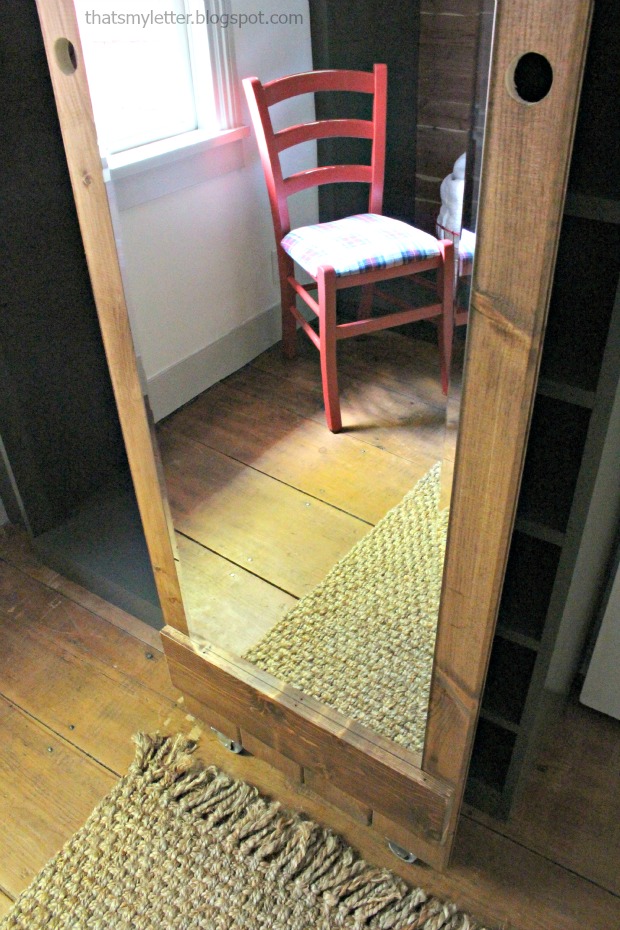
Simple finger pull holes allow you to glide the mirror along the pipe. ย You could get fancy with hardware here but I took the minimalist approach.

sliding mirror 2

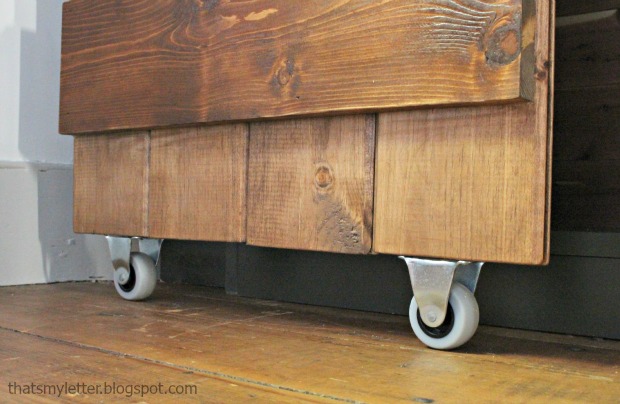
Stationary wheels keep the mirror in place while eliminating the need for any lower track system.

sliding mirror wheel detail

Hello super slim profile! ย The whole mirror and wood support is only 1 1/2โ€ณ thick so the mirror does not protrude out into the room.

sliding mirror profile

Ready to make this clever sliding mirror? Letโ€™s get to itโ€ฆ Read more